Adobe Premiere Pro CS6 comes with software which is very valuable valuable when it comes to producing and editing videos, and is used by many TV Channels and individuals around the world. Using Adobe Premiere one can even directly open Photoshop files and the options and tools the software provides you with is what sets it apart from other software of its kind.
In this tutorial we will guide you on how to use the multicam editor in Adobe Premiere Pro CS6. The Adobe Premiere video editing can be learned easily by following this tutorial.
Step 1 – Selecting the desired clips
In order to start off with the process of using the multicam editor in Adobe Premiere Pro CS6, you will need to go to the media library and select the desired clips from the bin.
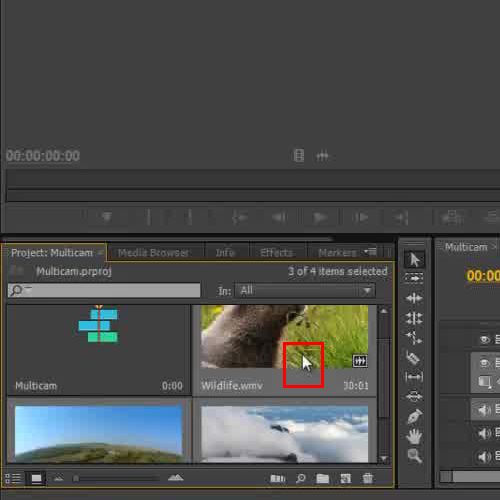
Step 2 – Using the create multi-camera source sequence option
Once you are done selecting, right click on any of the selected footage and choose the “Create Multi-Camera Source Sequence” option in order to proceed further.
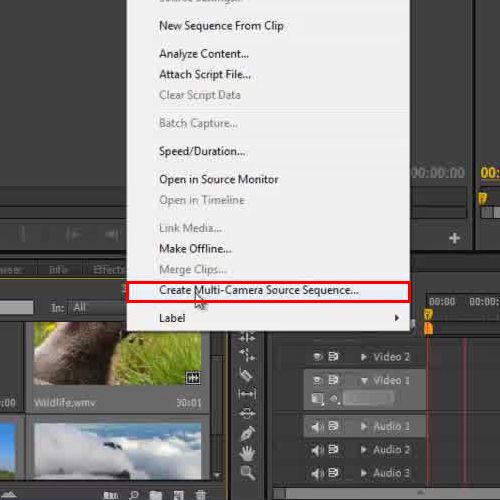
Step 3 – Renaming the sequence
In the next step, you will have to rename the Sequence and click on the “OK” option.
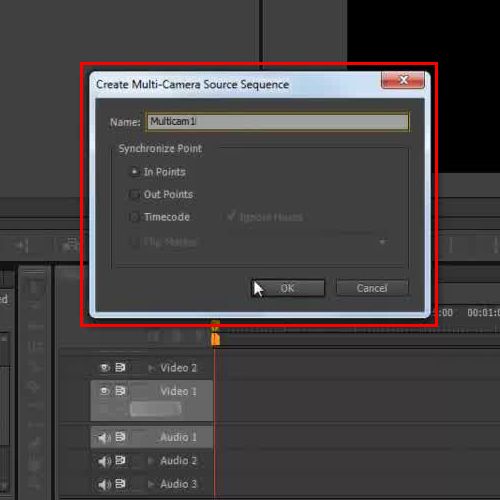
Step 4 – Creating sequence
Next, you can see that the sequence has been created and saved separately in the media library.
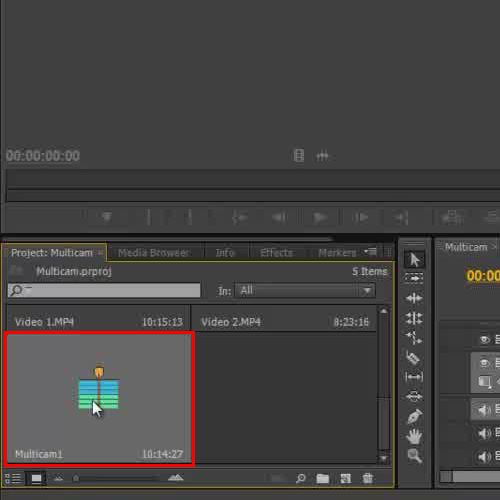
Step 5 – Using the keep existing settings option
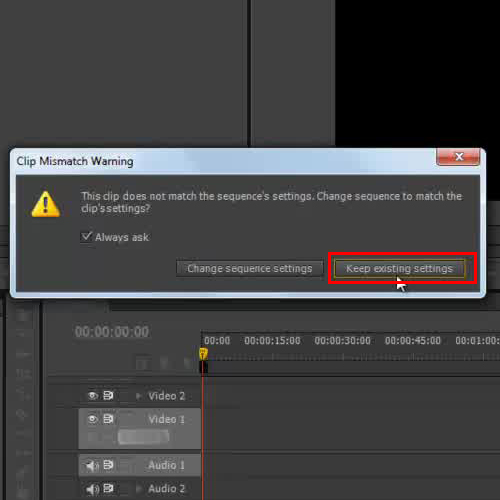
You will now need to Drag and Drop that sequence on the timeline and click on the “Keep existing settings” option when the notification window appears.
Step 6 – Starting recording
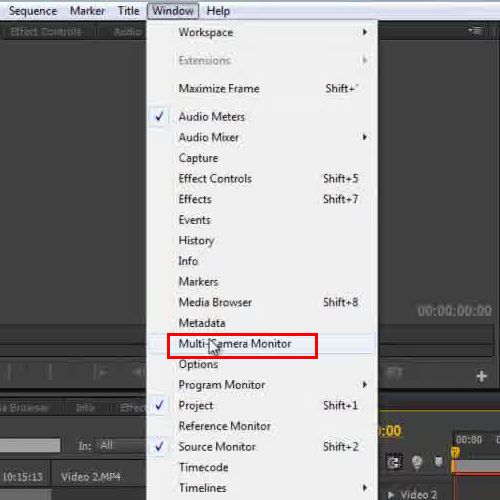
In order to start recording with the multi camera sequence, you must go to the windows Menu at the top and select the “Multi camera Monitor” option.
Step 7 – Using the sequences window
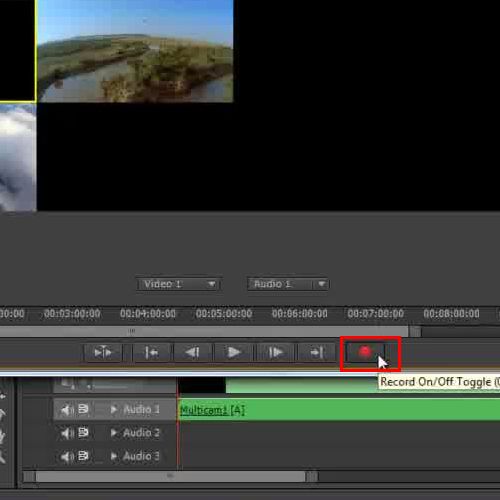
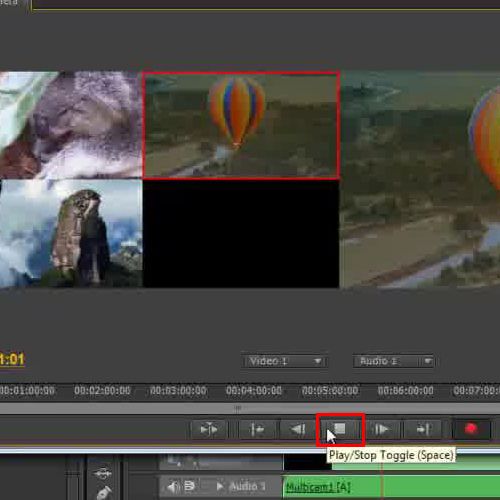
A new window will appear showing you all the different sequences in one window. This is particularly useful when you are dealing with a live program. Click on the record button and hit play. Now all the clips will start playing simultaneously.
Step 8 – Switching between frames
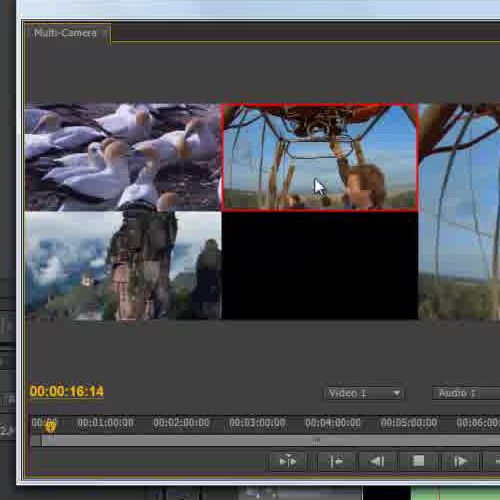
Here, you will simply be required to click on the different frames present in order to switch between them.
Step 9 – Saving the recording
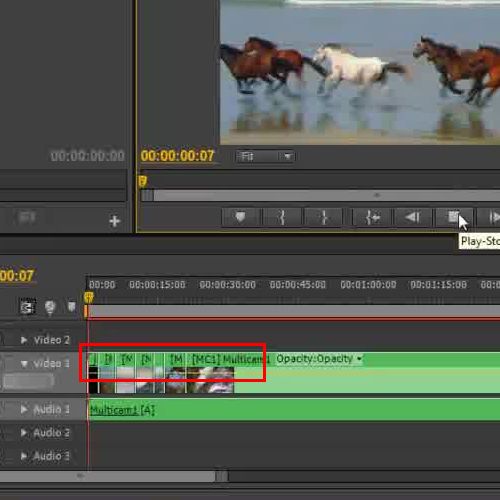
Once this has been done, you must stop the video and close the window. The sequence that you created by clicking on the different frames would automatically be recorded and saved in the timeline.
Step 10 – Adding transitions between frames
Now you can add different transitions between the frames and apply effects on them. This is significantly a simpler and faster way to get the work done. The Adobe Premiere video editing can be very useful for its users and it is easy to understand.
 Home
Home