The Google SketchUp materials can be applied on different surfaces of your model to give a realistic effect and different Sketchup textures. These materials can then be edited fairly easily in SketchUp, making the use of this feature user friendly.
To learn how to apply and edit materials in Google SketchUp follow the steps given below.
Step # 1 – Opening the “materials” panel
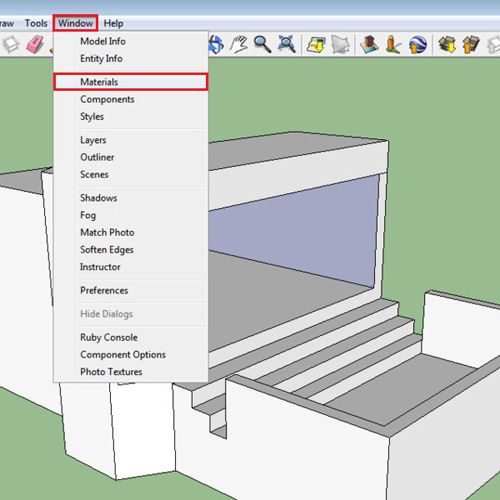
First of all open the materials panel by going to the “windows” menu and then click on the “materials” option. The panel gives you inbuilt materials that you can apply on your model.
Step # 2 – Applying the material
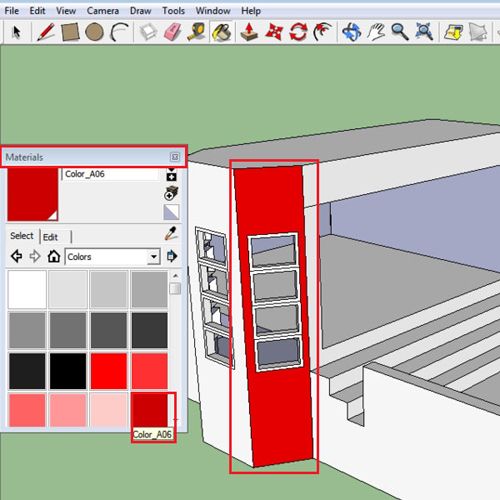
Simply select the one you want and click on the surface you want to use it on.
Step # 3 – Going to other material options
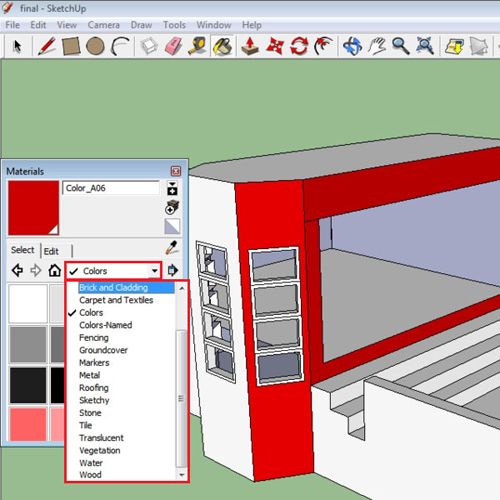
There are many material options which you can view from the drop down menu on the top. To view more, go to the menu and select “bricks and cladding”. You can choose any of these and replace the previous material applied with it as well.
Step # 4 – Apply materials to the model
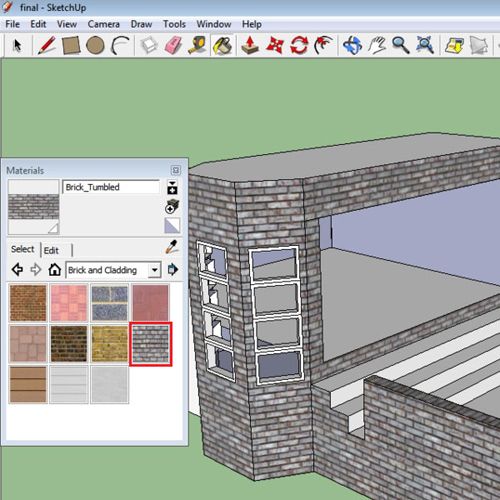
Rotate around by means of the “orbit” tool and apply the stone material on the structure. The “paint bucket” tool is used to apply materials which can be selected from the tool panel above.
Step # 5 – Opening the “edit” tab
The inbuilt textured materials cannot be edited. To see this go to the “edit” tab and you will see that every option is locked.
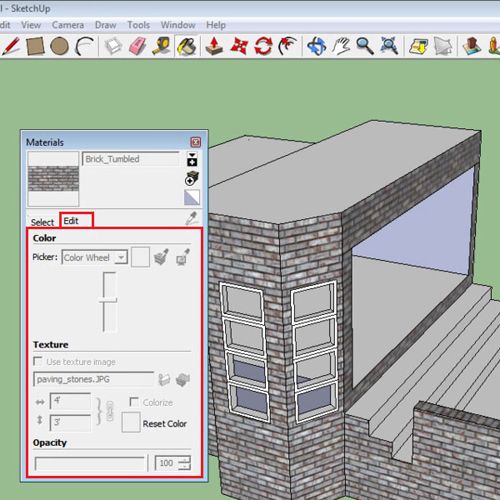
Step # 6 – Selecting the created material
You can edit the materials that you have imported. For this choose the one that you created and apply it on the model.
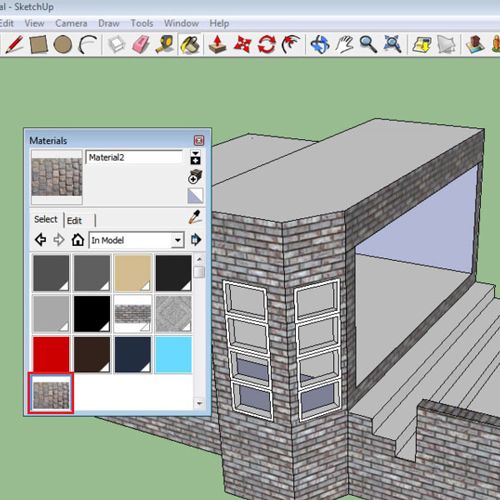
Step # 7 – Opening the “edit” tab of the created material
Once you have selected the material that you created, go to the “edit” tab and from here you can alter the settings.
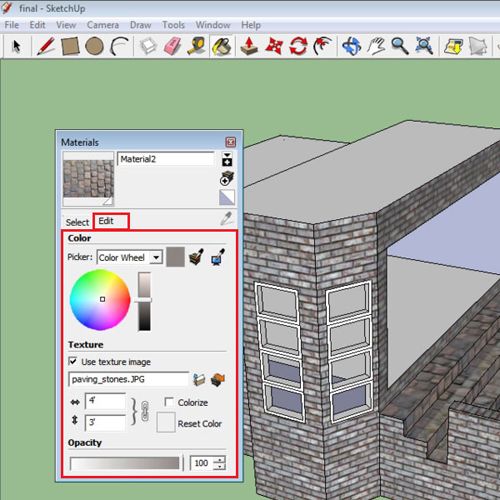
Step # 8 – Changing the color through the color wheel
The color of the material can be changed in three ways. The first one is by selecting a different color from the color wheel.
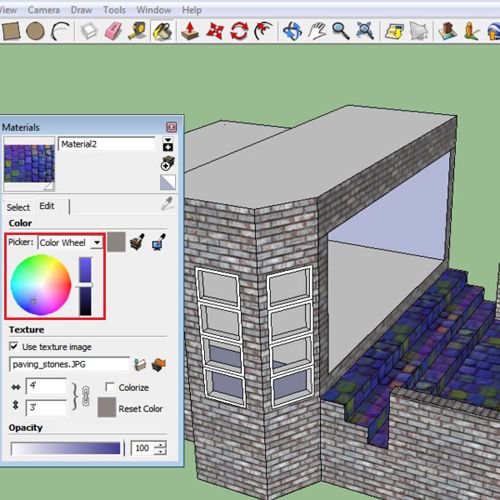
Step # 9 – Choosing a color from the model
The two other options present on the side can be also be used to change the color of the Sketchup materials. The one on the left, when you choose it, you can select any color from the model and the color of the material automatically changes to it.
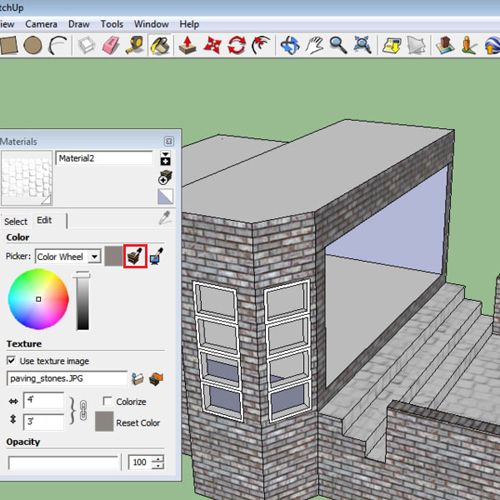
Step # 10 – Choosing a color from the screen
The color can also be changed to any other one present on the screen. Select the second button and click anywhere on the screen to choose that color.
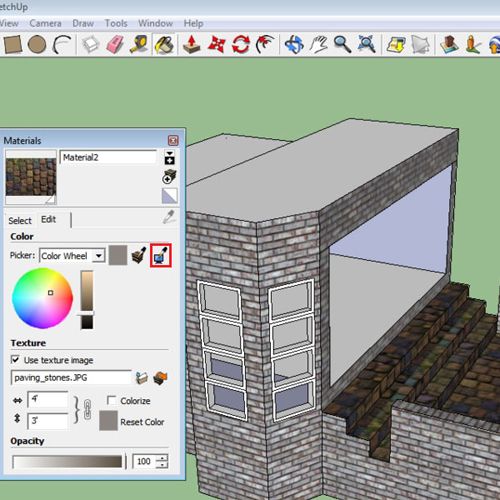
Step # 11 – Changing the image
As this material is created from an image, you can change it from the “browse” option or even edit it in an external software by clicking on the option next to it.
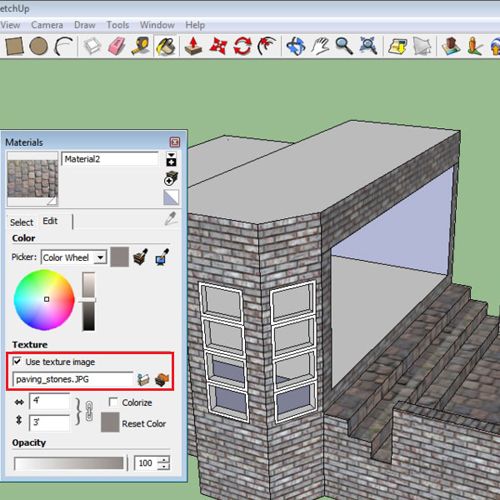
Step # 12 – Altering the size of the tile
The size of a single tile can also be altered by the length and width options given. The measurements that are by default given here are according to the proportions of the image. To enter your own proportions first unlock the proportionality by pressing the button on the right.
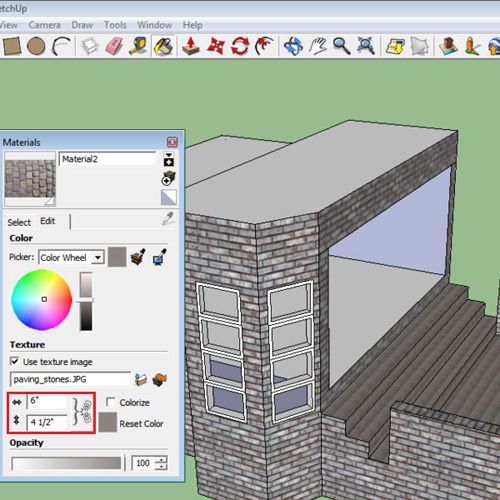
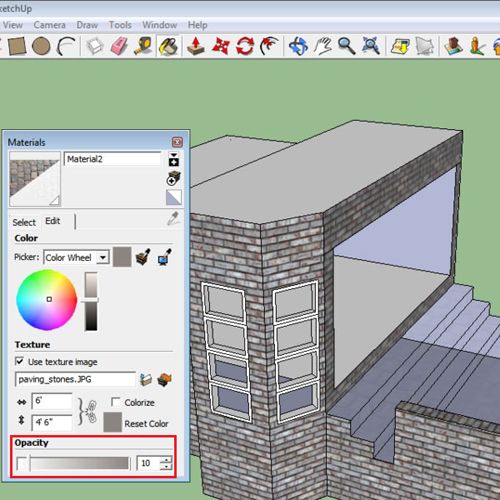
Step # 13 – Altering the opacity
Last but not the least, you can even increase or decrease the opacity of the artwork according to your requirement.
Adding these materials provide you with different Sketchup textures so as to give a realistic effect and enhance your drawings.
 Home
Home