In this tutorial, we will guide you on how to use Adobe Premiere Pro CS6 presets. Adobe Premiere Pro comes with highly productive presets which enable you to apply an effect without configuring them too much. Using Adobe Premiere often may appear to be a complex task, but once you gain a clear understanding of how the different options and tools of this software function, carrying out various tasks will become fairly simpler.
Step 1 – Using the “presets bin”
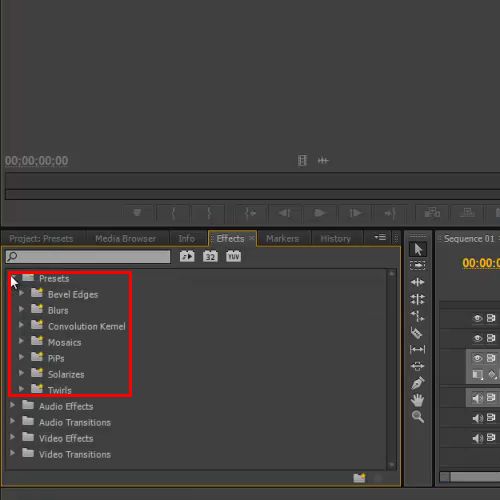
First of all, you can start off the process by going to the effect tab and expanding the Presets Bin. Here, you will see a wide range of presets available on the list.
Step 2 – Using the “fast blur in” option
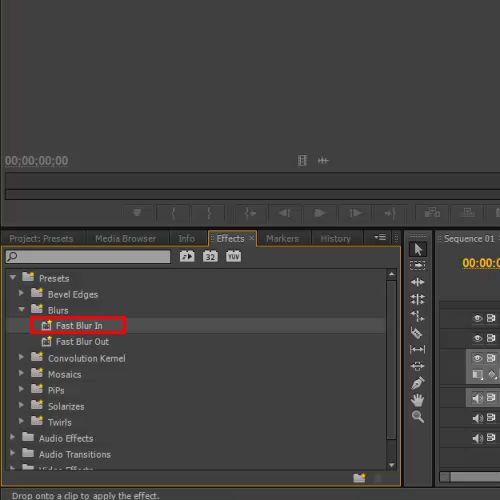
We will select the “Fast Blur In” preset from the Blur Folder and drag it over the respective layer. Click on the play button to preview the clip. Here, the effect appears almost instantly for a brief period. What if you want to increase the timing of this effect? For answer to this question, see the following step.
Step 3 – Increasing the animation duration
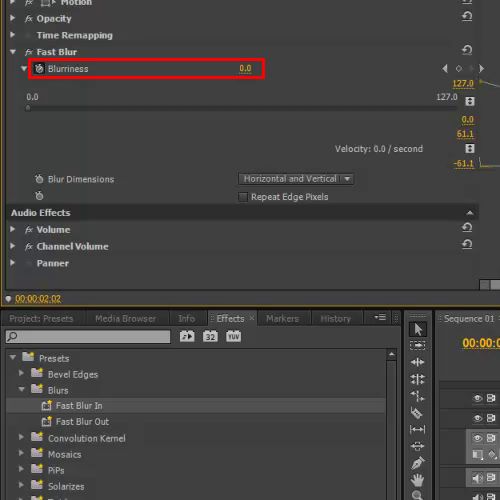
Now, you must go to the effect control panel and drag the anchor point towards the right side in order to increase the duration of the blur animation. You can also preview the clip to see the difference caused by the changes that you have just made.
Step 4 – Using the “fast blur out” option
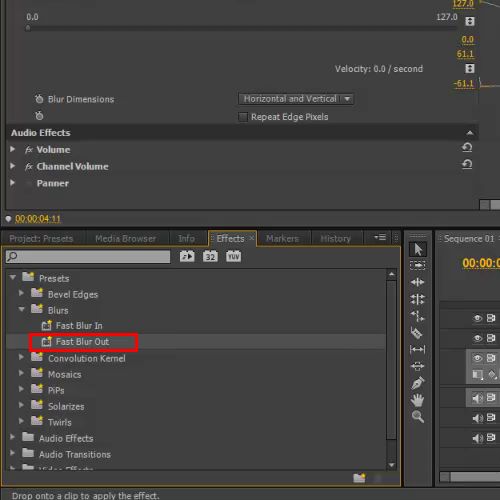
Similarly, you can apply the “Fast Blur Out” preset on the clip and change the duration of the blur animation. In order to do so, you will have to follow the same steps but this time, make sure to scroll down, locate and change the anchor points of the second effect.
Step 5 – Animating titles
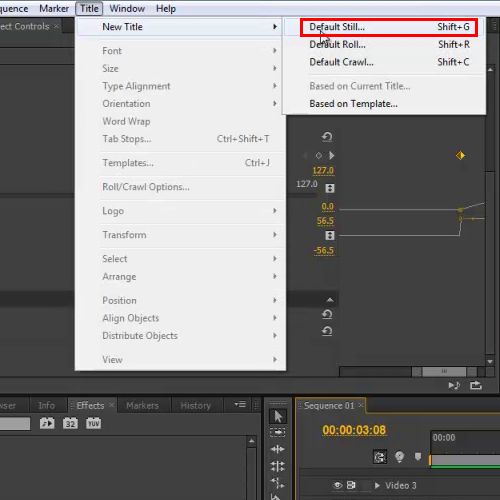
In a similar way, you can also animate titles that are added to the video. For example, move over to the title menu and click on the “default still title” option from the menu.
Step 6 – Changing the font
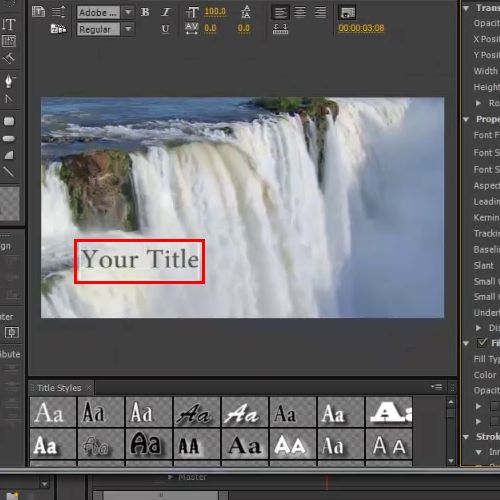
Now, you will need to configure the color, font and size of the text and drag the title layer on the overlay track in order to proceed further.
Step 7 – Using presets options
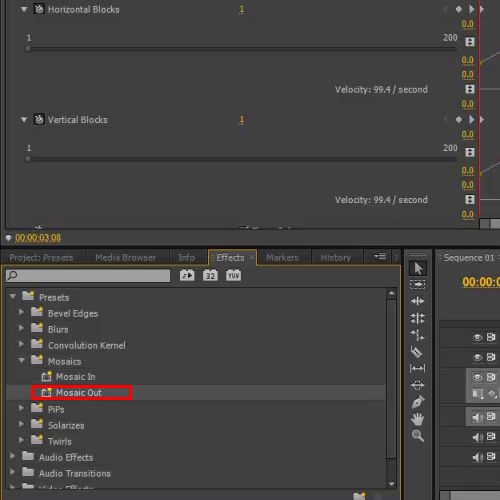
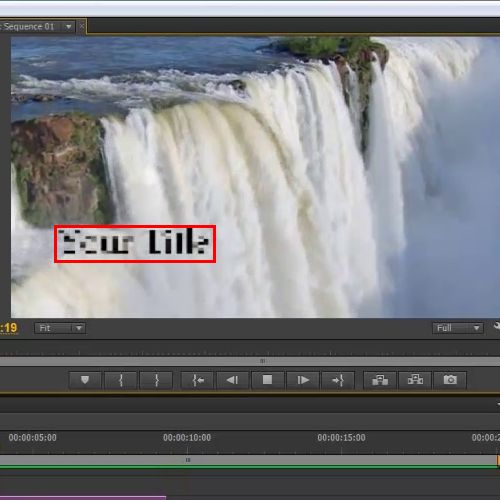
Now apply the “Both Mosaics In” and “Out presets” to the title track in the timeline.
Step 8 – Clicking on the play button
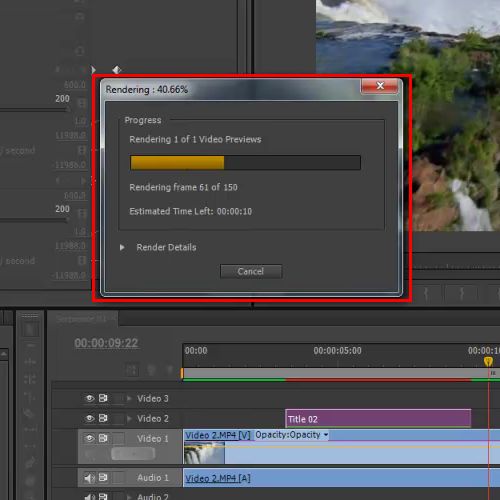
Now you must render the layer and click on the play button in order to see the results of the process you have just carried out in Adobe Premiere pro.
Step 9 – Ensuring results are as desired
You will see that the title animates automatically according to the Adobe Premiere CS6 presets chosen which means the procedure carried out above was successfully incorporated.
 Home
Home