In this tutorial, you will learn how to create an icon in Photoshop through a very simple way. An icon can be customized and made in this software which can then be used for your folders on your system.
Follow the tutorial, to learn how to create an icon from scratch.
Step # 1 – Check the plug-in
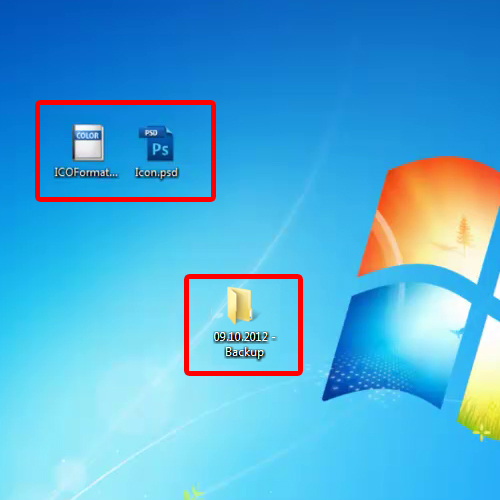
Firstly, you will need a plug-in that will allow you to save the output in the icon file format. if you do not have this plug-in in your system already then download it from the web.
Step # 2 – Create illustration
Once the plug-in has been installed, open up Photoshop.
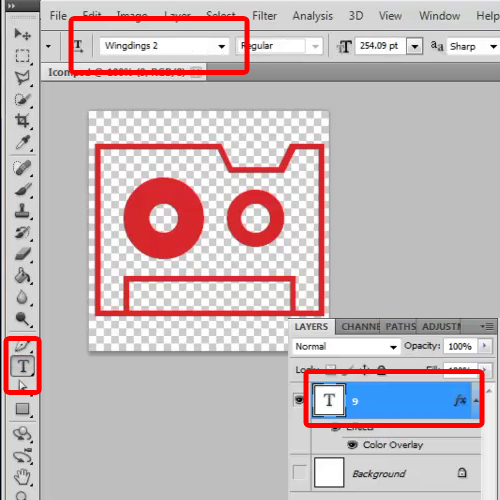
Over here, we have already taken the trouble of creating an illustration. For this what we did is that we selected the “type tool”, chose “Wingdings 2” for the font and typed in “9” on the canvas.
Step # 3 – Save the file in “ICO” format
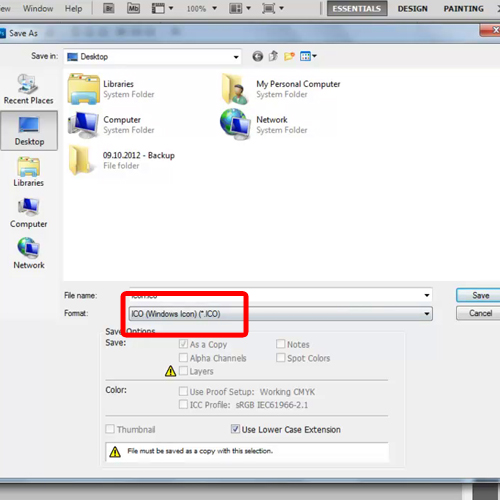
Once done, go to the “File” menu and choose “save as”. If you have successfully installed the plug-in, Photoshop will give you the option of saving the file in the icon file format.
Step # 4 – Select the “Standard ICO” format
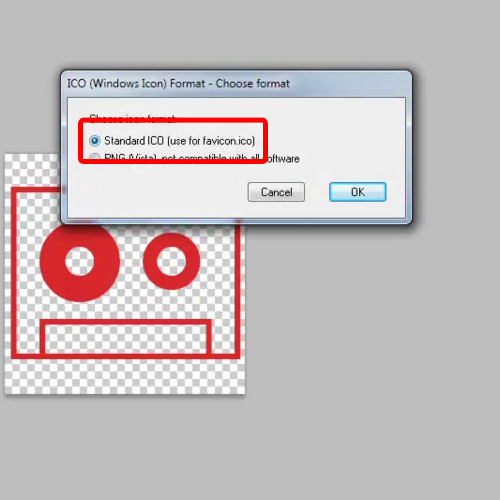
Further on to create an icon of this image save the file and from the dialogue box that appears choose the “Standard ICO” format.
Step # 5 – Go to properties
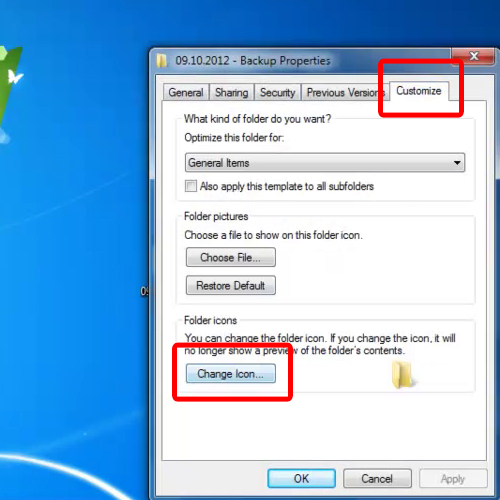
Once done, right click on the folder that you wish to change the icon of, and go into properties. Move over to the “Customize” tab and click on the change icon button. You can now switch the current one with the icon in Photoshop that you just made.
Step # 6 – View the folder
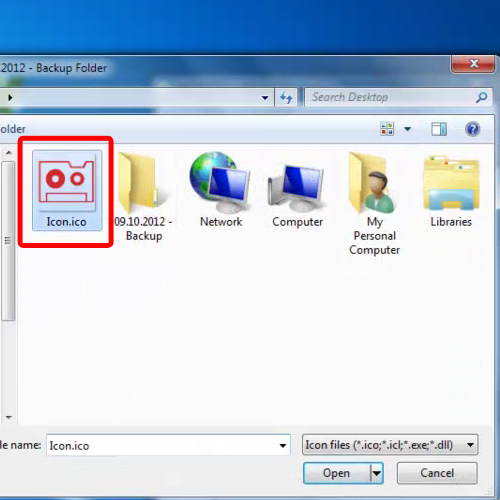
Browse and select the newly created icon file. Once done, apply all changes made and you can see that the folder icon has been successfully changed.
 Home
Home