There are many things which you can do to enhance the security of your wireless computer network. One important step is giving your wireless network a unique name. It is advised not to use alphanumeric values for your network name, utilize the maximum characters allowed and never to use your name or any other personal information as the name of your wireless network. It is recommended to change the name of your wireless network after every few months.
This tutorial will help how to change the name of a wireless network. Technically the name of your wireless network is called “SSID” which means Service Set Identifier. You can choose anything from a cool SSID to your company name, for example, as the name of your network connection. What is required from you in order to change the name successfully is a router setup manual and a web browser installed in your computer.
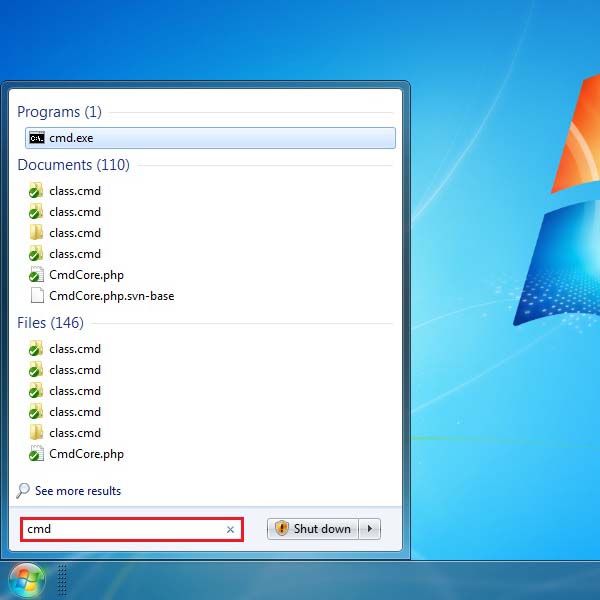
Step 1 – Opening up the Command Prompt
Click on the “Start menu” and in the command box type in “CMD”. With that done, you can press “Enter” and the command prompt will open.
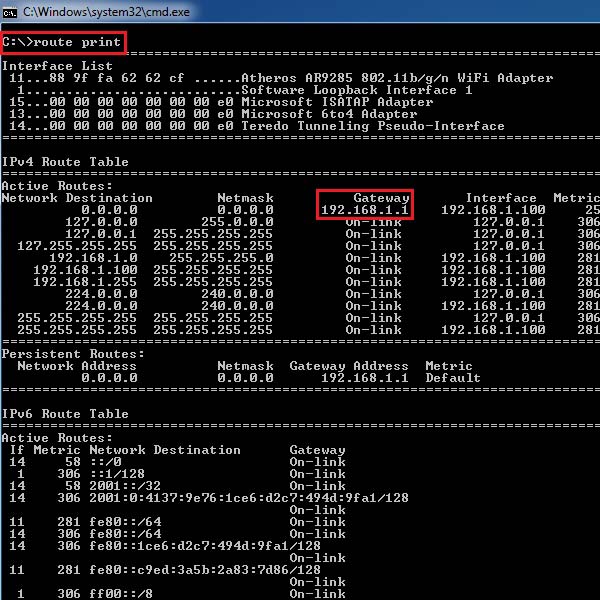
Step 2 – Typing In The Route Print Command:
In the command prompt, type in “Route Print” and press “Enter” to execute the command. A list of network details will appear on your screen. Note down the IP address of your “Gateway” as highlighted in the image below.
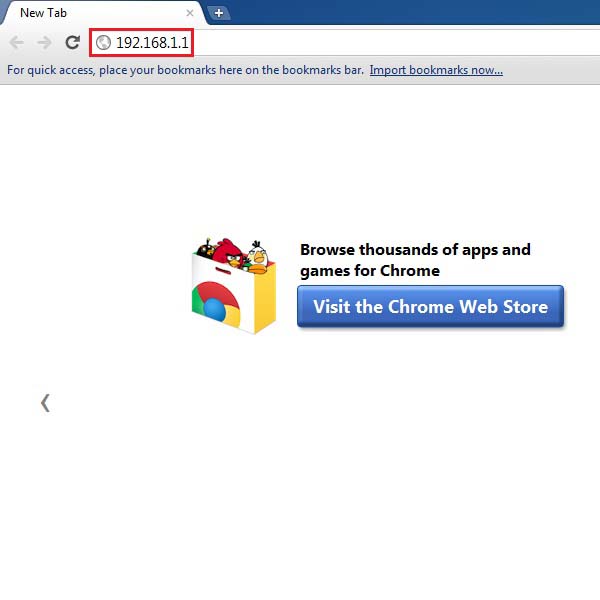
Step 3 – Opening up the Router from your Browser
Now open up your web browser and enter the IP address, which you noted down from the command prompt, in the address bar of the browser.
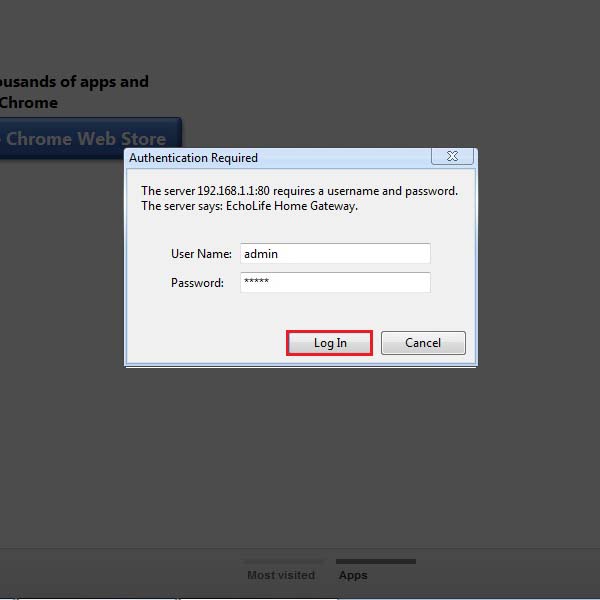
Step 4 – Logging In Your Router
A authorization message will appear in the middle of the screen. Enter the user name and password, which you can find from your Router Instruction Manual, and click on the “Log In” button.
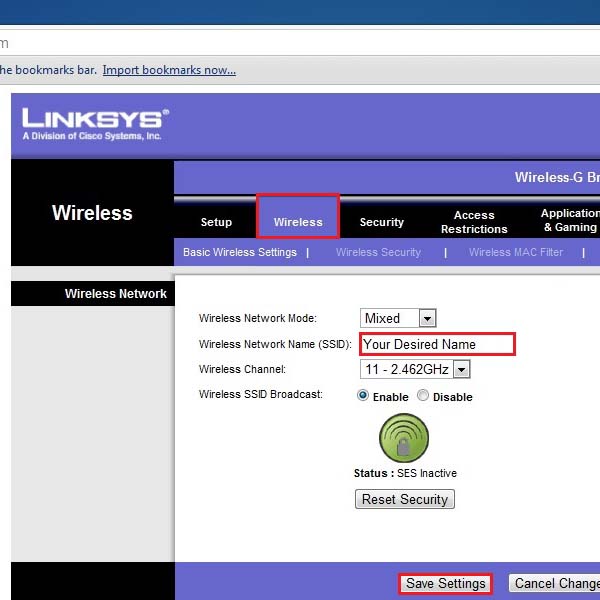
Step 5 – Renaming Your Wireless Network
Once successfully logged in you will find yourself in the main settings screen of the router. Move on to the “Wireless” tab and then enter your desired name for the wireless network in the text box next to Wireless Network Name (SSID). Once done, click on the “Save Settings” button and that’s it.
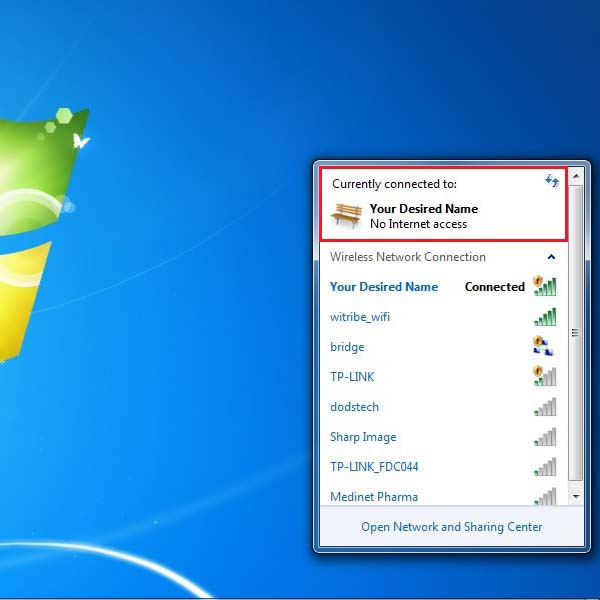
Step 6 – Name Changed Successfully:
Now you can see that the name of your wireless network has been changed.