Connecting two computers is not a difficult process as many people would think. With technological advancements, everything now has become simple and easy. You can share files between two computers, manage resources together, access information, edit the data and create a backup in no time. The windows operating system already comes with a built in application that allows two computers to connect with each other directly. Besides windows, there are other third party tools and softwares to connect two computers.
Here in this tutorial we will guide you on how to connect 2 PCs directly by creating a wireless network and connecting the two computers using that network.
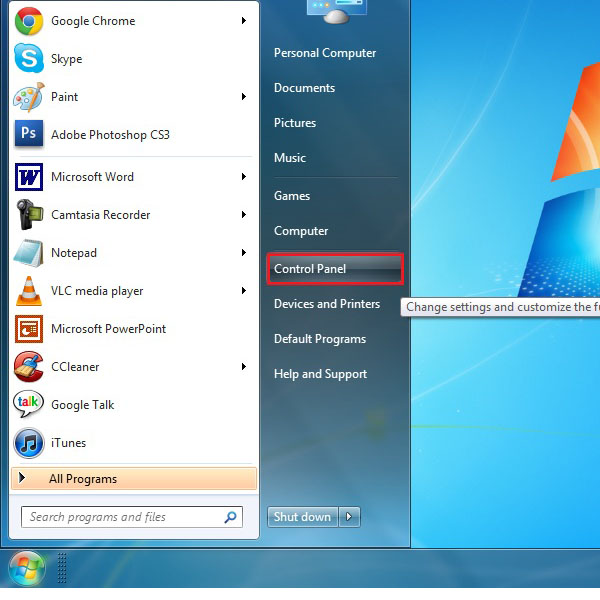
Step 1 – Open the Control Panel:
First of all, go to the start up menu and click on the Control Panel to open it.
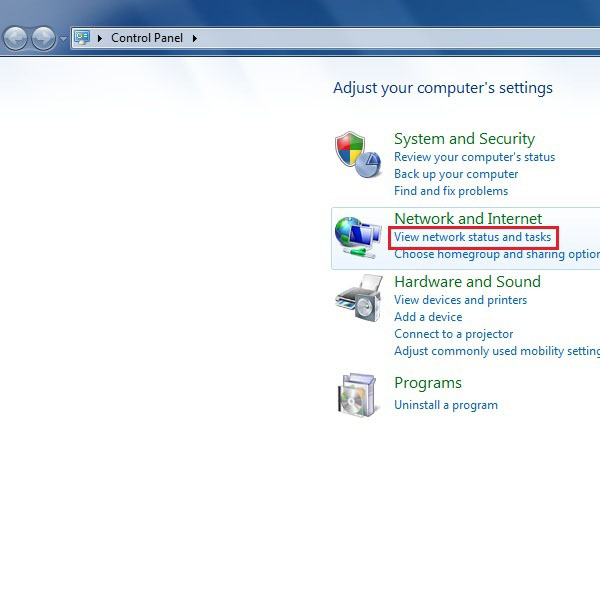
Step 2 – View Network Status And Task:
Once the control panel window opens, change the “View by” option to “Category”. You can find this option on the top right corner of the screen. Click on the “View network status and tasks” option from the “Network and Internet” category.
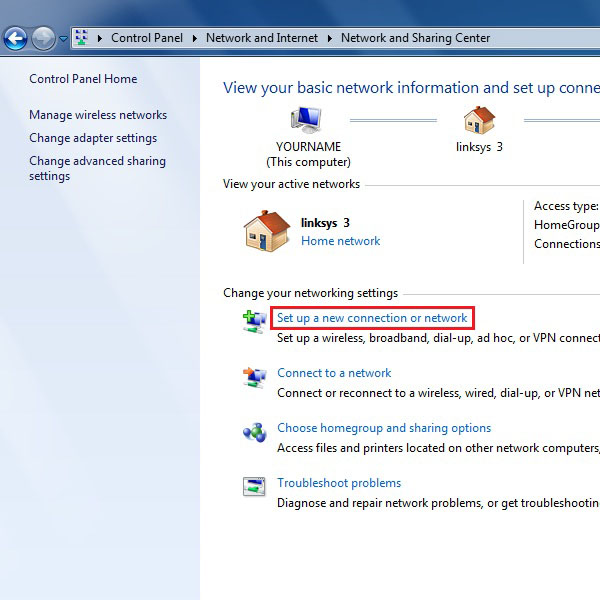
Step 3 – Set Up A New Connection:
Once the new window opens, select the “Set up new connection or network” option to launch a setup wizard which allows you to connect to another computer.
Step 4 – Select Wireless Option
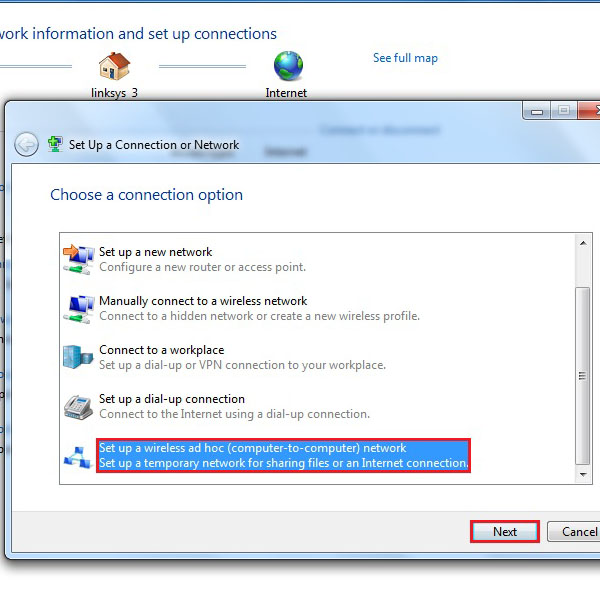
Now you would be required to choose the type of connection you want to set up. In this tutorial we are using a wireless connection for connecting the two computers. For this purpose, select the option named “Set up a wireless ad hoc network” which is available at the end of the list. After selecting it, click on the “Next” button to continue.
Step 5 – Finalize Your Wireless Network
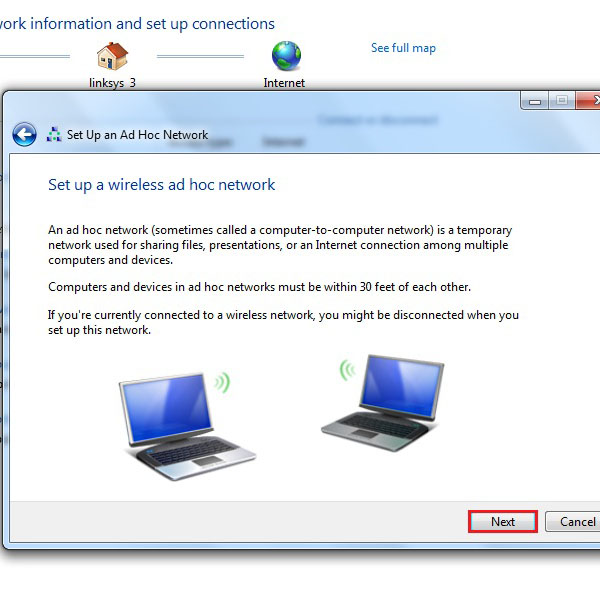
On the next screen, click on the “Next” button to continue setting up your wireless network.
Step 6 – Adjust the Settings For Your Network
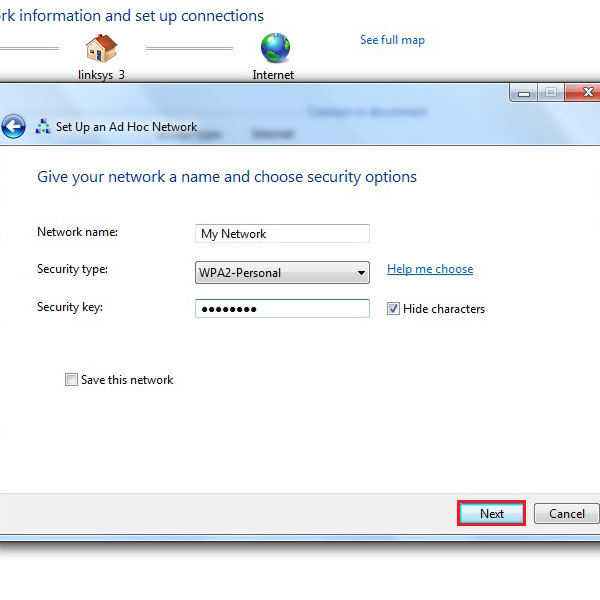
In this step, set a name for your network, select the security type, which suites you best, and enter a security key for making a secure network. Once done, click on the “Next” button to continue.
Step 7 – Details of the Network
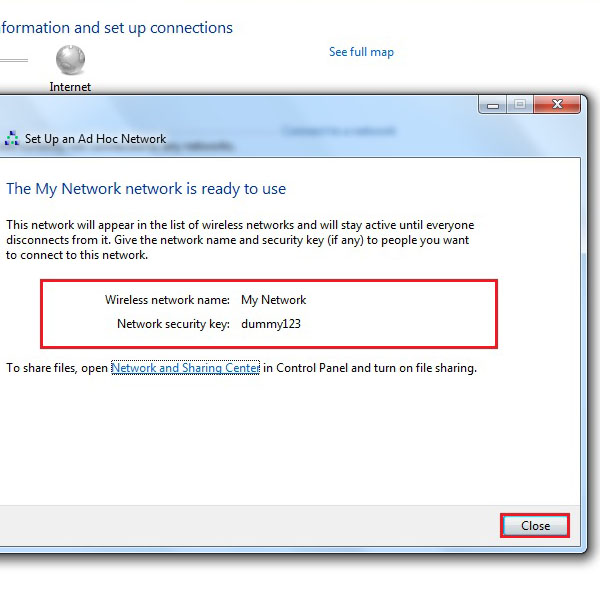
All the details regarding the wireless network, including the name and password, would be displayed right in front of you. Click on the “Close” button to exit from the wizard.
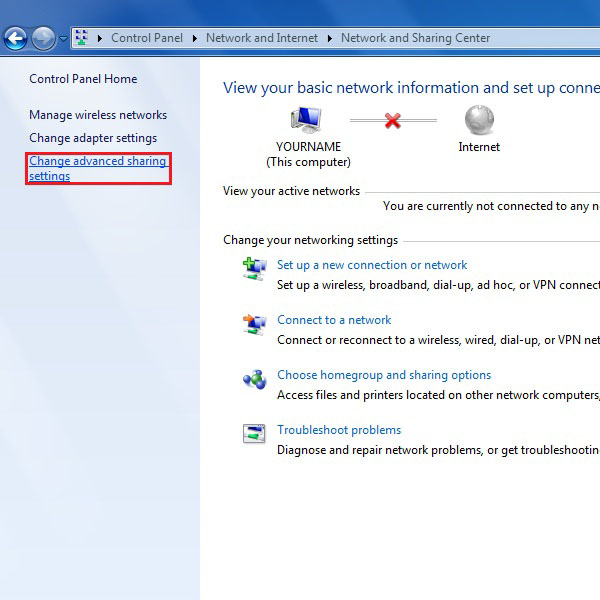
Step 8 – Change Sharing Settings
After completing the setup, click on the “Change advanced sharing settings” option available on left corner of the screen.
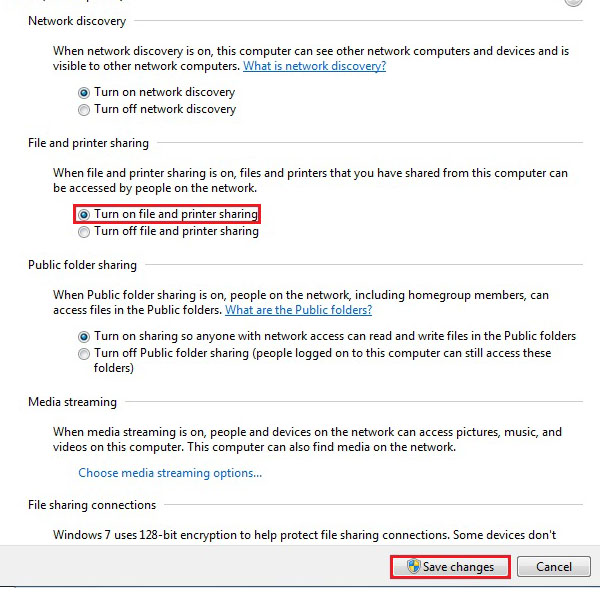
Step 9 – Allow Sharing Option:
From the many options, go to the “Public” network option which is your current profile and click on the “Turn on file and printer sharing” option. After this, click on “Save Changes” to save these settings and continue on with the process.
Step 10 – Check Your Network
Once the new connection has been setup successfully, the newly created network would be available in the internet connection options. Now all you have to do is connect the other computer to the same network on your’e done.
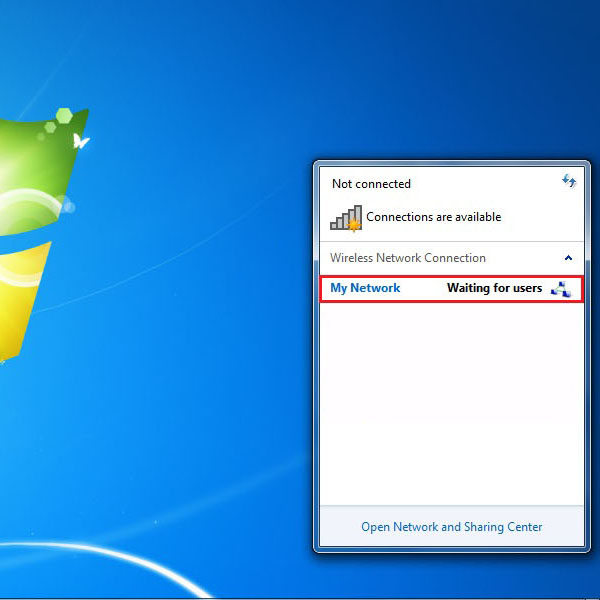
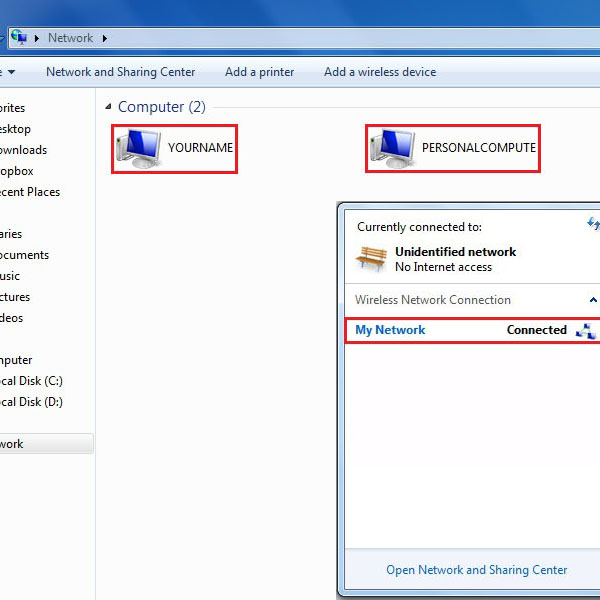
Step 11 – Connect With Other Computer
Open the network places and wait for other users to join your network. When connected, the status of your network will be changed from “Waiting for users” to “Connected”. The name of the computer, which is now connected to your computer, will be displayed in your network places. Click on the computer name to access that computer.