In this video tutorial we will show you how to install lightroom presets on mac.
In order to install lightroom presets on mac, open the “Safari” browser. Go to “deviantart.com”.

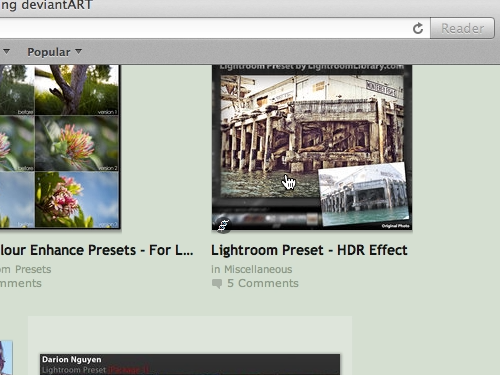
On the following web page, type “lightroom presets” and press “Enter”. Choose “Lightroom preset – HDR Effect”.
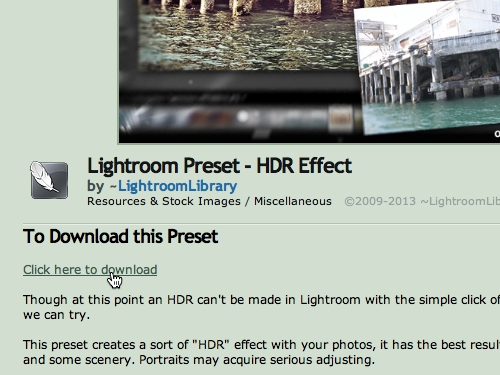
On the following web page choose “Click here to download”.
On the next web page you will see the warning “Now Leaving devianART.com”, press “Continue…”.
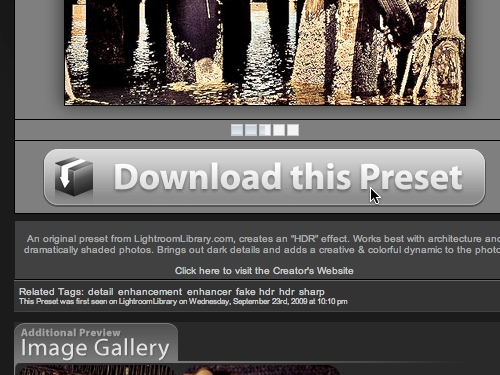
On the following web page click “Download this preset”.
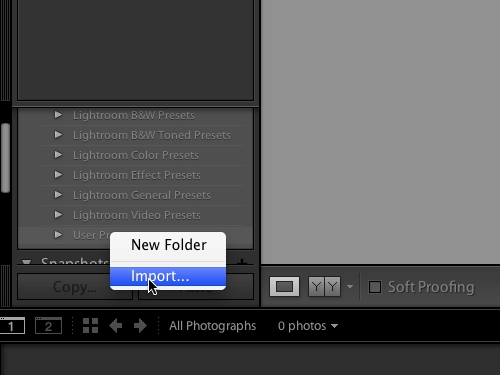
When the download is complete, open the Adobe Lightroom. In the “Develop” tab, go to “Presets”. Right-click on “User presets” and choose “Import”.
In the following window, select the downloaded preset and click “Import”.
Now the preset has been successfully installed in Lightroom.