In this video tutorial we will show you how to photoshop add sunglasses reflection.
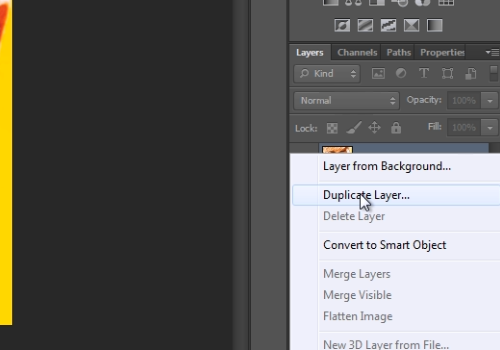
Launch the Adobe Photoshop. Go to the “File” menu, press “Open” and choose the pictures you want to edit. Then right-click on the main layer and choose the “Duplicate Layer” option from drop down menu.

In the following windows press “Ok”. Then select the “Quick Selection Tool” from the toolbar. Select the left and right glasses from the sunglasses. Then press on the “Add Vector Mask” from the layers tab.

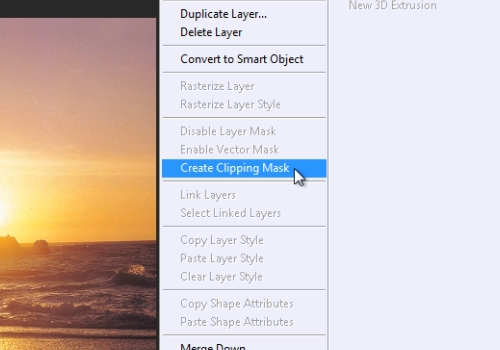
Then select the “Move tool” form the toolbar. Go onto the other photo tab and select the whole photo with the “Ctrl+A” keyboard shortcut. Then press the “Ctrl+C” shortcut to copy the photo. Go back to your main photo tab and press “Ctrl+V” shortcut to paste the copied photo. Then right-click on the newly created layer from the layer tab and select the “Create Clipping Mask” option.

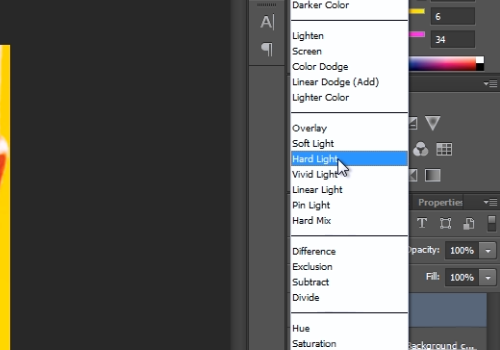
Adjust position of the photo. Then go to the “Blend mode” menu and from the popup menu choose the “Hard light” option.

Set the opacity to about 80%. That’s all, the sunglasses reflection is added.
 Home
Home