In this tutorial you are going to learn how to use metal texture in photoshop to give text an interesting look.
Step # 1 – Creating a Grey Background
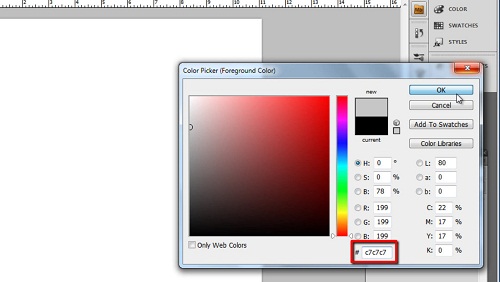
First off create an image in Photoshop with the dimensions 800 by 800 pixels. Select the bucket tool and open the color selector. Enter the color code “C7C7C7”, click “OK” and use this color to fill the background.
Step # 2 – Entering the Text
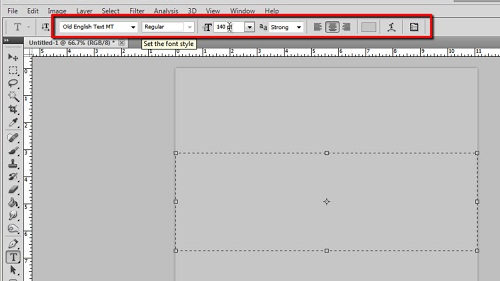
Now click the text option on the toolbar and drag a text box onto the canvas. At the top select a font (Old English Text MT, which we are using here, works well), choose a size around 140 points, and click on the color box and enter the code “B3B3B3”. Now enter the text you want to give the metallic effect to.
Step # 3 – Embossing the Text
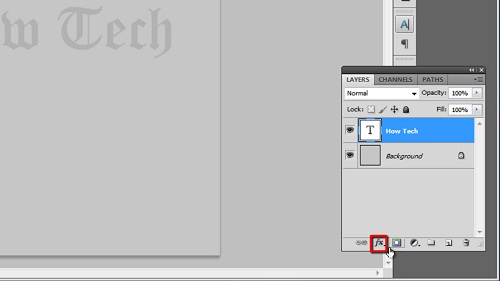
Click on the text layer and click the “fx” icon and in the menu that appears click on “Bevel and Emboss”. In the “Structure” box enter a “Depth” of around 600, move the “Soften” slider to 6 and then move the “Size” slider to the right until the text starts to look as if it is coming off the page – you can see here the sort of level we are looking for. Click “OK”.
Step # 4 – Adding the First Set of Curves
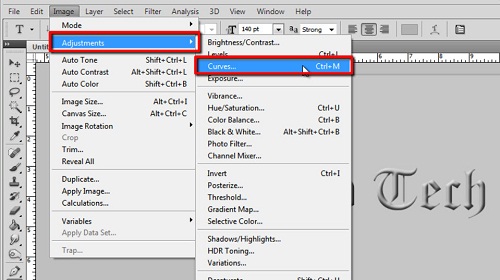
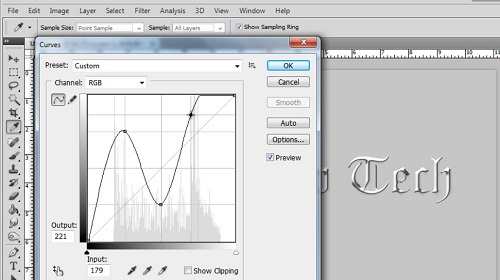
Click the new layer icon in the layers panel then hold down the “Control” key and select this new layer and the text layer. Now click on “Layer” then click “Merge Layers”. Click “Image” in the main toolbar, navigate to “Adjustments” then click “Curves”. Click on the line to create a point and place it 75% up the first verticle line, place a second point at 25% up the second line and place a final point around 90% up and a touch to the left of the third line, click “OK”.
Step # 5 – Adding Additional Curves
Click “Image”, “Adjustments” and “Curves” again. Add a point to the graph and place it about three quarters of the way up the first vertical line, place a second just above the first quarter line on the second vertical and place a third on the same level as the first point but just left of the third vertical line. By now the text will look fairly metallic.
Step # 6 – Adding a Shadow
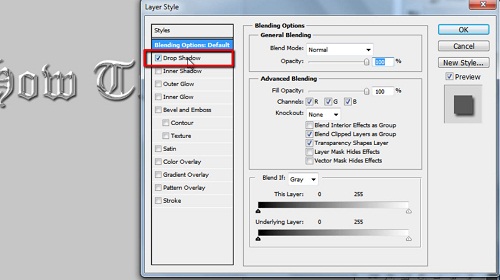
Double click on the layer with the text, here “Layer 1” and in the menu that appears check the box to the left of “Drop Shadow” and click “OK”. That is how to get a metal texture in photoshop.
 Home
Home