Designs which are unique or appear in a different tone of hues and colors are always eye catching and appealing. The more colors added to a picture, well presented to suit the overall image, the better can be the output. This tutorial is all about manipulating images and using the color splash effect to add vibrant colors to an image, making the object the center of focus in the whole image. We will discuss and show you how to color splash your favorite photos.. For this purpose we would be using Adobe Photoshop.
Follow this step by step guide to learn how to create a color splash effect in Photoshop.
Step # 1 – Load an Image
In the first step, launch Adobe Photoshop and load an image on the canvas. It is recommended to choose a colorful image in order to make this effect work properly. If you want to add effects to an image, it is recommended to add them before starting with this effect.
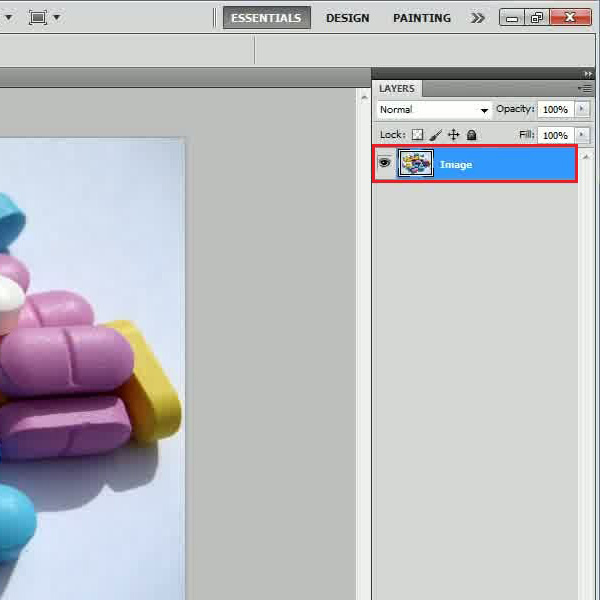
Step # 2 – Desaturate the Image
After loading the image, right click on the layer and select the “Duplicate Layer” option from the menu. This will create a duplicate of the original layer. Now select the newly created layer and press “CTRL+SHIFT+U” on the keyboard. This shortcut desaturates the selected layer.
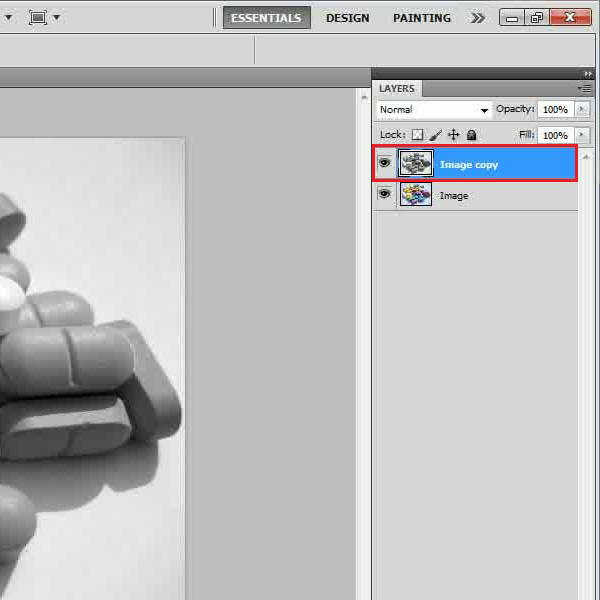
Step # 3 – Create a Layer Mask
Once the image is desaturated, go to the “Layer” menu, select “Layer Mask” and click on the “Reveal All” option. This option will add a layer mask to the desaturated layer. Now this layer would serve as the basis of the overall effect.
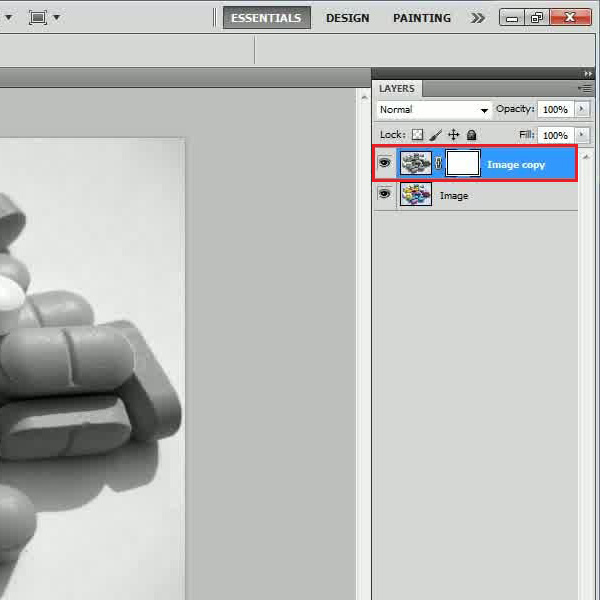
Step # 4 – Apply the Brush Tool
After creating a layer mask, select the “Brush” tool from the menu. Now choose the “Black” color for your fill and start painting over parts of the image which you want to focus on. Here you can also fill the brush with “White” color to remove colors from the image.
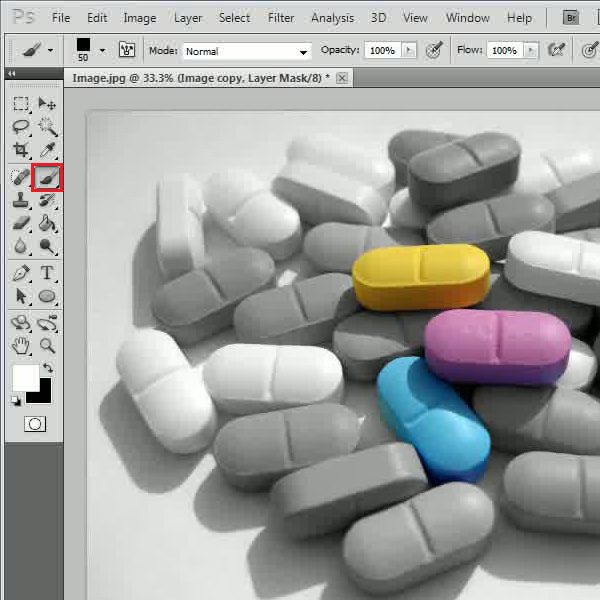
Step # 5 – Apply the Radial Blur Filter
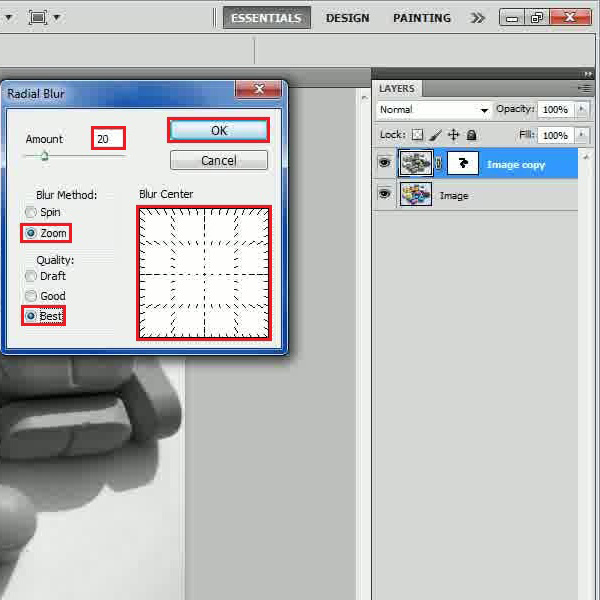
Once done, go to the “Filter” menu, select “Blur” and click on the “Radial Blur” filter from the list. In the filter’s settings panel, set the “Amount” to “20”, select “Zoom” for the Blur method” and set its “Quality” to “Best”. Adjust the “Blur Center” to focus on the colored area. After applying the settings, click on the “OK” button to apply the filter on the image.
 Home
Home