In this tutorial, we will teach you how to create an animated avatar in Photoshop.
Step 1- Animation Options
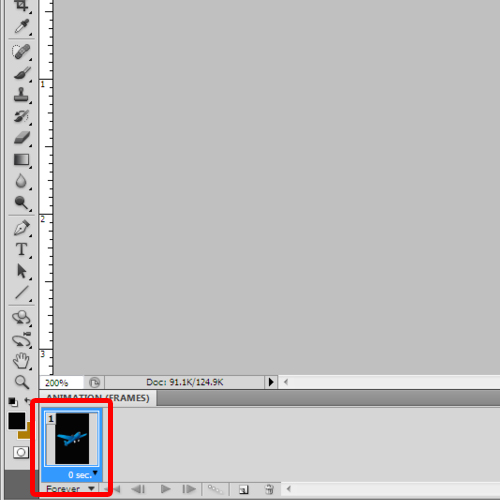
To create anime avatar, first you will have to go to the windows menu and click on the Animation option. This will open the frames panel below. Now, let’s open the pictures which we want to place on the canvas. We have already opened up two images over here which we are going to use in the animation. Now let’s load the selection, copy and paste the first image on the canvas. Over here, let’s transform the image and make it fit in the canvas.

Step 2- Making duplicate Frames
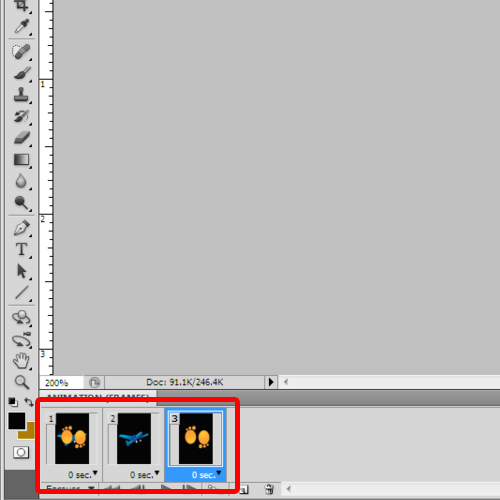
Now, make two duplicate frames in the animation box at the bottom. It will copy the frames as it is.
Before placing the second image, hide the first image in the frame panel below. You can do that by clicking on the eye icon before the layer.
Next, we will place another image on the canvas and repeat the same steps as before.
Now select the second frame from the animation box and let’s hide the second image in this frame. You can add as much frames to your animation as you want. For now, let’s make a two frame animation. So for that, we will be deleting the first frame.
Now let’s set the duration of each frame. For that, go to the animation box, select the frame and right click on it. For this tutorial, let’s select one second for each frame.

Step 3- Saving the Image
Once you are done with the images, go to the file menu on top and click on the Save for Web & Devices option.
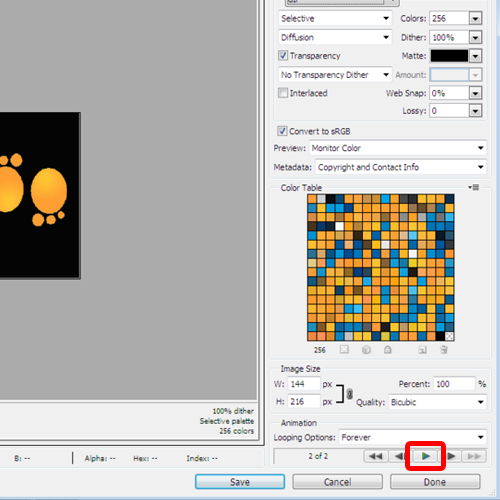
Set the preset and save the file as a GIF file. Do remember to enable the transparency option.
You can review your animation avatar before saving it even. Simply play the animation from here, under the looping options.

With that done, save the file and lets open it in a browser.
And that is how we can create anime avatar in photoshop.
 Home
Home