In this tutorial, we have tried to cover the latest feature of adjusting and modifying the permission settings of the windows 8 apps. Almost all applications in windows 8 can access user’s personal settings and information. You can disable this feature to protect your personal information. You can modify the app permission settings as per your needs. This kind of flexibility that comes with windows 8 makes the operating system a popular choice for many.
Follow this step by step guide to learn how to change metro app permissions in windows 8.
Step # 1 – Open up the Start Menu
First of all, move the cursor towards the bottom left corner of the screen to open up the “Start Menu”. Once the menu pops up, click on it to launch the “Start Screen” of Windows 8.

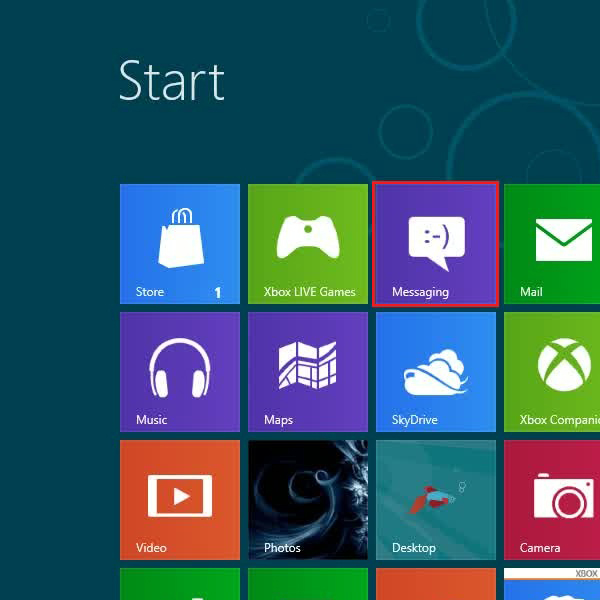
Step # 2 – Open up any Application
After opening up the “Start Screen”, you can view all the applications and programs available in the form of tiles. Now, select any application to adjust its permission settings and click on the application for it to load.
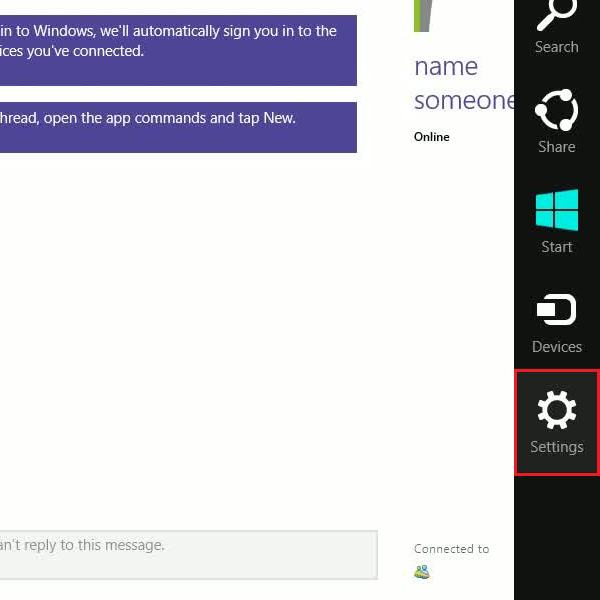
Step # 3 – Open the Settings Panel
Once the application opens up, move the cursor towards the right corner of the window to display the “Charms bar”. Now click on the “Settings” button on this bar to open up the application settings panel.
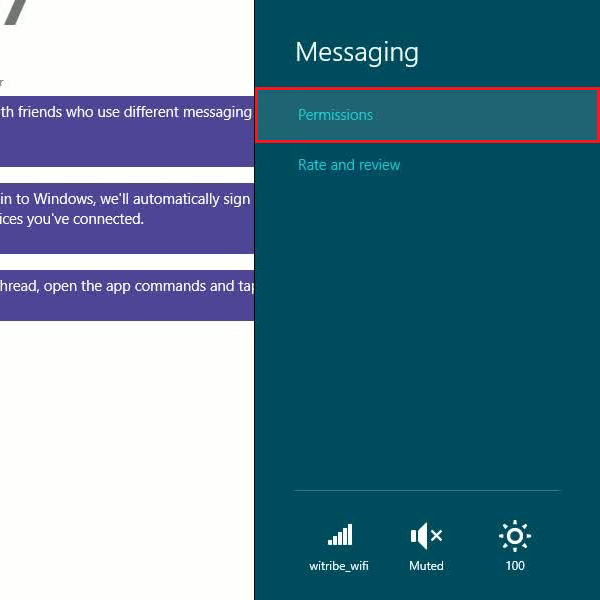
Step # 4 – Go to the Permission Settings
Once you have clicked on the “Settings” option, a new menu will appear in the “Charms bar”. Now click on the “Permissions” option located on the top of the list to open up the permission settings panel.
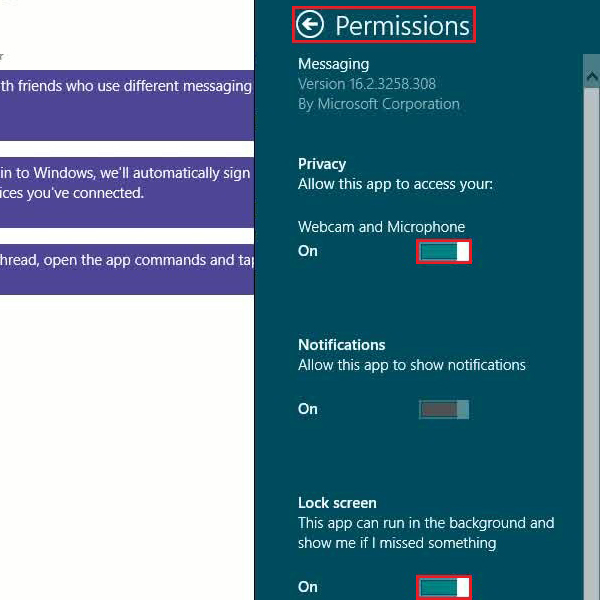
Step # 5 – Adjust Permission Settings
In the permission settings panel, you can find various options to change the authorization and permission settings of the selected app. Now choose to enable or disable the “Privacy” option located on the top of the list. Activating this option will allow the application to access your webcam and microphone.
The next option which is named as “Notifications” allows you to change the notifications, updates and warning display settings of the selected application. You can simple activate or deactivate this option as per your needs.
Once you have completed the adjustments, click on the “Permissions” option again to save these settings and exit.