In this video tutorial we will show you how to compress Adobe Premiere video.
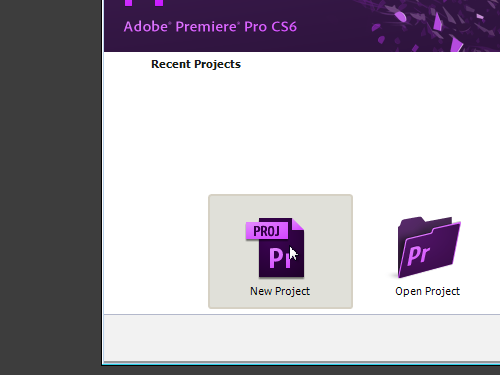
Start the program. Create a new project by clicking on the “New project” icon in the startup window.
In the next window set the preferences of the project and press “OK”. Then click “OK” to create a new sequence. Double click inside the project window to import video files to your project.
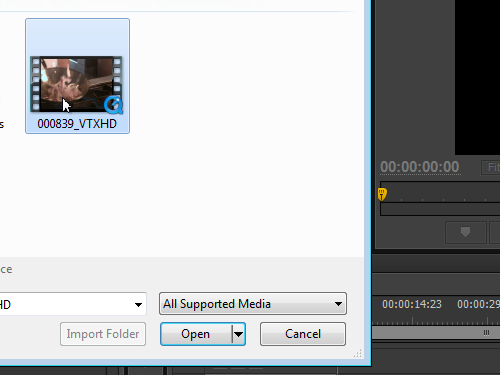
In the next window choose the video and press “Open”.
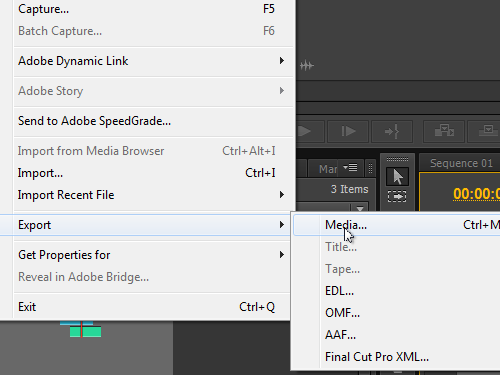
Drag and drop the imported file into the “New item” icon. As you can see, your project has been successfully opened inside the time line. Set the playhead at the beginning of the video. Then go to the “File” menu, choose “Export”, and click on the “Media” in the submenu.
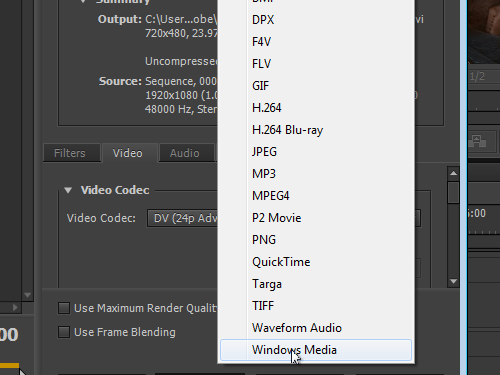
In the appeared window find the “Format” option and choose “Windows Media” from the drop-down menu.
Check the box for the “Export Video” option.
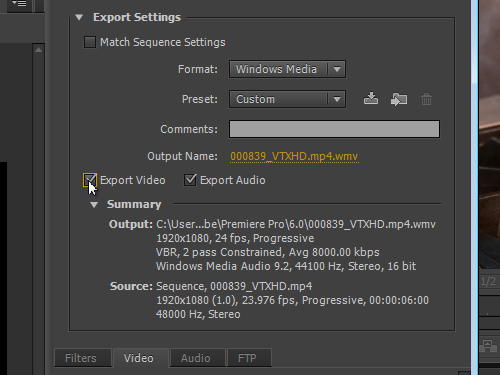
Go to the “Video” tab, find the “Bitrate Settings” section and set the average video bitrate as 4 Kbps. This action reduces the size of the video file. Go to the “Output Name” line and click on the file name. In the appeared window choose the folder and save the video by pressing the “Save” button. In the previous window press “Export”. When the encoding process is complete, close the program. Then go to the “My computer” and find the saved video. As you can see, the video has been successfully compressed.
 Home
Home