Text in Illustrator can be brought into perspective through a very simple procedure. Creating 3d text in this software just requires an understanding of its inbuilt tools. See the steps below to understand how to make a 3D design from text in Adobe Illustrator.
Step # 1 – Insert text
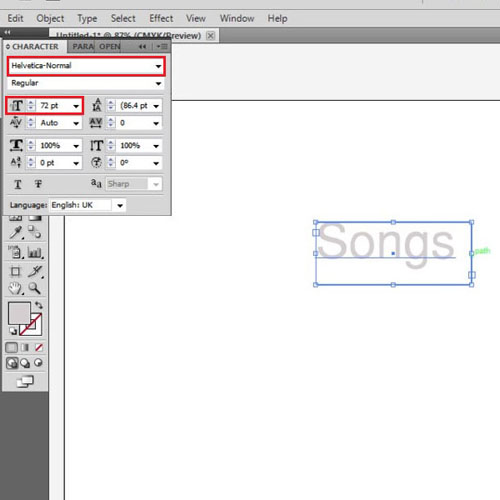
To do this, first of all make a text box, choose the font type and size which over here are “Helvetica-Normal” and “72”. Insert any letter or word, “songs” in this case. Make sure that the color for the letters selected right now is a light one. This allows you to view the effects better while you are working on the text.
Step # 2 – Create outlines
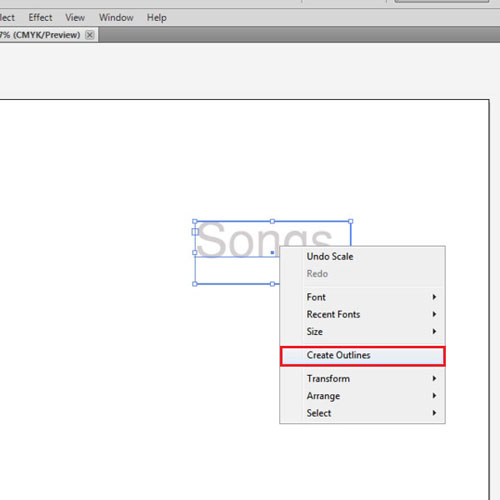
Then select it by means of the “selection tool”, right click on it and click on the “create outlines” option.
Step # 3 – Ungroup the text
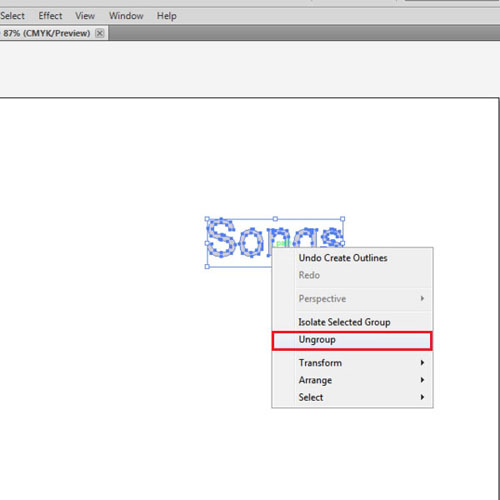
Once you have made outlines of the text ungroup it, by again clicking right on the text and pressing the “ungroup” option.
Step # 4 – Alter the letter size
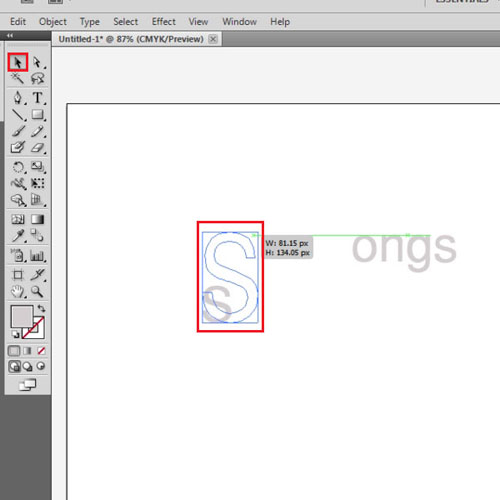
Now, you can move each letter separately. Shift the letters wherever you want. Their sizes can be altered by means of the bounding box.
Step # 5 – Add 3D effect to the letters
To add a 3D effect to the letter, select it, go to “effect” on the menu panel, drop down to 3D and choose “extrude and bevel”.

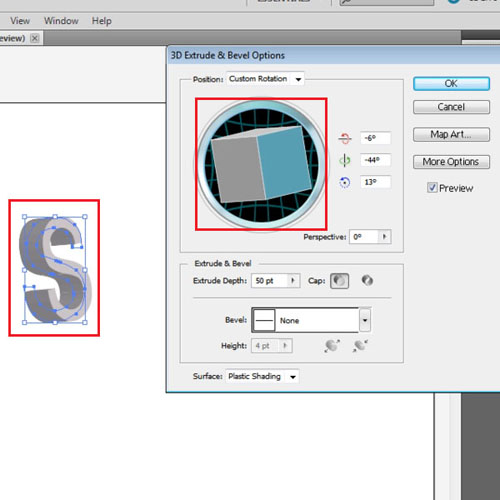
Step # 6 – Adjust the 3D effect
This opens a settings panel where you can choose the type of 3D design and effect that you wish to apply to the letter. Click the option to preview and notice the change in the dimensions of the letter once you move the cube. Apply this process on each letter. Vary their sizes and the types of effect on them.
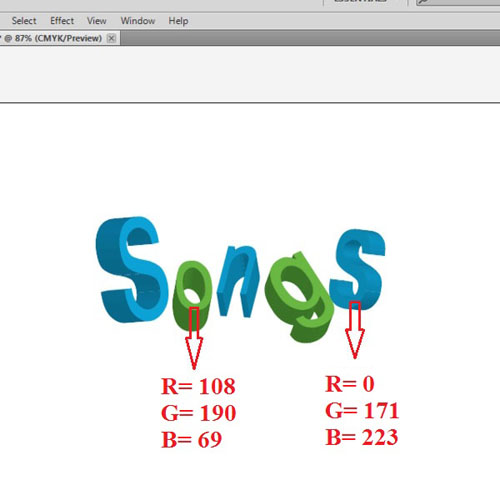
Step # 7 – Add color to the letters
You can even apply different colors to these letters. Fill the alternate letters with the same color. Insert the color blue in the letters “s, n and, s” with R=0, G=171 and B=223. Do this by selecting all of them together with the “selection tool” while pressing down on the shift key. Add green color to the letters “o and g” with R=108, G=190 and B=69.
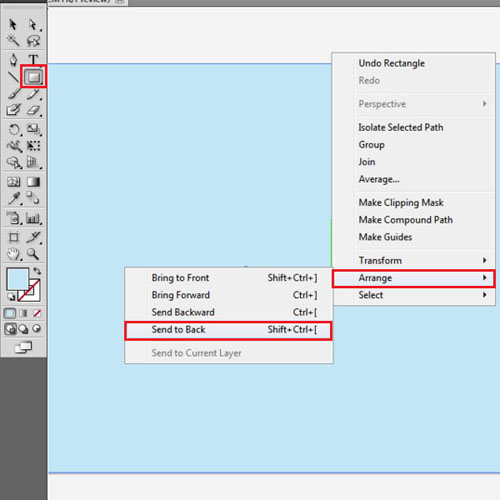
Step # 8 – Create the background
Next, create a background for this illustration. Choose the rectangle tool and make one the size of the canvas. From the color box pick up a light blue color as shown. To make this rectangle go all the way at the back, right click, go to “arrange” and press “send to back”.
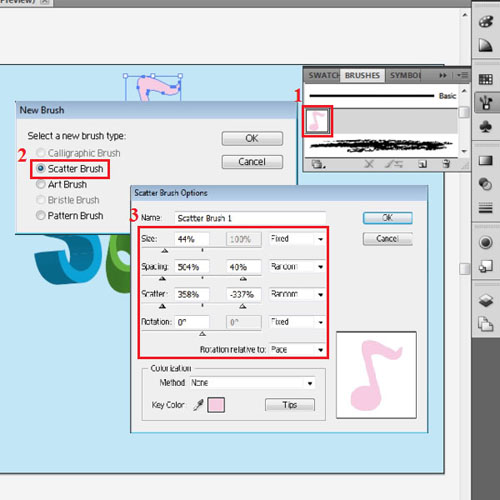
Step # 9 – Add a music icon to the background
Let’s now add the music icon to this background. Over here a traced image of it is used. Remove its stroke and drag it to the brushes panel. In the options that emerge choose “scatter brush”. This opens further settings of this particular brush type. Reduce the size and keep it fixed. Change the rest of the two options to random and move the sliders to both ends of the bars. Press “ok” to create it. From the “paint brush” tool scatter it on the image. You can shift these images from the scattered brush by means of the selection tool. Place them according to your requirement.
Step # 10 – Blur the letters
To show the distance or spacing between objects you can even blur this created text in Illustrator. To do that, select the letters you want to blur, go to “effect”, blur and “gaussian blur”. Enter your radius; the greater it is more blur is the image. Over here set it at 9.0 pixels.
