Ms Access allows you to create buttons in order to customize your forms and reports. It automates your work and completes a task with the help of a single click. The process of process of creating a button is very easy and it allows you to add a picture to the button or write text on the button. You can give it any shape or apply different effects to it.
In this tutorial, we will teach you how to create buttons in Access.
Step # 1 – Using the button wizard
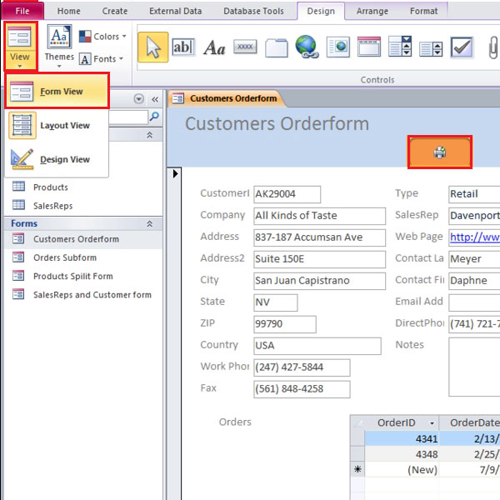
Open the Customers Order Form, click on the view button at the top and select the “design” view. To create buttons in Access, go to the “controls” group and select the fourth option from the left. Click near the 5 inch mark in the form header and a command button wizard will open up.
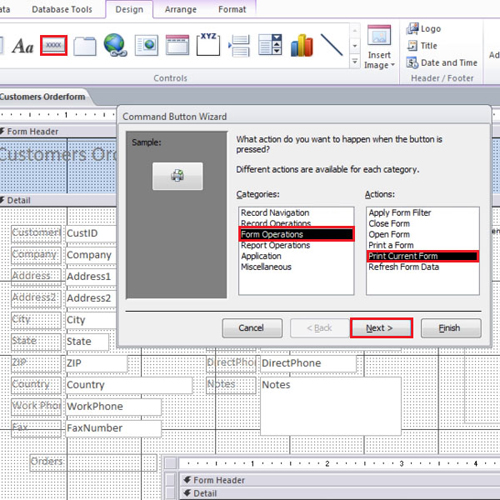
From the left hand side list, select “form operations” and from the right hand side, select “print current form”. Once you are done, click on the “next” button.
Step # 2 – Being specific
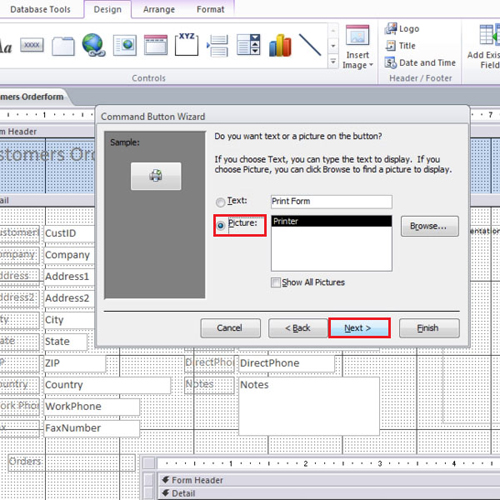
You can add text to the button or go with the default picture for the button. In this tutorial, we will go ahead with the “picture” option and click on the “next” button to proceed further.
Step # 3 – Adding and subtracting a particular category from your search
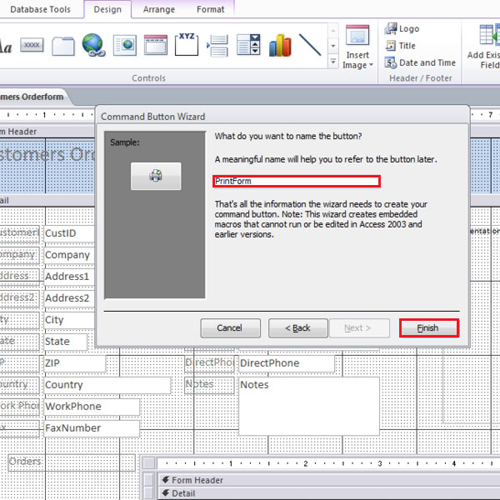
Lastly, change the name of your button to “Print Form” before you click on the “finish” button.
Step # 4 – Applying Colors
To change appearance of the button, select the button and then go to the “format” tab. Over there, go to “quick styles”. Choose the color and the style of the button as per your requirements. It is better to use color on a button because it differentiates it from the rest of the options and gives it an attractive look.

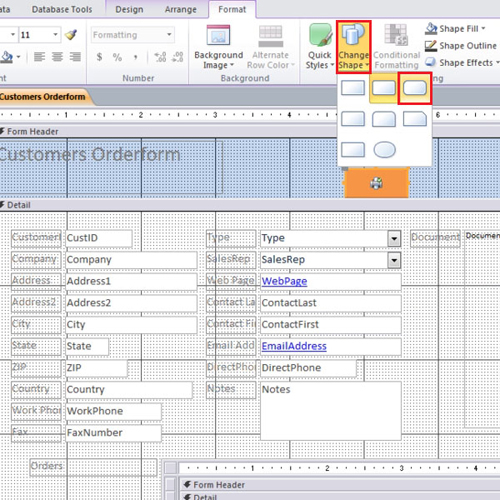
Step # 5 – Applying effects to the button
Change the shape of the button by clicking on the change shape button and select a rounded rectangle. In Ms Access, the use of effects enhances the visibility of the button and gives it a refined look.
Step # 6 – Using the print button
Next, go to the “design” tab and click on the view button. Change the view to layout. Here, you can see how the button really looks on the form. Change the view to “form” and then click on the “print form” button that you just created. Clicking on it will open the “print” dialogue box.