In this next part of the tutorial, we will move one step ahead and show you how to effectively insert text and images on web photo gallery. It will also teach you to enter Photoshop text effects by choosing its different fonts styles according to the layout and theme of the page.
Follow this step by step guide to learn how to insert text and images into a clean photo gallery layout in Photoshop. If you haven’t used Photoshop then get hold of the Adobe Photoshop free download of the trial version to gain a basic understanding of the software and then progress forward.
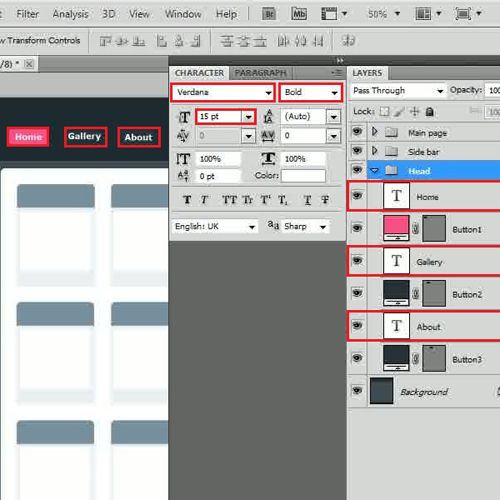
Step # 1 – Insert the Text for Buttons
In the first step, launch Adobe Photoshop and load the basic structure of the layout which we have created in the previous part. Now select the fonts as “Verdana”, set its size to “15pt”, style as “Bold” and color as “White”. Use these fonts to insert the text for the label of buttons.
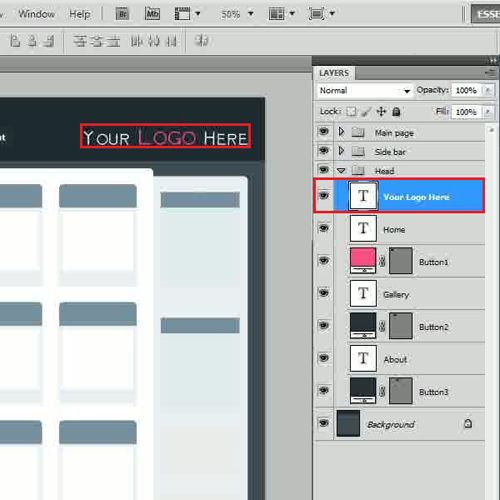
Step # 2 – Insert a Logo
In the next step, choose the fonts as “Mosaic_solid”, set its size to “25pt” and color as “White”. Now insert the logo of your site at the top right corner of the page. You can also change some of its text’s color to enhance it.
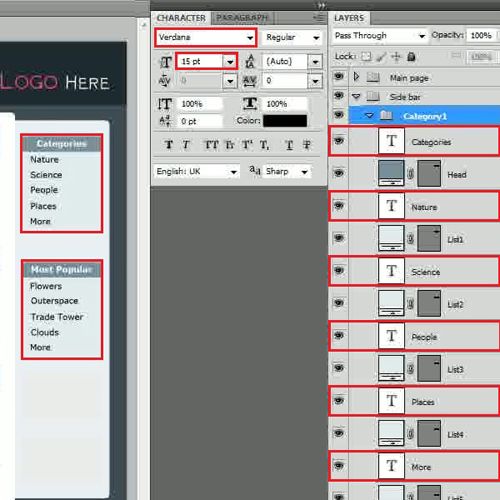
Step # 3 – Insert the Text for the Menu Labels
Now use the same “Verdana” fonts’ style to enter the titles and category’s labels on the right panel of the page.
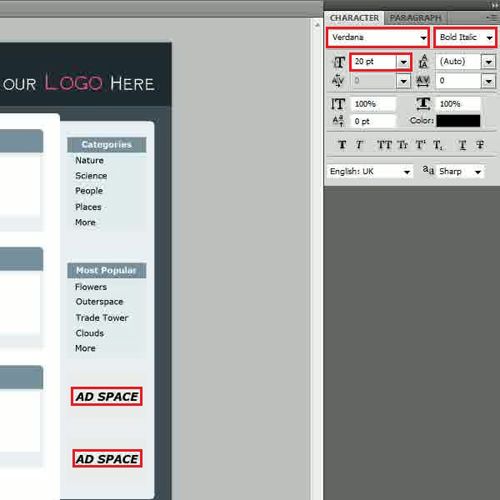
Step # 4 – Insert the Add Space Text
In the next step, set the font’s size to “20pt”, style as “Bold and Italic” and color as “Black”. Once done, insert the text over the “Add Space” box at the bottom of the right panel.
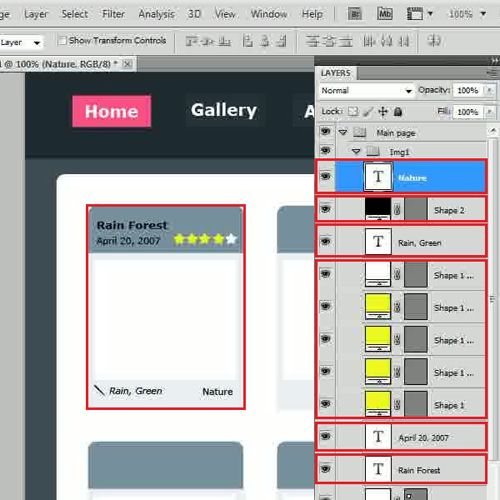
Step # 5 – Draw an Image Place Holder
Now, move over to the “Main page” group and expand the “Img1” category form the layers menu. Zoom in to the image place holder and using the same “Verdana” fonts insert the heading and date of the image. Now select the “Custom Shape” tool, choose a “Star” shape from the menu and draw rating icons for the image. Insert some more text for keywords, the main category then add an appropriate custom shape with it.
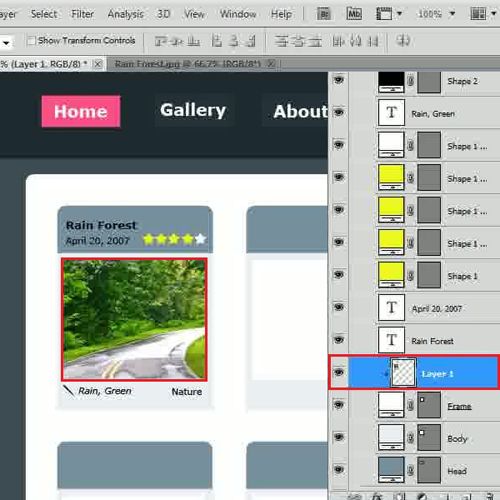
Step # 6 – Clip an Image
Once done, load an image and place it right on top of the place holder. Right click on it and select the “Clipping mask” option from the menu. After clipping the image, adjust its size and place it accordingly. In a similar way, complete rest of the image place holders with text and images.
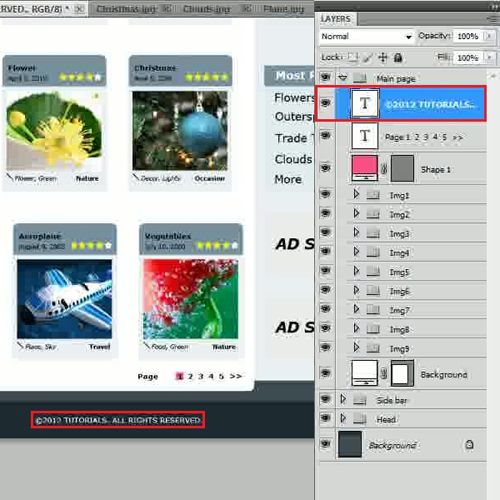
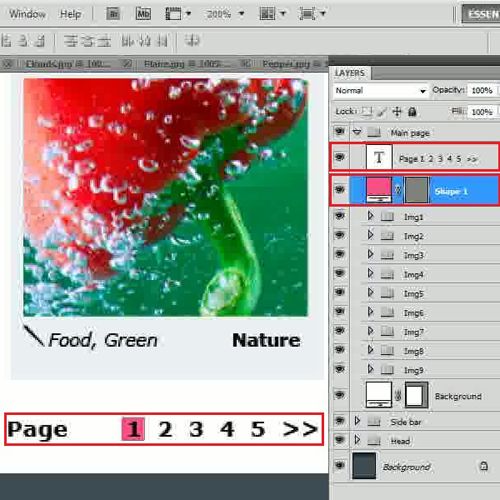
Step # 7 – Insert the Page Navigation Text
In the next step, insert a text for the “Page number” navigation at the bottom of the main page. Now insert a square shape in order to create a selected page number by using the same color which we used in the “Home” button.
You can use different Photoshop text effects like specifying different font types and styles for the various panels existing in the layout.
Step # 8 – Insert the Copyright Text
In the final step, insert a copyright statement at the bottom of the page to create a more professional look and you’re done.
Complete the Adobe Photoshop free download from the internet to get the trial version of the software which you can purchase later on if you wish to work more on it.