Till now you have learned to design a web UI button and its html code to place it on the web page. Now we move forward and create a menu for UI by using the same technique which we used in previous parts. Here you will get an idea for how to design a UI menu, its UI interface design, usage, functions of tables and few more advance techniques.
Follow this step by step guide to learn how to design a menu by using UI buttons.
Step # 1 – Create a Blank Text Document
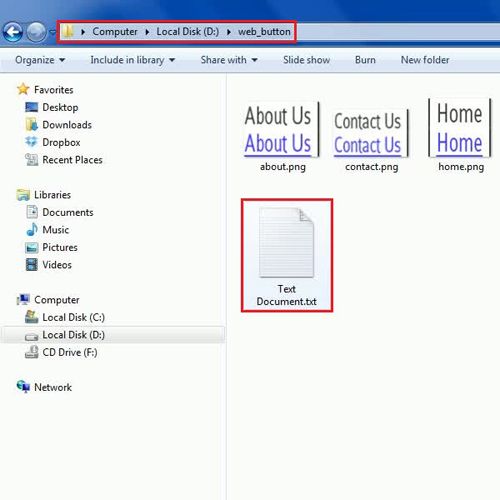
In the first step, we created few simple menu buttons by using the same technique discussed in the previous part. Place all buttons, your desired logo image and a blank text document in a new folder named “Web_button”.
Now open the text document and type in the “Html” tag to begin coding. Open the “Head” tag, place the “Style” tag in it and define the “ID” of the button by placing “#” before its name.
Once done, enter the following code,
Margin-left: 100px;Display: Block;Width: 75px;Height: 35px;Background: url(home.png) no-repeat 0 0;This is the same code which we used in the previous part of the tutorial to define the style of the button, only new thing we used here is the left alignment margin. Similarly define the “CSS” for all menu buttons according to their width and height separately.

In the next step, close the “Style” and “Head” tags and move over to the body of the html page by entering the “Body” tag. Here we are using a table to place menu buttons on the page. For creating a table, type in the following code,
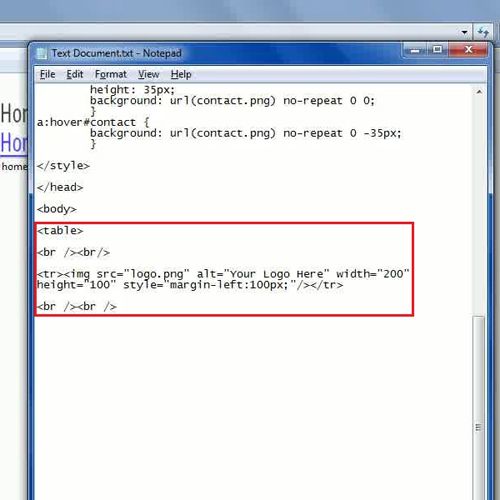
<table>Now enter
<br /> twice to give the spacing of two lines. Once done, type in the code<tr><img src="logo.png" alt="Your Logo Here" width="200" height="100"style="margin-left:100px;"/></tr>The term “TR” defines “Rows” in a table, “Img” refers the “Image” and “Src” is the code used for source. File extension of the image is necessary and the “alt” is used to add alternate text which is displayed if the picture is unable to open. Rest of the code defines the image’s height, width and alignment in a cell. Now again give it the spacing of two lines by entering the “BR” code twice.
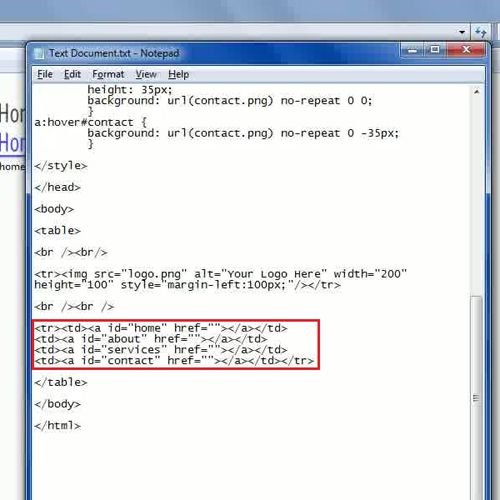
Once done, place the “Anchor” tags of menu buttons between the “TR” and “TD” tags which specify the rows and columns of a table where “TD” refers to the “Table Data”. Now close the “Anchor” tag and complete the HTML code by closing the “Body” tag and the “Html” tag.
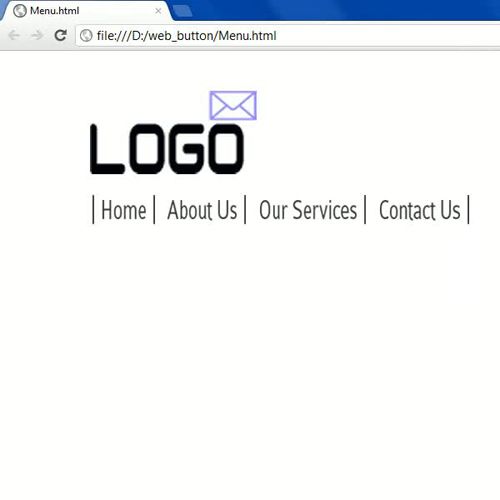
Once you have completed the html coding, save this text file containing the menu for UI as html. Remember to choose the “All Files” option from the drop down list while saving the file as html.
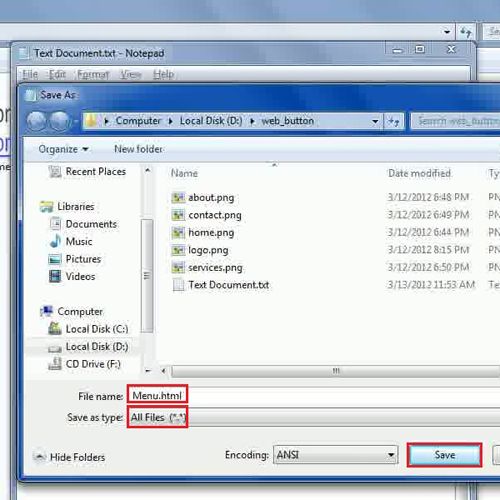
After saving the file as html, go to the “Web_button” folder. There you will find your saved file in it. Now double click on it to open the web page on a browser. Your UI interface design is complete and available for viewing.