Photoshop allows you to design and create a complete web user interface contents. By using its smart tools, gradients and blending options, you can easily design menus, sliders, image holders, web buttons etc. It also allows you to create attractive banners and ads that make your web page interactive and vibrant. Today we are going to design a web button. We will also apply few gradients over it to create a metal effect.
Follow this step by step guide to learn how to create a metallic button in Photoshop.
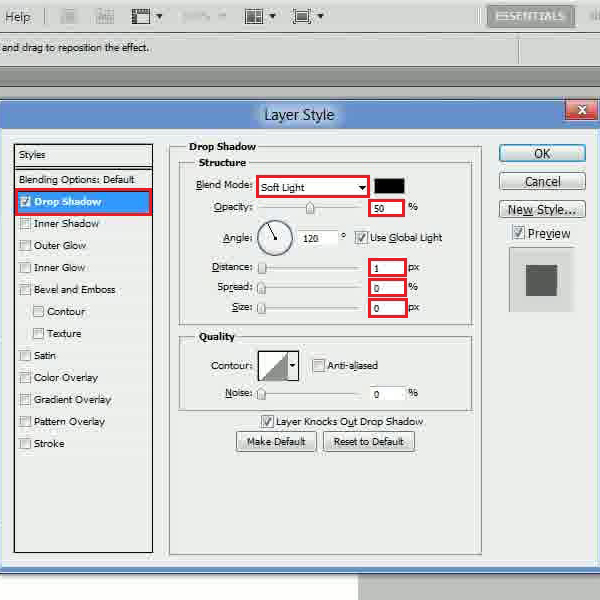
Step # 1 – Adjust the Drop Shadow Settings
In the first step, select the “Ellipse” tool from the menu and draw a circle on the page. Now double click on its layer to open its up blending options. Click on the “Drop Shadow” tab and change its blending mode to “Soft light”. Now set its opacity to “50 percent”, distance to “1px”, spread to “0 percent” and size to “0px”.
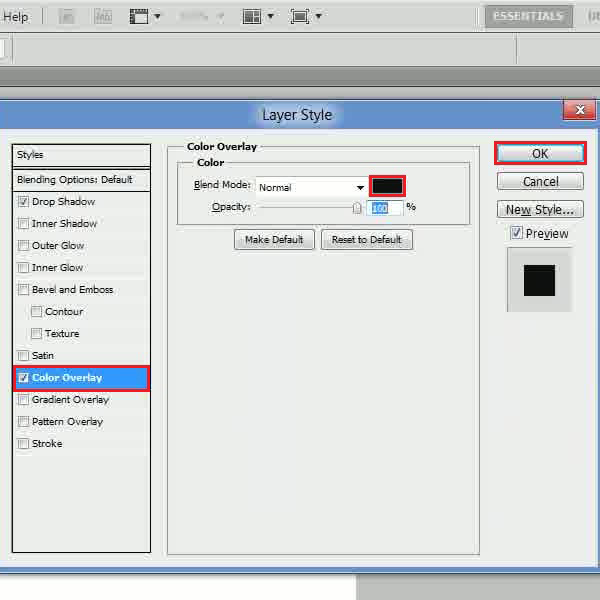
Step # 2 – Adjust the Color Overlay Settings
In the next step, move over to the “Color Overlay” tab and choose its color as “101010”. After choosing the color, click on the “OK” button to apply it.
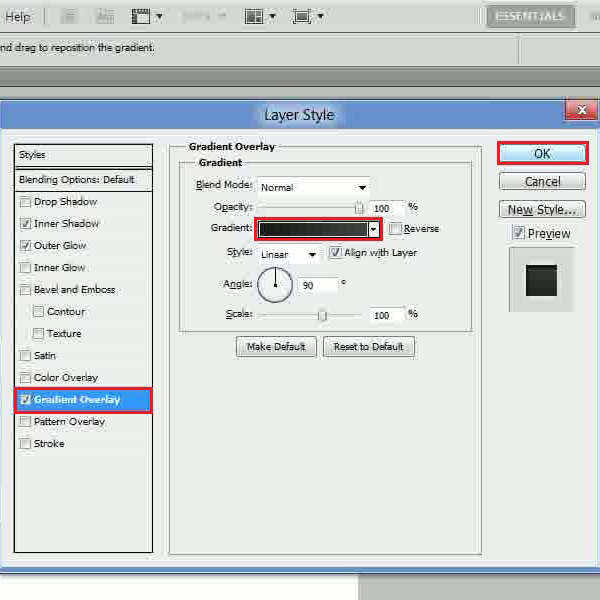
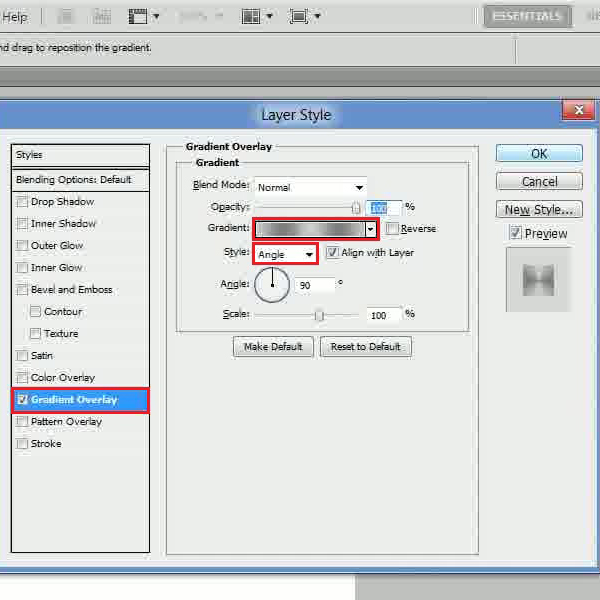
Step # 3 – Adjust the Gradient Overlay Settings
Now duplicate this layer and decrease its size. Once done, clear its layer style and double click on it to open up its blending options. Move over to the “Gradient Overlay” tab and click on the gradient option. Now choose the color as “cecece” for the left, center and right gradient and choose the color “7e7e7e” for the middle gradients. Once done, choose the style as “Angle” from the drop down list.
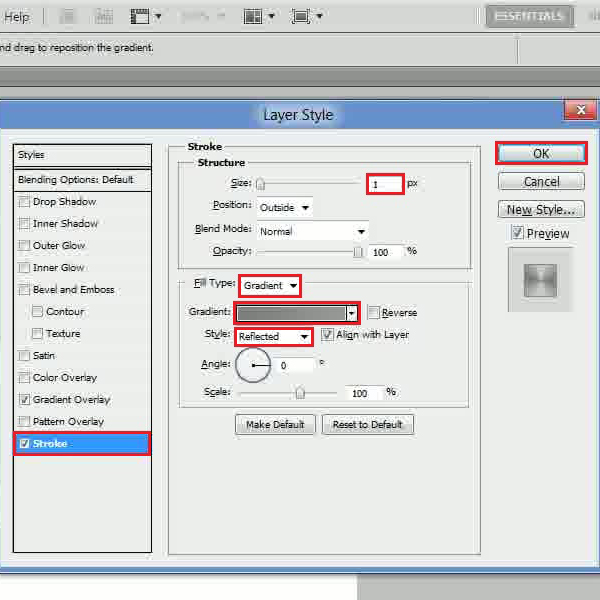
Step # 4 – Adjust the Stroke Settings
In the next step, move over to the “Stroke” tab, set its size to “1px”, fill type to “Gradient” and click on the gradient option. Choose the color as “7e7e7e” for the left gradient, “999999” for the right gradient and select the style as “Reflected”. After changing these settings, click on the “OK” button to apply it.
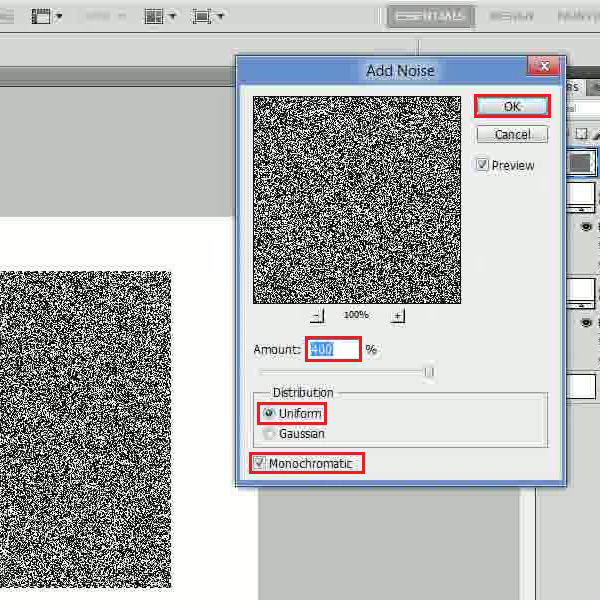
Step # 5 – Apply the Noise Filter
Now make a rectangular selection over the button, insert a new layer and press the “Alt + Backspace” keys on the keyboard to fill it with the foreground color i.e. black. Once done, go to the “Filter” menu, select “Noise” and click on the “Add Noise” option from the list. In the filter settings panel, set the amount to “400 percent” and choose the “Uniform” and “Monochromatic” options. After changing these settings, click on the “OK” button to apply this filter on the layer.
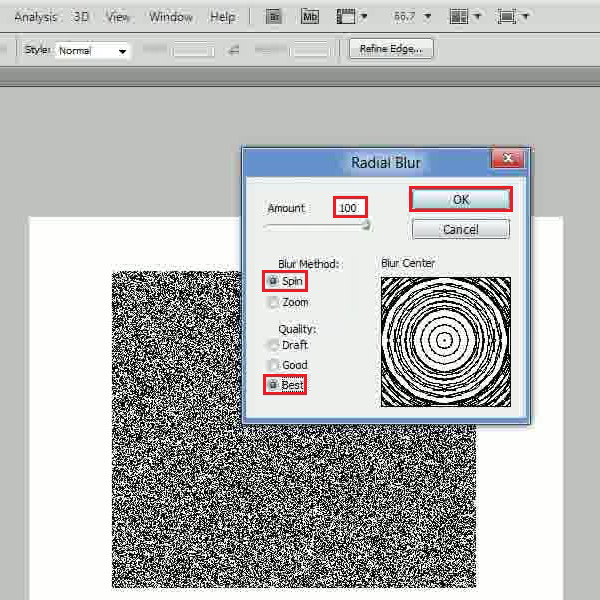
Step # 6 – Apply the Radial Blur
In the next step, go to the “Filter” menu again, select “Blur” and click on the “Radial Blur” filter from the list. Now set the amount to “100”, choose the blur method as “Spin”, and quality to “Best”. After changing these settings, click on the “OK” button to apply it.
Step # 7 – Adjust the Blending Mode
Once done, set the blending mode of this layer to “Screen”. Now “Ctrl + Click” on the circle layer to load its selection and press “Ctrl + Shift + I” key on the keyboard to inverse it. Press the “Del” key on the keyboard to clear out the noise and blur effects from the corner.

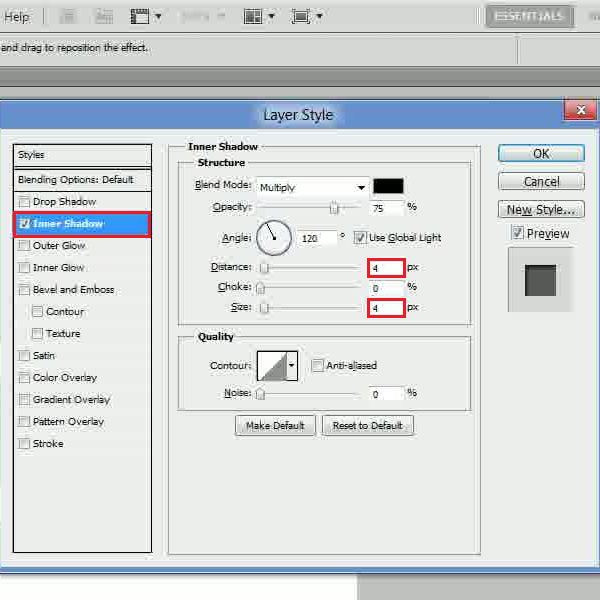
Step # 8 – Adjust the Inner Shadow Settings
In the next step, select the “Custom Shape” option from the menu, choose a “Triangle” shape, adjust its size and place it over the button. Clear out the layer style and double click on it to open up its blending options. Move over to the “Drop Shadow” tab, set its distance to “4px”, chokes to “0 percent” and size to “4px”.
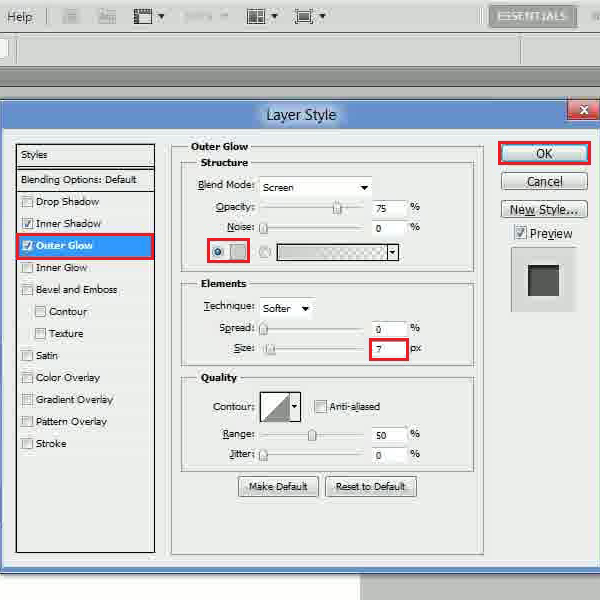
Step # 9 – Adjust the Outer Glow Settings
Once done, move over to the “Outer Glow” tab and choose its color as “cecece”. Now move over to the size option and change it to “7px”.
Step # 10 – Adjust the Gradient Overlay Settings
In the final step, move over to the “Gradient Overlay” tab and click on the gradient option. Now choose the color as “1b1b1b” for the left gradient and “414141” for the right gradient. After changing these settings, click on the “OK” button to apply it.