In this second part of the tutorial, we will use the same web button which we designed in the previous part by using Photoshop. In this one, we will show you how to write an html using code from the CSS styles to place a UI button on a web page.
Follow this step by step guide to learn how to write an HTML code for a UI button.
Step # 1 – Create a Blank Text Document
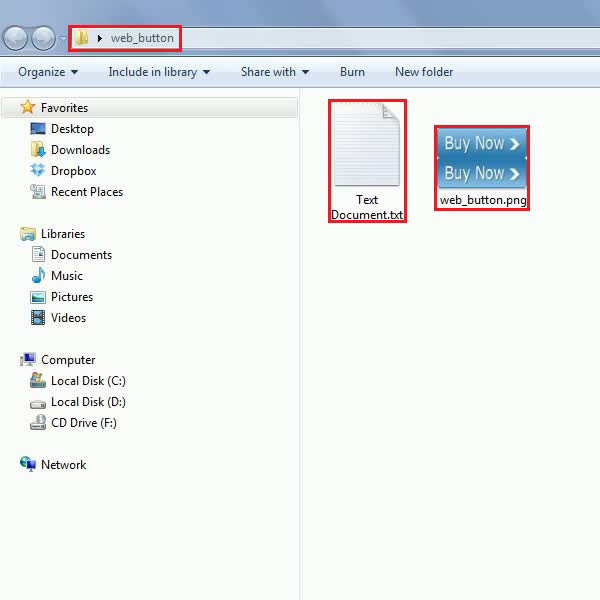
In the first step, place the UI button image which we created in the first part of this tutorial into a folder. Change this folder’s name to “Web_button” and create a blank text document in it.
Step # 2 – Begin the HTML Code
Now double click on the text document to open it. Type in the “Html” tag as,
<html>Here we are defining the CSS in the starting of the code by putting it in the head tag. For this purpose, open the Head tag, place the Style tag in it and define the “ID” of the button by placing “#” before its name as follows,
<head><style type="text/css">#web_button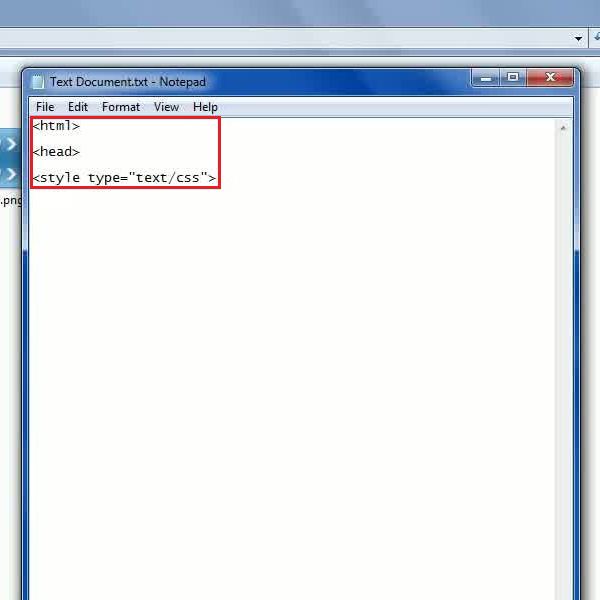
Step # 3 – Enter the Styling Code
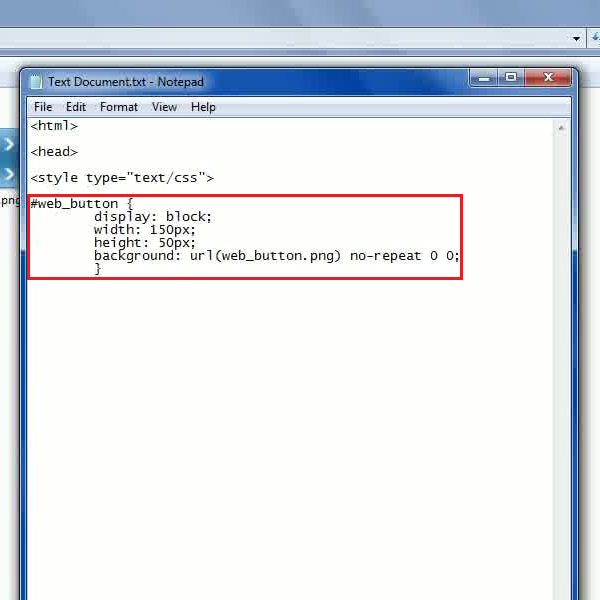
Once done, enter the styling code for the web button as follows,
Display: block;Width: 150px;Height: 50px;This will set the button placeholder in a block style of “150 pixels” width and “50 pixels” height. Note that we are setting the height equals to the half of the image as we want to show the upper part of the button here. Once done, type in the following code,
background: url(web_button.png) no-repeat 0 0;This will set the button’s image over the link with specified position.
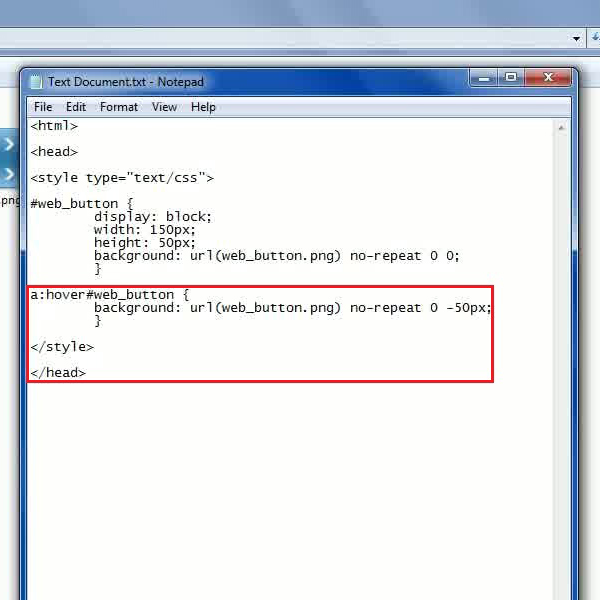
Step # 4 – Enter the Code for the Hover Image
Now in this step, we define the mouse roll over image by typing in the following code,
a:hover#web_button {background: url(web_button.png) no-repeat 0 -50px;}This will set the same image however this time when the mouse rolls it over, the lower part of the button will be displayed. Now close the “Style” and the “Head” tag and move over to the body of the html page by entering the “Body” tag.
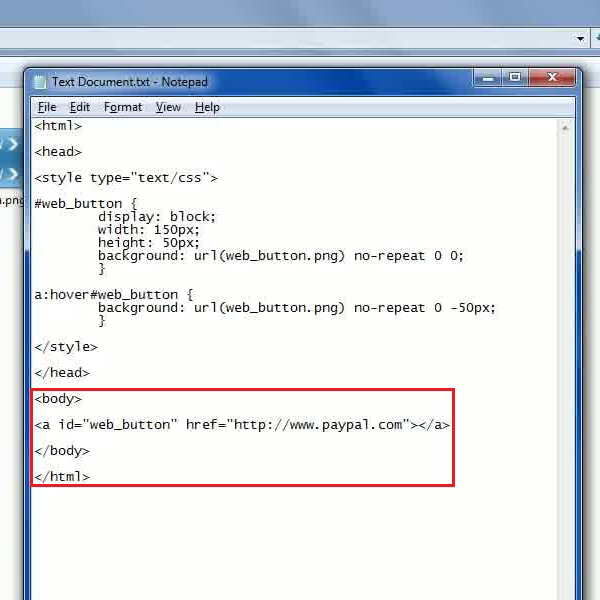
Step # 5 – Enter the Anchor Tag
Now define an “Anchor” tag by putting the same “ID” as given previously, and the “Hyper Reference” to the page where you want to navigate the button. For this purpose, enter the following code,
<a id="web_button" href="http://www.paypal.com"></a>Once done, using the Css styles coding close the “Anchor” tag and complete the HTML code by closing the “Body” tag and the “Html” tag.
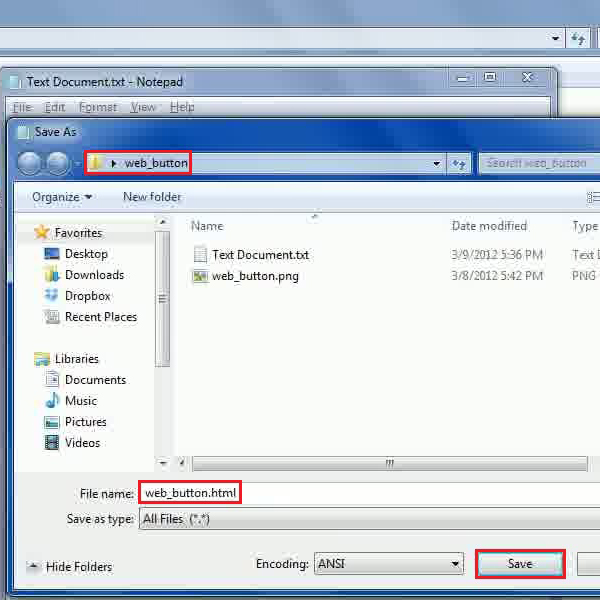
Step # 6 – Save the Code as Html
After completing the code, save this file by typing its name as “web_button.html” and choose the “All Files” option from the drop down list.
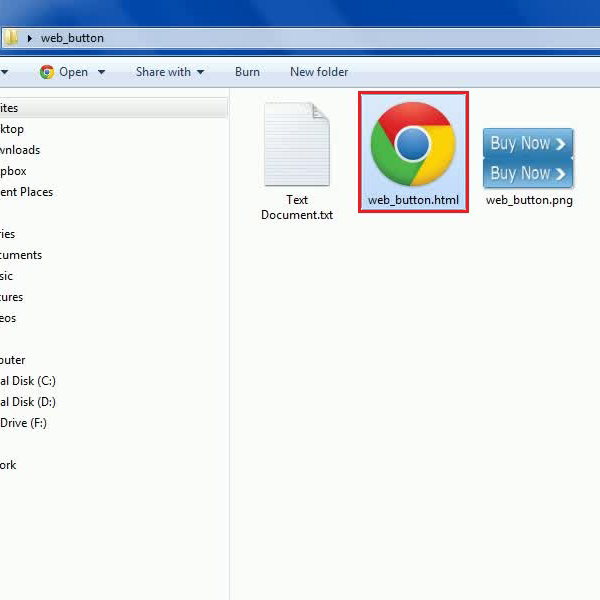
Step # 7 – Open the Html Page
After saving the file as html, go to the “Web_button” folder. There you will find your web_button.html file saved in it. Now double click on it to open the web page on a browser.
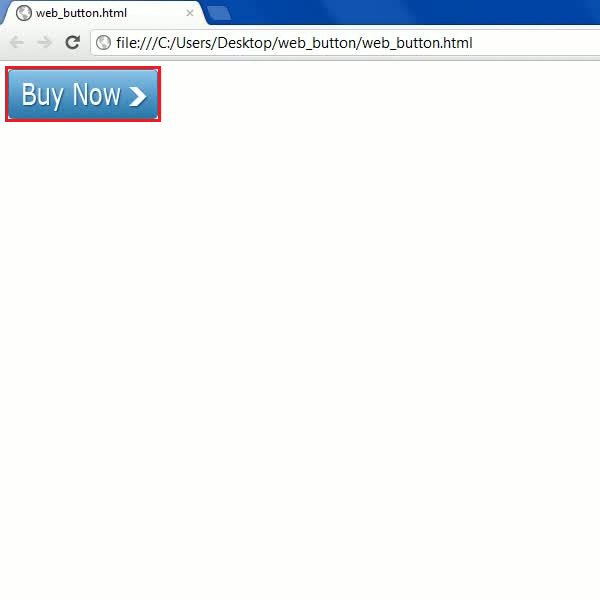
Step # 8 – Using the Web Button
Once you have opened the html file, a browser window will open in front of your screen. There you will be able to see the ui button you created.