In this tutorial you will learn how to create a High-contrast photo with accents in Adobe Photoshop.
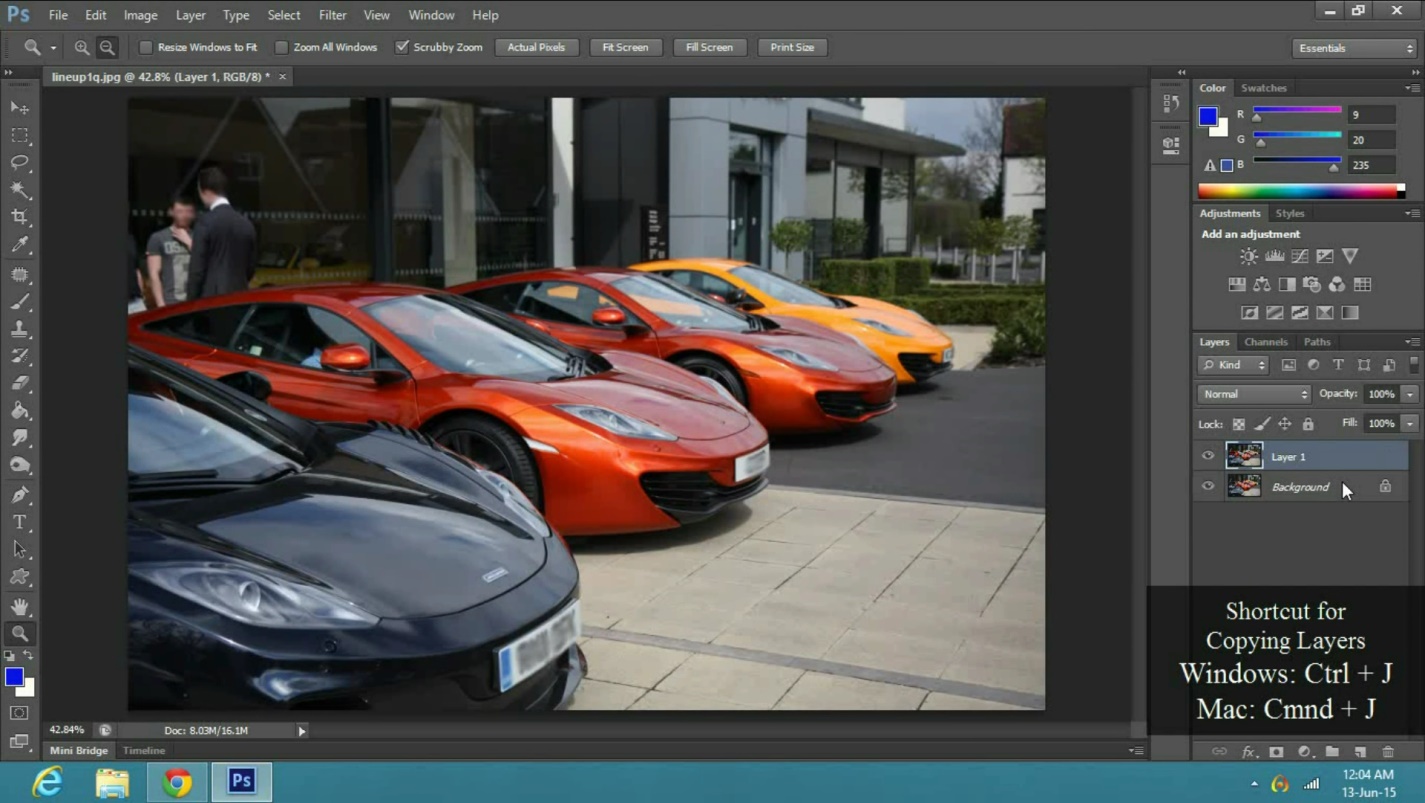
Copy the background layer by pressing, Ctrl + J on a windows, or Cmnd + J on a Mac.

Now, press Ctrl or Cmnd + shift you on a Windows, or Mac respectively to de-saturate.
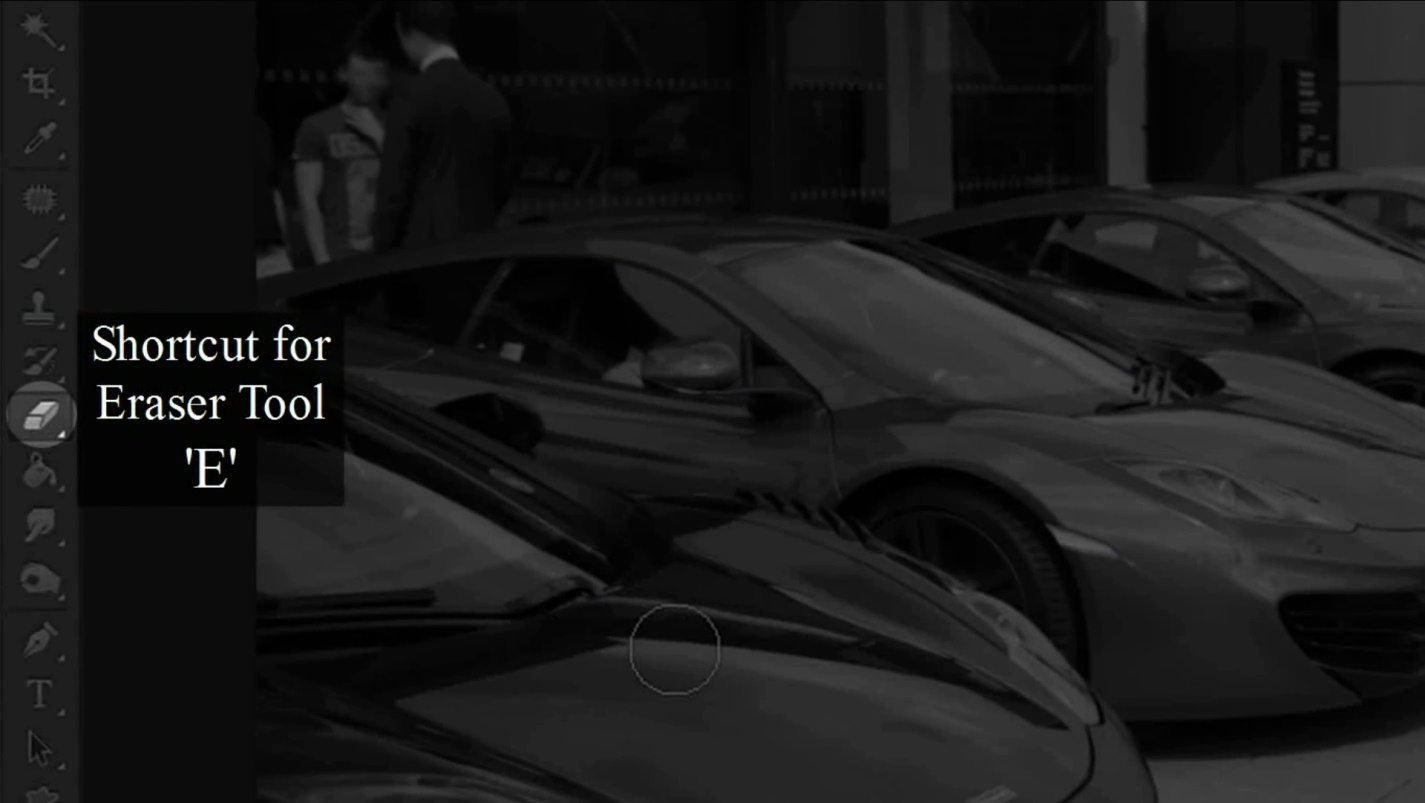
Now, go to the tool bar and select the eraser tool or press ‘E’.

Now, I will apply it over the cars, as I want their original color to appear, and I will leave the rest to black and white. Now, I will change the color of the black car, so create a new layer.
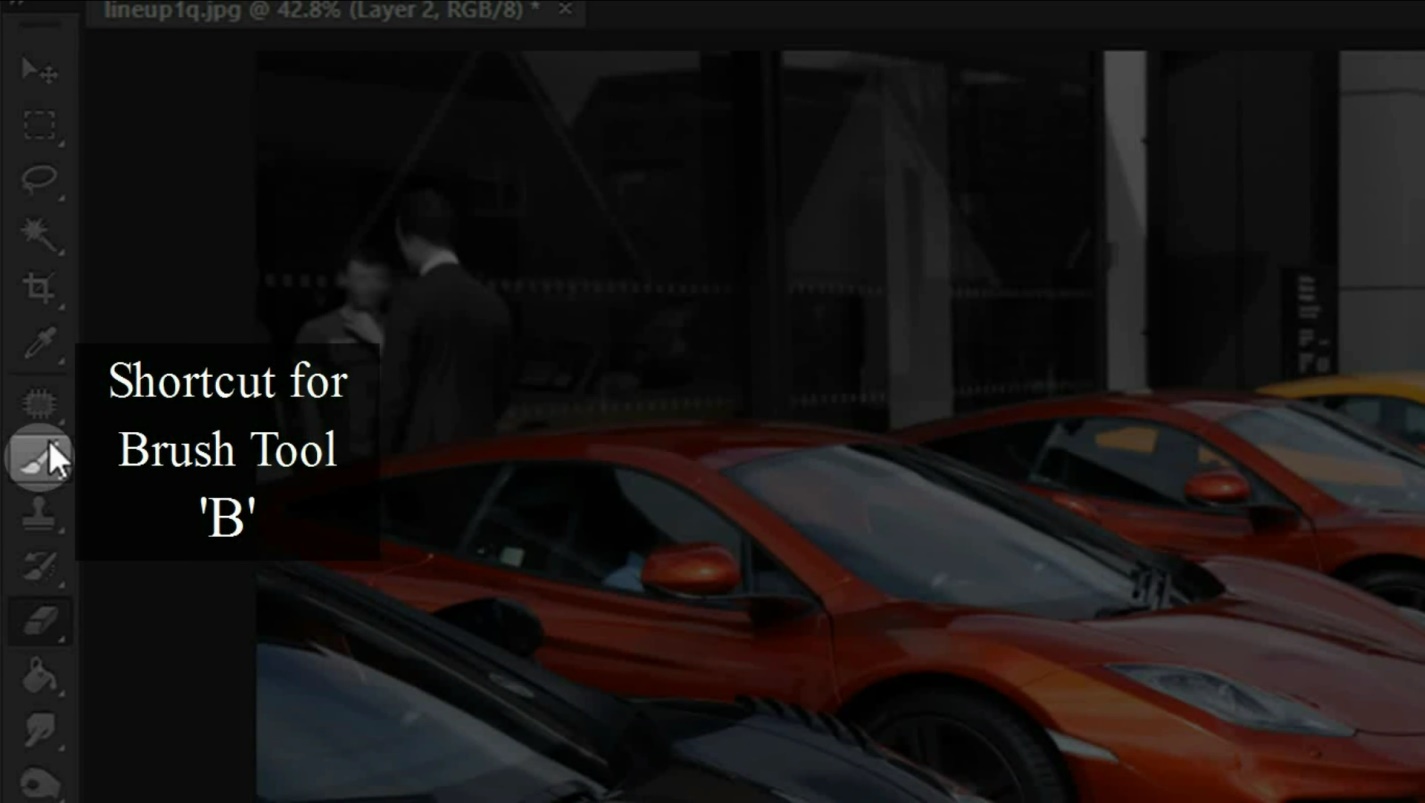
Select the brush tool from the toolbar, or press ‘B’.

Select any color you like, in this case I will select blue. Now cover the parts you wish to change. Make sure the hardness of the brush is zero.
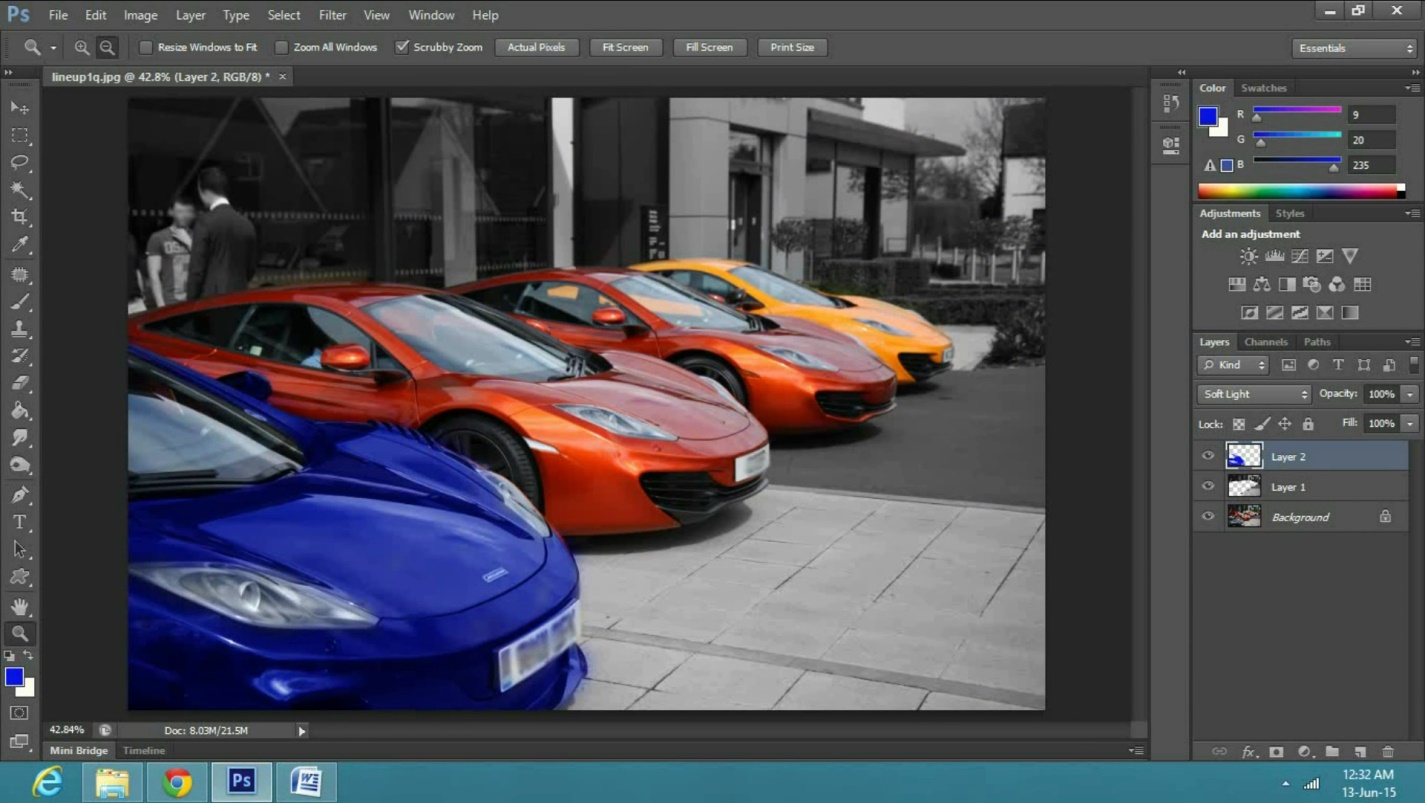
Once you are done, go to the blending options, and select soft light.
You will notice the color of the car is changed, but there is a little touch up needed in some areas. So, select the eraser tool, and erase out the unwanted areas.
And, that is how you can create a color accent, or multi color splash effect.

 Home
Home