Adobe Premiere is a time-line based video software used for video editing purposes. The software allows you to open Photoshop files in it without having to switch between the two programs. It provides you with various options and unique tools that can be used to edit your software and make the video appealing to the general audience.
In this tutorial, we will guide you on how to create a perspective corner pin effect in Adobe Premiere Pro CS6. For this tutorial, we will be using a virtual set screen where we will fill a TV Monitor with the relevant images.
Step 1 – Numbering the images
First of all, you will need to put all the images into sequence on the overlay layer, which in the case of this tutorial is layer number 2.
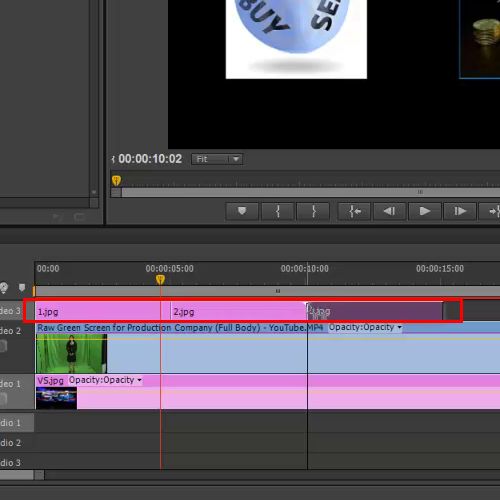
Step 2 – Transforming the image
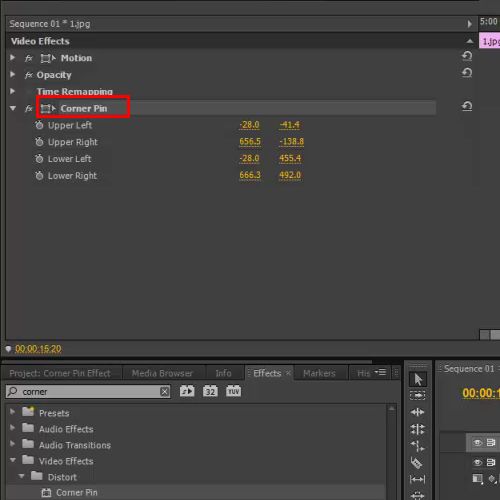
Once you are done, you will be required to transform the image and place it on the TV monitor. In order to transform the images, go to the effect panel and type “Corner Pin Effect”. You can find the effect in the “distort” video effects folder.
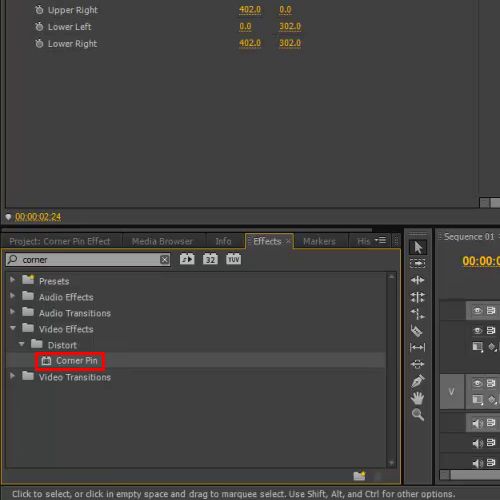
Step 3 – Applying effects on the images
Apply the effect on the images and move over to the effect control panel. Click on the Corner Pin option and zoom in the program monitor to fix the frame diagonally.
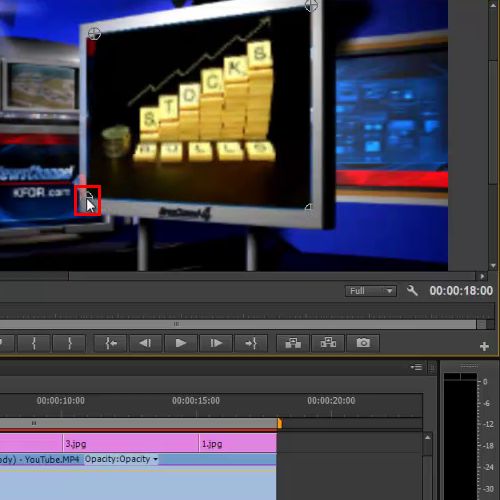
Step 4 – Reapplying the same steps
Once this has been done, you will need to apply the same steps to each of the images and move over to the effect Library in Adobe Premiere.
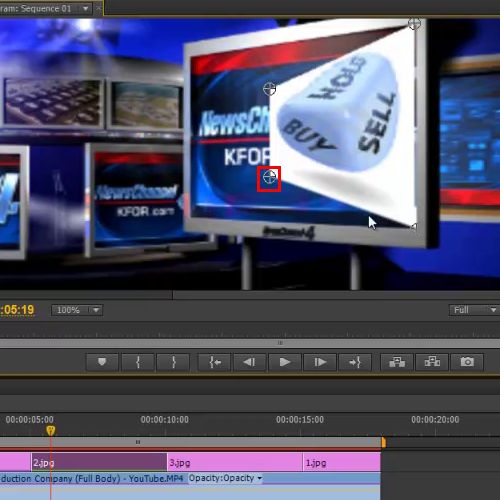
Step 5 – Using the Cross Dissolve Transition
Over here, select the Cross Dissolve Transition and apply it to the layer with all the frames. This will generate a smooth flow for the slide show on the TV monitor.
Step 6 – Rendering the sequence
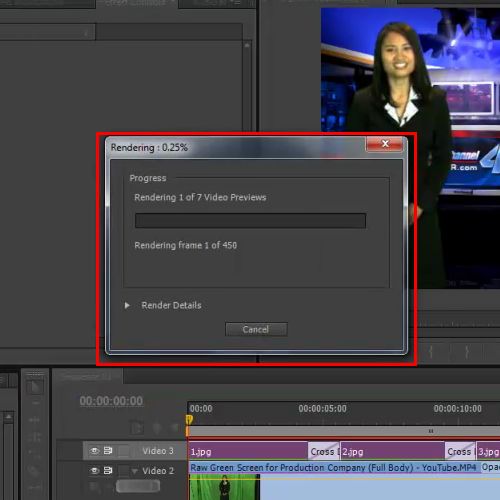
Once this has been done, you will need to hit the enter key on your keyboard in order to render the whole sequence and preview the new sequence.
 Home
Home