Text and its formatting plays a very important role in the overall appearance of web pages and templates. Here in this tutorial, we are using Photoshop to design a beautiful text by using a few basic tools. Here we will add a reflection effect on it and use a distort filter. By learning these basic techniques, you can create various others font styles for your websites.
Follow this step by step guide to learn how to create a reflective text in Photoshop.
Step # 1 – Insert Your Desired Text
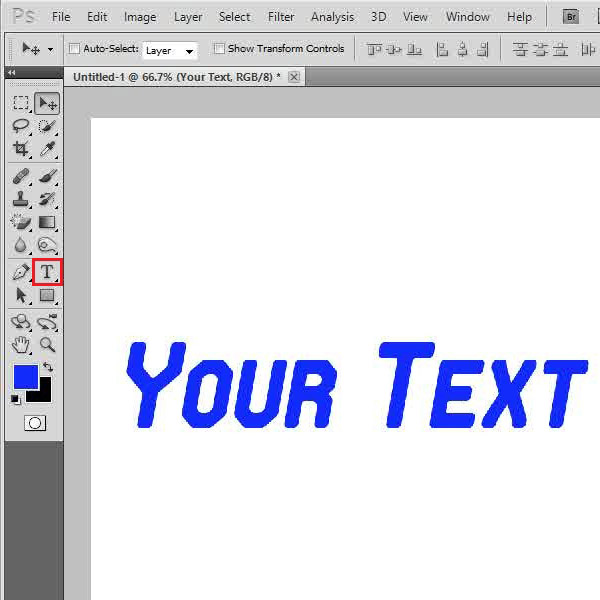
In the first step, launch Adobe Photoshop and open up a new document. You can also choose any color of your choice and fill the background with it. Now select the “Text” tool from the tool bar located at the left corner of the window. Insert some text and align it to the center of the page.

Step # 2 – Create a Reflection
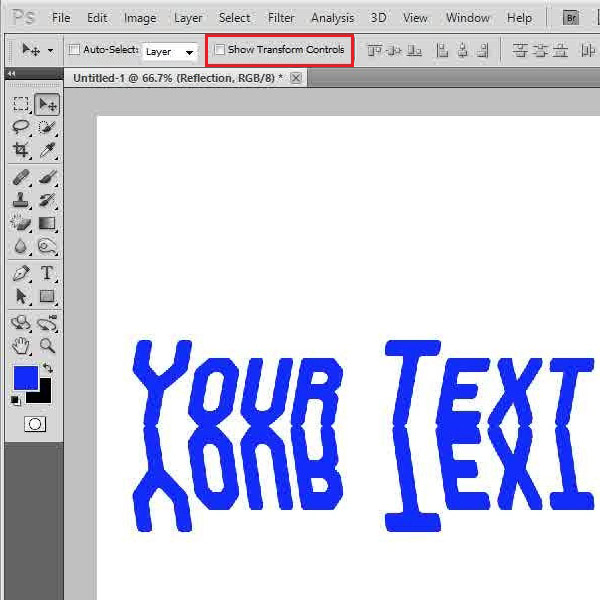
In the next step, right click on the layer and select the “Duplicate Layer” option to copy this layer. Now enter its name as “Reflection” and click on the “OK” button to create it. Once done, select the “Show Transform Controls” option and flip the text upside down with a bit large height. Now use the “Arrow” keys on the keyboard to move the reflective text upwards and join it to the edges of the original text.

Step # 3 – Apply a Gradient
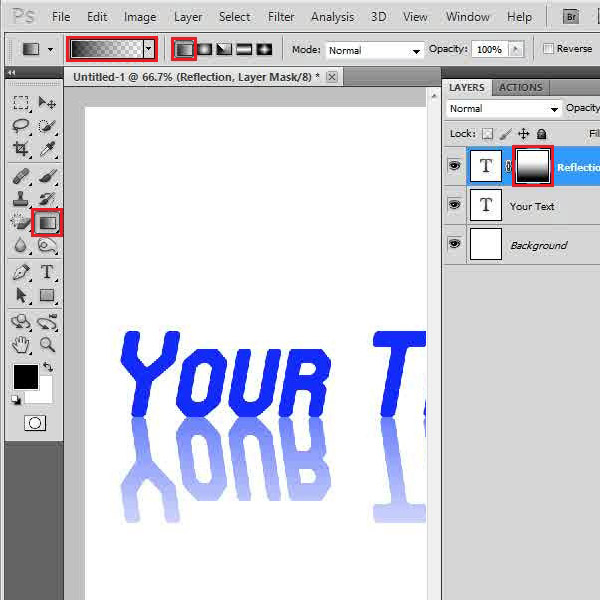
Next, click on the “Add Layer Mask” icon located at the bottom of the layers panel to insert a layer mask. Now select the “Gradient” tool from the menu and choose the “Foreground to Transparent” gradient option. After selecting the gradient, apply it from the bottom to top on the layer mask.

Step # 4 – Apply the Ocean Ripple Filter
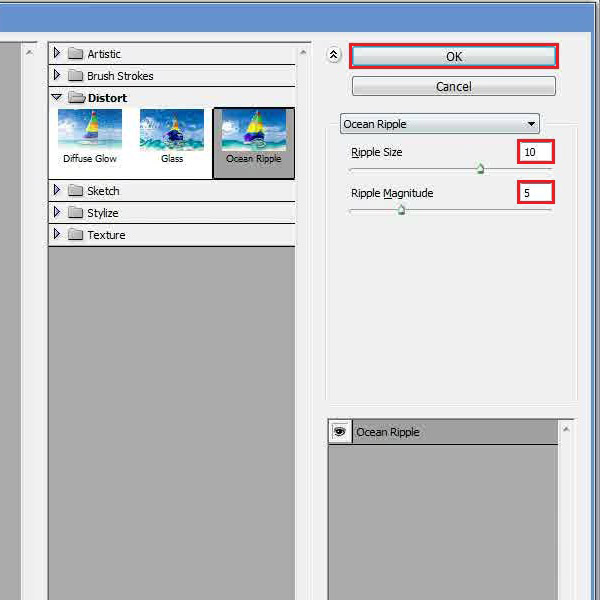
In the last step, select the “Reflection” and the “Background” layer by holding down the “Ctrl” key on the keyboard. Now right click on it and select the “Merge Layers” option from the menu to combine them. Once done, go to the “Filter” menu, select “Distort” and click on the “Ocean Ripple” filter from the list. In the filter settings panel, set the ripple size to “10” and ripple magnitude to “5”. After changing these settings, click on the “OK” button to apply it on the layer. Now adjust the location of the “Text” and you’re done.

 Home
Home