In this video tutorial we will show you how to create business cards in Corel Draw.
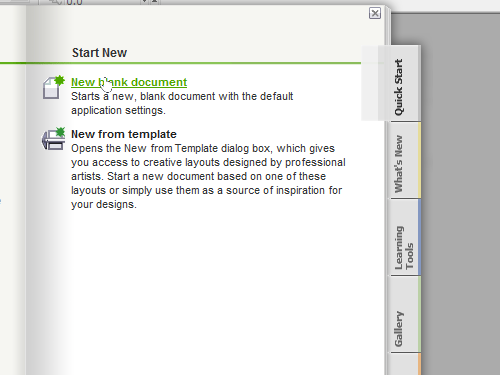
Launch the Corel Draw. In the “Quick Start” window, click on the “New blank document”.
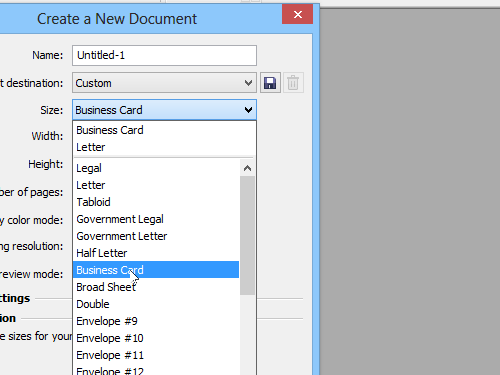
In the following window, select the “Business Card” from the “Size” drop-down menu and press “OK”.
Click on the “Rectangle Tool” and draw a rectangle in the document area. Adjust the size of the rectangle to fill the whole document area by typing the appropriate values in the object size field.
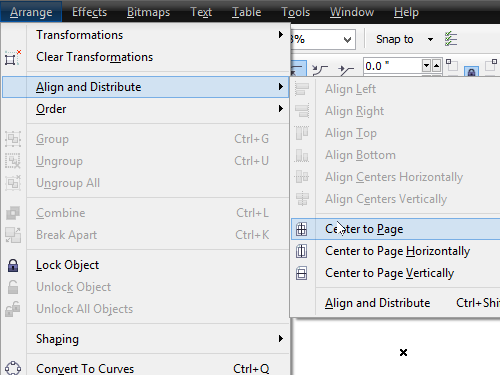
Go to the “Arrange” menu and choose “Center to Page” option from the “Align and Distribute” submenu to align the created rectangle.
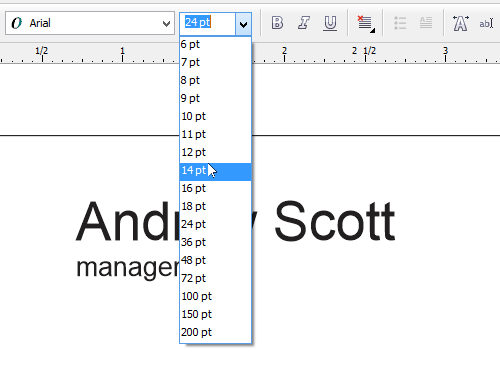
Click on the “Text Tool” icon and type your name and position. Select the text and format it as you want.
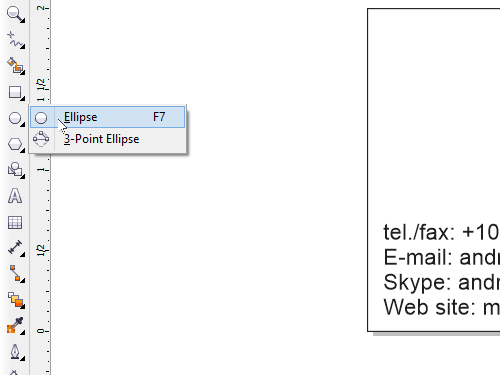
Switch to the “Pick Tool” and move the text block to the upper right corner of the page. Press the “Сtrl” key on the keyboard and without releasing it, press the (+) key on the NumPad to duplicate it. Move the copied text block in the lower left corner and select it. Change the text to your contact information, such as telephone, email, skype and website. You can draw a logo of your company using simple shapes from the toolbar. For example, click on the “Ellipse” icon and draw a circle in the document area while holding the “Ctrl” key on the keyboard.
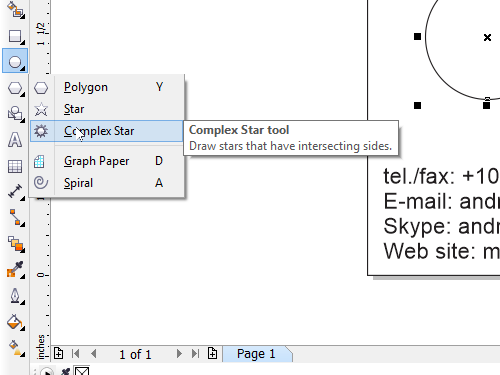
Then, select the “Complex Star” tool and draw a star for your logo while holding the “Ctrl” key to maintain proportions.
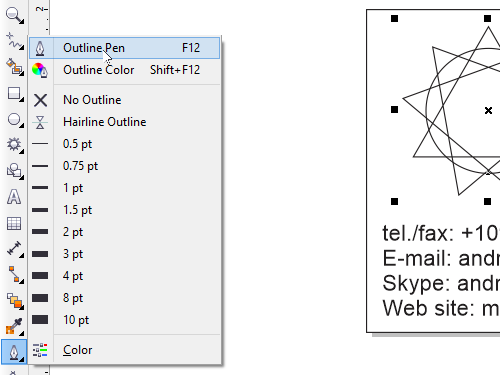
Select the created objects while holding the “Shift” key. Press the “C” key and then the “E” key on the keyboard to align them relatively to each other. Select the objects by holding the left mouse button. Click on the “Outline Pen” icon in the toolbar.
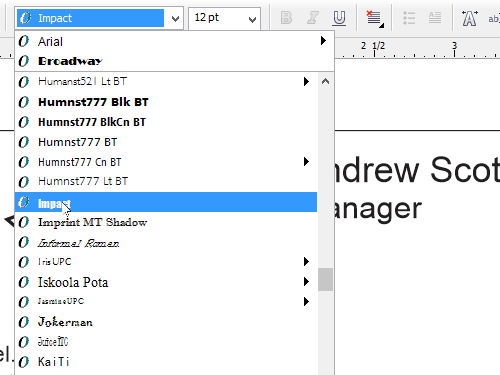
In the appeared dialog box, select the width of the stroke and press “OK”. Click on the “Text Tool” icon and type the name of the corporation. Select the text and format it.
Switch to the “Pick Tool” and place the text on your logo. Select the logo and align all elements with “C” and “E” keys. Adjust the stroke for the corporation name in the “Outline Pen” dialog box and press “OK”. Right click on the color that you like, to change the stroke color of the text.
Now lets create some simple design elements for the business card. Select the rectangle and duplicate it by holding the “Сtrl” key on the keyboard and pressing the (+) key on the NumPad. Select the “Shape Tool” and right click inside the rectangle.
In the appeared menu select the “Convert To Curves” option.
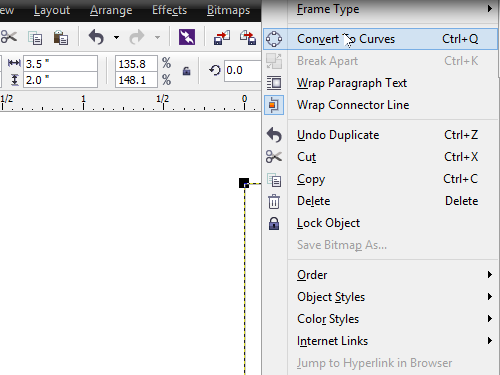
Select the upper left corner of the rectangle and remove the selected point by pressing the “Delete” key. Right click on the diagonal of the created triangle and select the “To Curve” option.
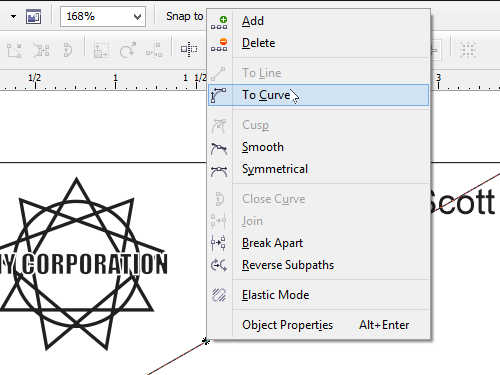
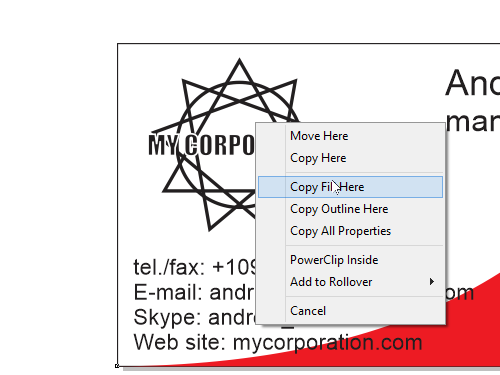
Change it as you like by holding the left mouse button. Switch to the “Pick Tool” and right click on the icon at the top of the color palette to remove the stroke. Click on the color that you like to fill the object. Grab the object and drag it to the logo by holding the right mouse button. In the appeared menu select the “Copy Fill Here” to apply the object fill to the logo.
Now your business card has been successfully created. Go to the “File” menu and choose “Save As”. Select the destination folder, name the file and press “Save”.
 Home
Home