Photoshop; is an extremely useful software which allows one to work with a variety of tools. Not only does it allow you to discover new options you can play with while working on pictures and images, but it also gives you the opportunity of adding effects for photos transforming your images into something totally different. Even though at first, working with this software may seem complex but once you gain a deep understanding of its functions and tools etc, you will surely have an amazing experience.
Amongst different Photoshop tutorials this one will teach you how to create a chalked out typographic image in poster.
Step 1 – Coloring the background
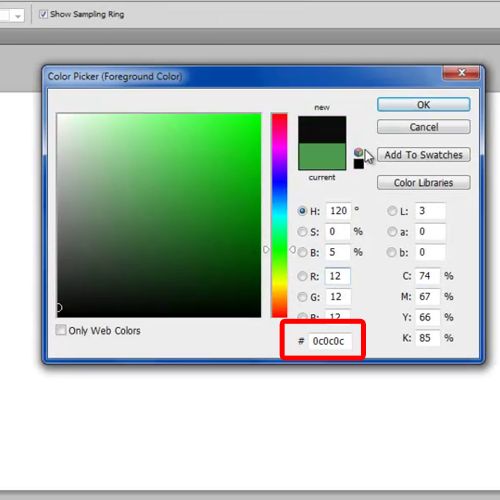
In order to start off with the process of creating chalked out typography in Photoshop, you must pick up the paint bucket tool and color the background black. This will allow you to move on to the next step in the process.
Step 2 –Using the Reticulation filter
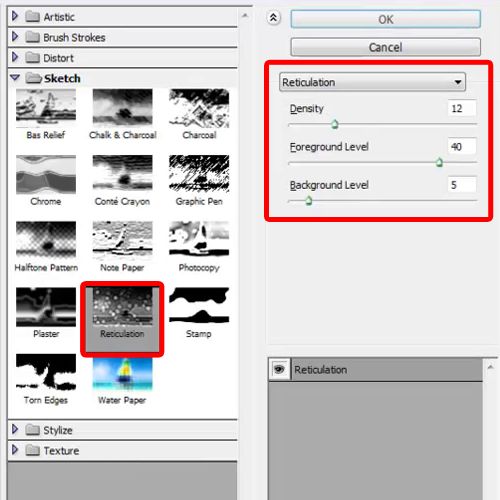
Once this is done, go to the filter menu, move over to “sketch” and choose the option titled “Reticulation”. You will need to let the default values remain as it is and click on the “Ok” button in order to proceed.
Step 3 – Entering your text
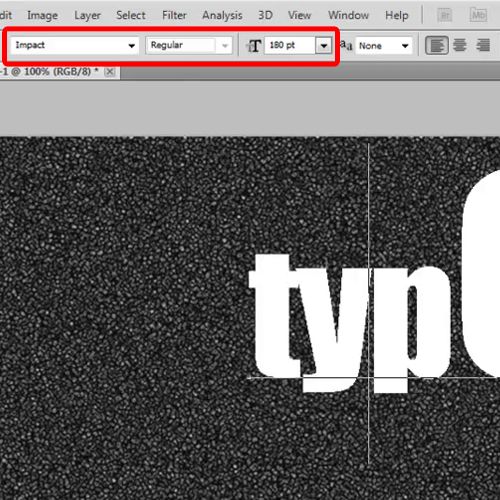
You will now need to enter text for which you will need to select the text tool and type out the text you want to use. Choose white as the font color. In this tutorial we have used “Impact” for the font. A solid font type that would look good with this particular effect must be used in order to get best results of the image being worked on.
Step 4 – Blending mode of the text layer
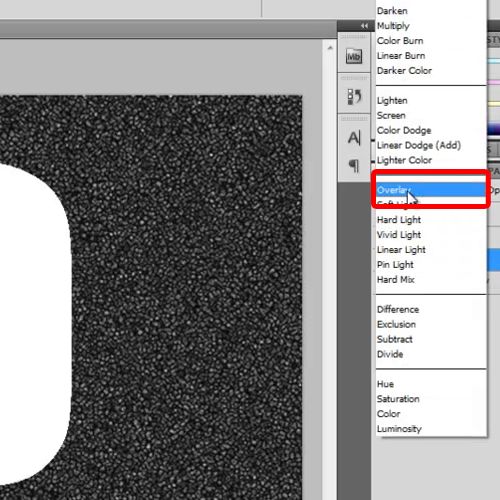
Once the above steps have been completed, you will simply need to change the blending mode of the text layers to “Overlay”. This will mark the completion of the fourth step of your process. Such effects for photos can be added and explored so as to produce varying outcomes.
Step 5 – Using the Gaussian Blur Filter
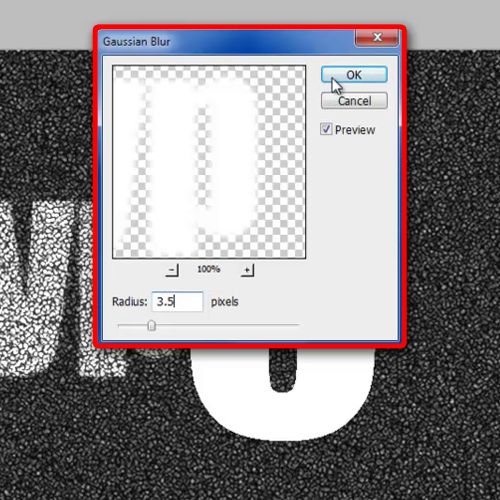
With that done, you will now need to duplicate and rasterize the layer. Now go to the Filter menu, move over to Blur and click on the “Gaussian Blur” option.
Choose 3.5 pixels for the radius and click on the “Ok” button in order to proceed.
Step 6 – Repeating the process
Now you will need to repeat the same step for the rest of the text layers and soon the output will be ready.
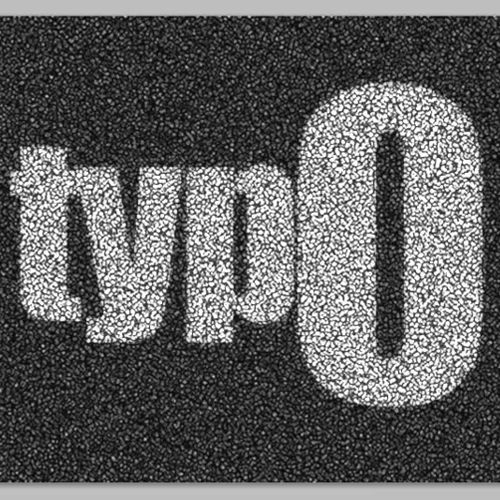
In order to get best results of the procedure you must follow each step of these Photoshop tutorials closely so that the outcome is exactly that as shown.
 Home
Home