Photoshop is an extremely useful and helpful software when it comes to working with pictures or designing icons etc. The software allows one to play around with a number of tools and discover a wide variety of options that they could put into action while editing their images, or creating new images or adding effects to text in Photoshop. Effects can also be added by creating different textures for Photoshop and adding them to your image.
In this tutorial, we will teach you how to work with textures and text in Photoshop.
Step 1 – Working with the background
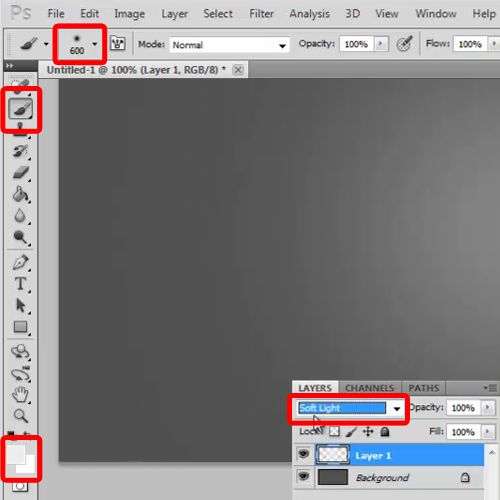
In order to start up with the process of working with textures and text in Photoshop, you will need to firstly select the “brush tool” from the toolbar and use 0% for the hardness. Now you must choose “ececec” for the color fill, increase the size of the brush till it covers the whole canvas and apply the brush on a separate layer. Once the above tasks have been done, you will also need to change the blend mode of the layer to the option titled “Softlight”, for now.
Step 2 – Adding texture to the background
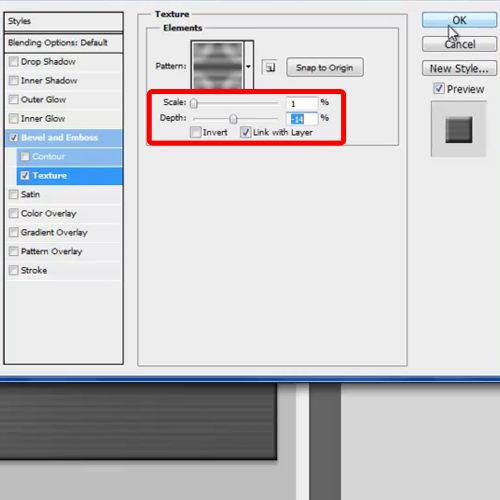
Once this is done, you will now need to open the layer style for the background layer, move over to Texture and choose the “Tie Dye” option. Here, you must set the scale to 1 and Depth to -14%. Next, you will need to make sure all above steps have been performed correctly and press “Ok” in order to proceed.
Step 3 – Darkening up the image
Now move over to the Color Overlay tab. Here, you must choose “161616” for the color fill and close the window. Move over to the layer where we applied the brush tool previously and change the Blend Mode of that layer to the option titled “Softlight”.

Step 4 – Adding colors to your background
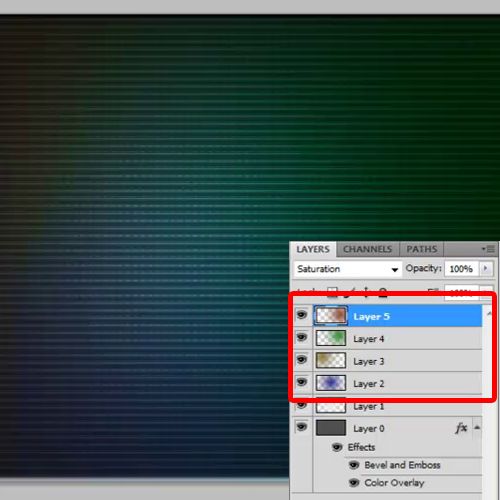
Now we are going to add colors to the canvas. What we’ve done here is apply different colors, using the brush tool, with 0% hardness on different layers as you can see on the layers panel towards the right. For each layer we have played around with the Blend Modes from Overlay, to Softlight and even Color. Applying a color to the canvas will make the final product stand out and look different and attractive.
Step 5 – Working with the text
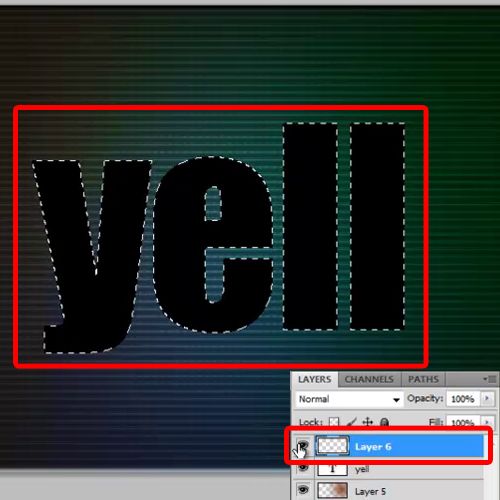
Once you are done with coloring the background, it’s time to put in the text. For the text, we would be using the “Impact” font with 280 pt for its size. Once the font and size have been selected, you will be required to align your text to the center of the canvas. Now press the “CTRL” key on your keyboard and click on the text layer. This would load the selection of the text area.
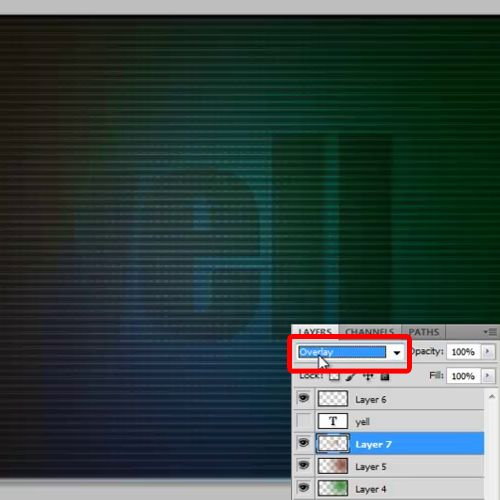
Step 6 – Working with the Blend Modes
Now, you must hide the previous layer and create a new layer. Click on any of the color layers we’ve used for the background, copy the selection and paste it on a new layer. Once this is done, change the Blend Mode of the layer to “Overlay”.
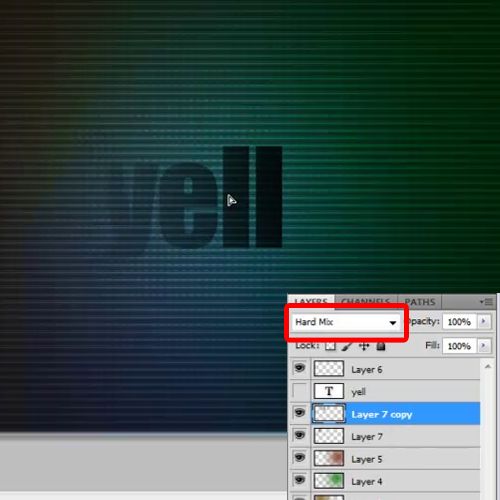
Step 7 – Duplicating the text layer
Next, you will need to duplicate the layer and change its Blend Mode to “Hard Mix” in order to proceed. Make sure all steps are carried out as depicted in the video to get most effective results.
Step 8 – Aligning both the text layers
Now align the two layers a few pixels away from each other. Once this has been done, bring both the layers at the center of the canvas.

Step 9 – Continuing on with the rest of the text
Now continue the same way with the rest of the text in Photoshop in your design, and your process of working with text and textures for Photoshop is complete.
