Adobe Photoshop is huge software with a variety of tools and options which help us to create endless textures and patterns in just a few steps. There are lots of interesting effects which can be used to create a texture in Photoshop easily. In this tutorial, we will show you how to create an interesting tile texture in Photoshop using different filters and options. This texture can be later used to create interesting backgrounds for posters or some dynamic typography.
Follow the steps to learn how to create a tile texture in Photoshop.
Step # 1 – Insert the text
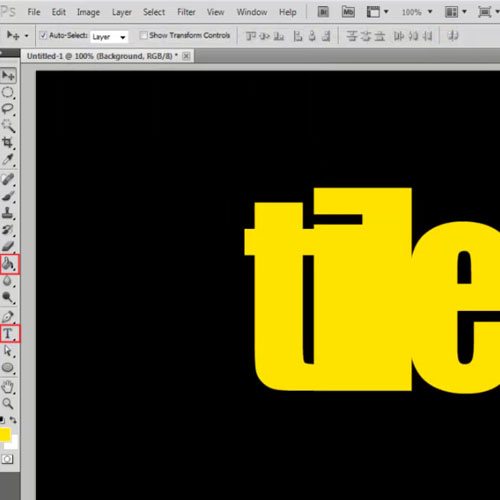
First of all, we will apply a black fill on the background layer. Next select “fff000” for the fill, pick up the “text tool” and type in your text. You can modify the text alignment as required.
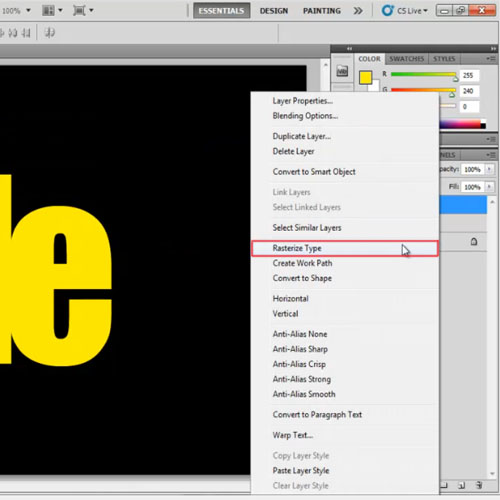
Step # 2 – Rasterize the layer
Once done, we will duplicate the text layer and rasterize it. Rename the layer Text. With that done, duplicate the rasterized layer as well.
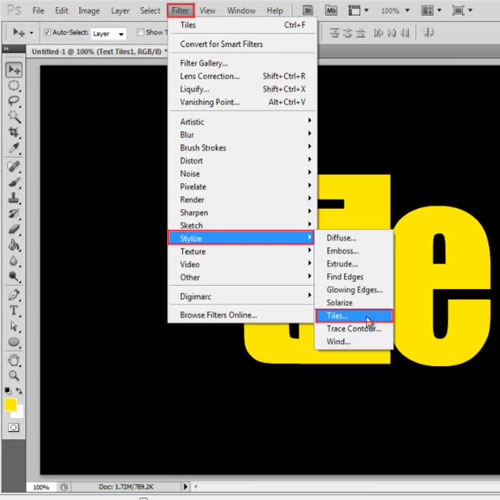
Step # 3 – Apply Tiles filter to the text
Now we will apply tile texture. Go to the “Filter” menu, move over to “Stylize” and select the “Tiles” option. Let the default options remain and click on the “Ok” button. Apply the effect twice on the layer.
Step # 4 – Rotate the duplicate layer to 90 degrees
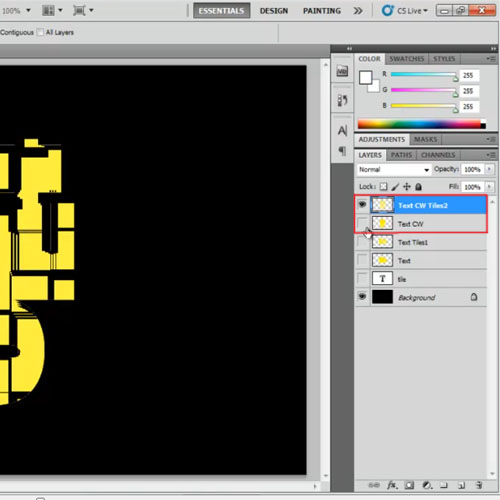
With that done, we will create texture in Photoshop using the same filter. Duplicate the original rasterized text layer, bring it on the top and name it “Text CW”. Now rotate the layer 90 degrees clockwise, Duplicate it and Name it “Text CW Tiles2”. On this layer we will apply the effect. Now use a light shade of yellow for this layer, for example here we have used “fff444” for the color fill. Now apply the tiles effect three times on the layer.
Step # 5 – Rotate another duplicate layer to 180 degrees
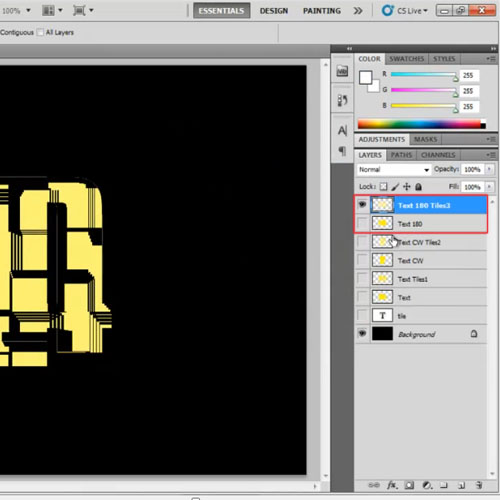
With that done, duplicate the original text layer and name it “Text 180”. Now bring it right on the top.
Rotate the layer by 180 degrees and duplicate it. Name this layer “Text 180 Tiles”. Use “fff777” for the color fill and apply the ‘tiles effect” four times on this layer.
Step # 6 – Rotate the layer to 90 degree clockwise
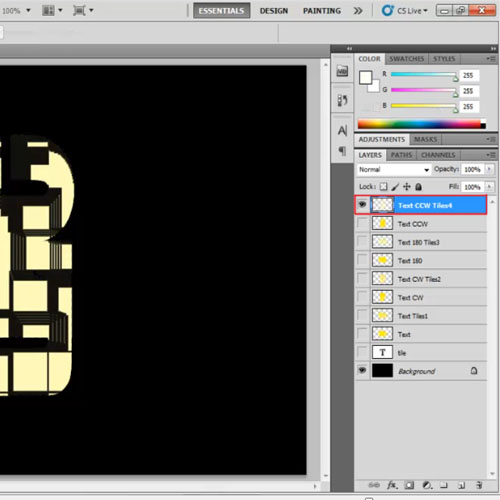
With that done, duplicate the original text layer and name it “Text CCW”. Now bring it right at the top. Rotate the layer by 90 degrees counter clockwise and duplicate it. Name this layer “Text CCW Tiles”. Apply “fffbbb” for the color fill and apply the “tiles effect” five times on the layer.
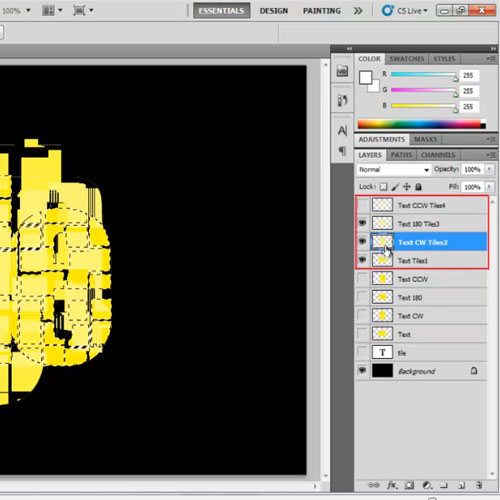
Step # 7 – Separate all the titles layers
Now separate all the tiles layers from the text layers. With that done, we will use the Text tiles layer as the base layer. Load the selection from this layer and copy the selection from each of the three layers above.
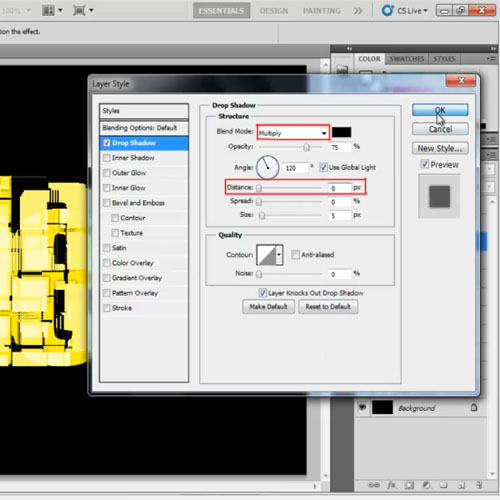
Step # 8 – Apply Drop shadow effect to the layers
Now go into the “layer style” options of the cropped layers, click on the “drop shadow” tab and reduce the distance to “0 pixels”. Now copy the layer style to the three layers that we have just created and change the blend mode of the 3 layers to “multiply”. Your tile texture in Photoshop is now complete and ready to be used.