Adobe Premiere is a time line based video editing software which allows one to edit their videos in a manner that makes them stand out amongst others of their kind. It offers its users a number of tools and option to work with and thus allows them to discover different functions they can carry out.
In this adobe premiere tutorial, we will guide you on how to do PiP frame animation with customized coordinates in Adobe premiere Pro CS6. PiP refers to picture in picture. What we are going to do is use Premiere pro to animate a frame inside a frame, moving it from one point to another.
Step 1 – Locating the frame position
In this tutorial, we will be treating layer 2 as the PiP frame.
First of all, you will need to locate the frame position on the timeline where you want to apply the frame animation.
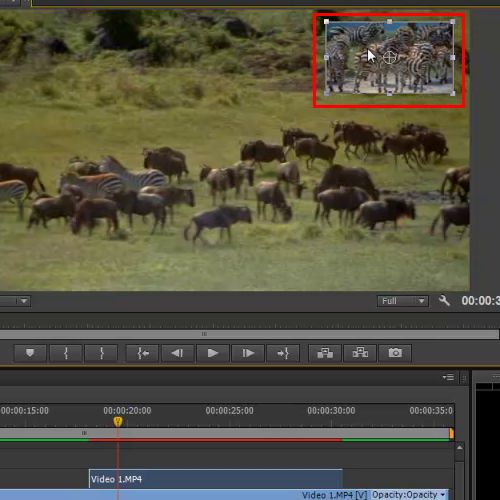
Step 2 – Using the “toggle animation” option
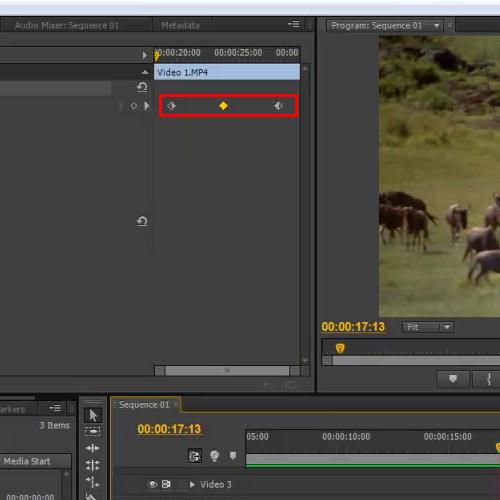
Next, you will be required to go to the effect control panel and press the toggle animation button right before the position option.
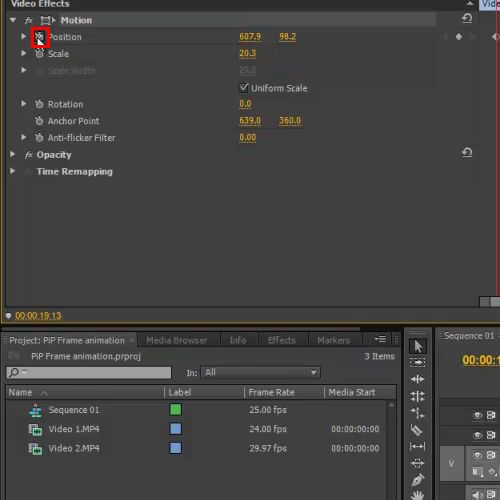
Step 3 – Adjusting the seek bar and frame
Once this has been done, you must move the seek-bar forward and move the position of the frame towards the left side of the screen like we have done in this Adobe Premiere Tutorial.
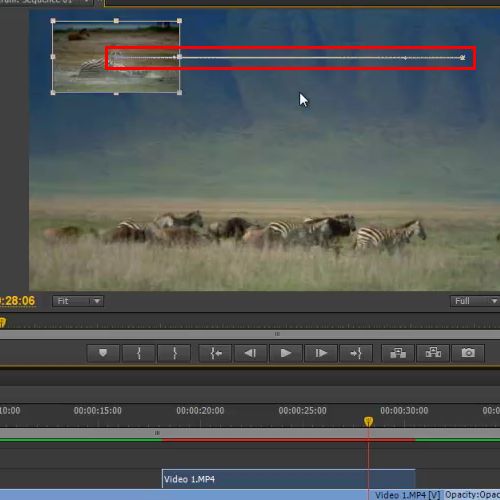
Step 4 – Using the “Render effects in Work Area” option
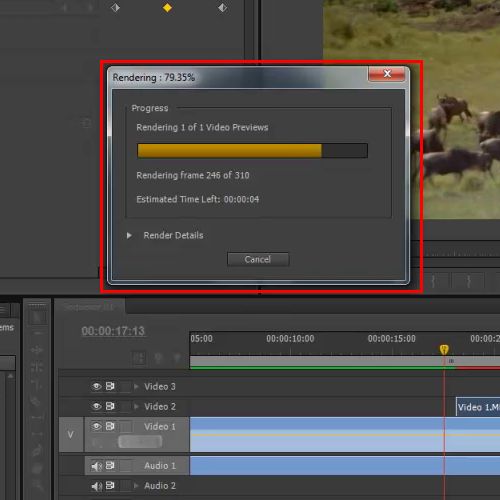
Now click on the “Render Effects in Work Area” option from the sequence menu so that you can preview the animation made.
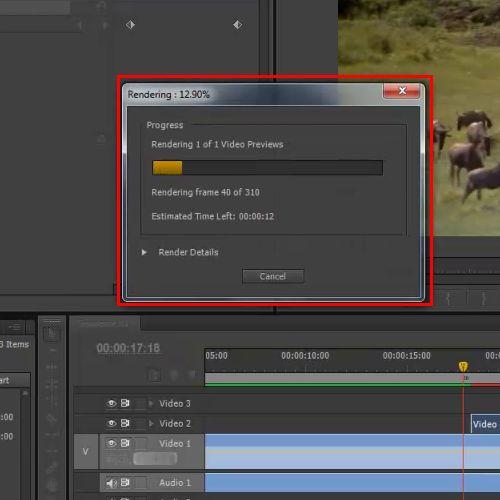
Step 5 – Animating the PiP frame
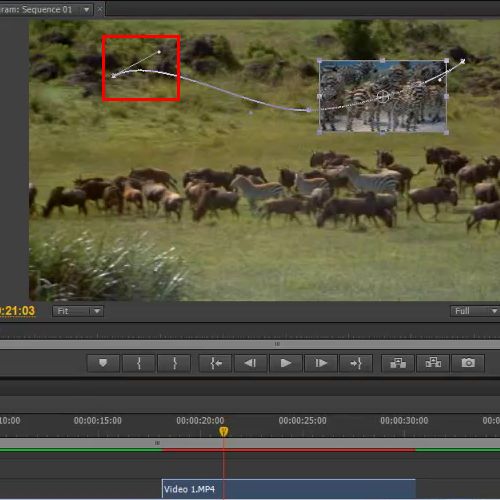
And that’s it. You will notice that the Pip frame is moving horizontally from right to left. But what if you want to animate the PiP frame in a zigzag manner? In order to do so, click on the layer and you will see a line showing you the coordinates through which you will carry out the process of frame animation.
Step 6 – Relocating coordinated
Next, you will need to click on the coordinates and relocate them in a zigzag position.
Step 7 – Viewing results
Lastly, go over all the steps carried out once again in order to ensure no mistakes in are made .This will allow you to get the best results possiblein Premier pro. Press the “Enter” key on your keyboard in order to render the sequence once you’re done.
 Home
Home