Whenever you visit any website on the internet, your browser stores certain information in its record. This information contains details about your session time, visited web pages, passwords, website preferences and many other similar facts. These details can be easily tracked and restore by anyone who can access your computer. If you are using a public computer then it is better to use the private browsing facility that allows you to browse any website without saving it in the history of your browser. This feature is very useful in such cases like you are planning to buy a surprise gift online and don’t want to disclose this information to anyone.
There are many applications available which provide you a private browsing facility, however in this tutorial we use Mozilla browser which comes up with a built-in private browsing feature. It is important to note that private internet browsing doesn’t mean surfing the internet anonymously. Internet Service Provider or the website which you are visiting can still record your browsing activities.
Follow this step by step tutorial to learn how to browse privately by using Mozilla Firefox.
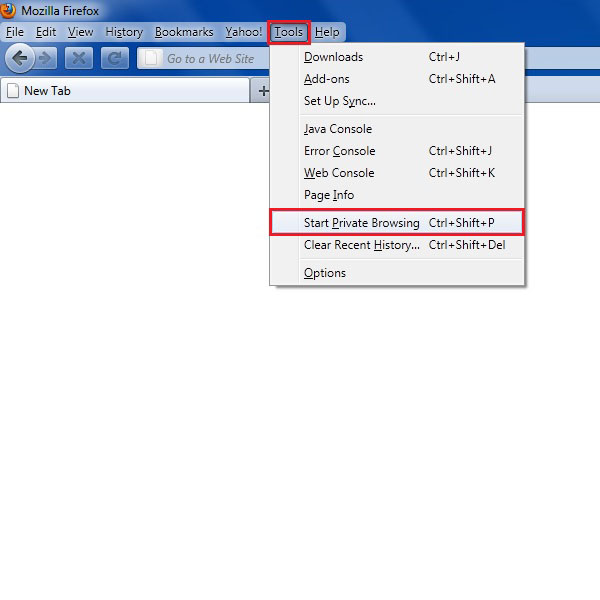
Step # 1 – Enable Private Browsing
In the first step, open Mozilla Firefox and click on the “Tools” menu. Select the “Start Private Browsing” option from the menu or you can alternatively do this from its shortcut key which is “Control + Shift + P”.
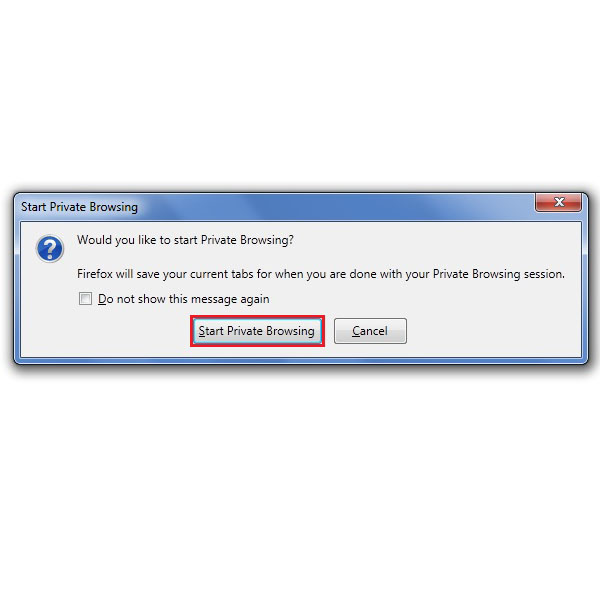
Step # 2 – Confirm Private Browsing Activation
Once you clicked on the private browsing option, a confirmation message will appear in front of your screen. Click on the “Start Private Browsing” button to confirm the activation of secure browsing.
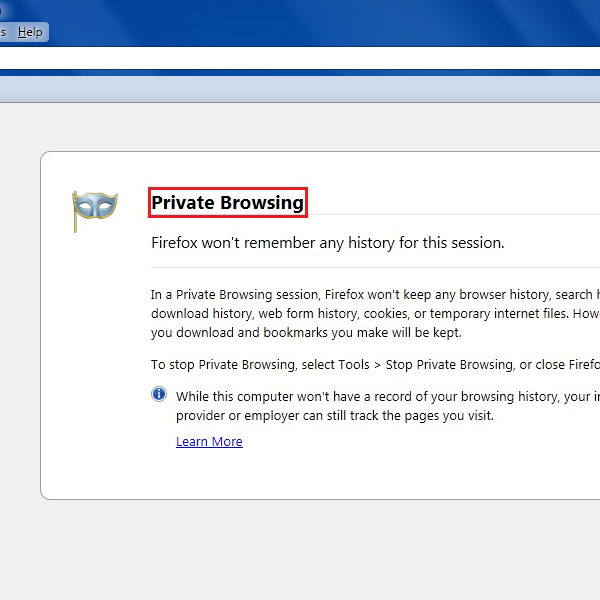
Step # 3 – Private Browsing Mode
Your will notice that all your tabs are closed and a new window is displayed. You can see a message of Private Browsing on the main screen. This message confirms you that the private browsing feature is enabled and you can now browse safely.
Step # 4 – Using Private Browsing Mode
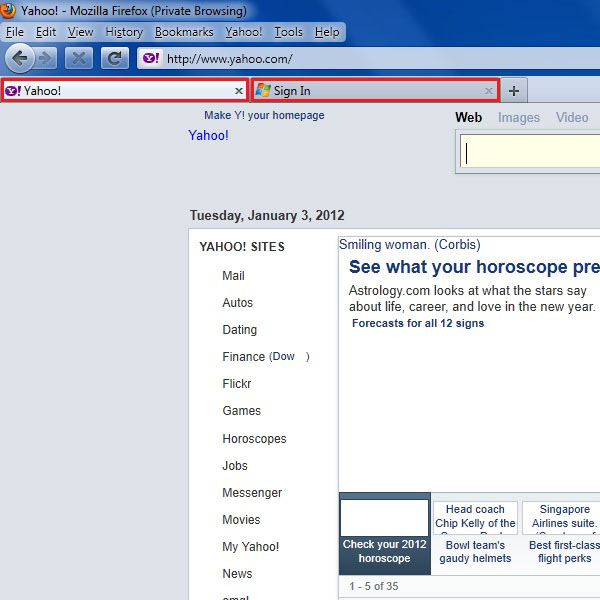
Now in this next step, we open two tabs and open different websites. Here we open the website of Yahoo and Hotmail respectively.
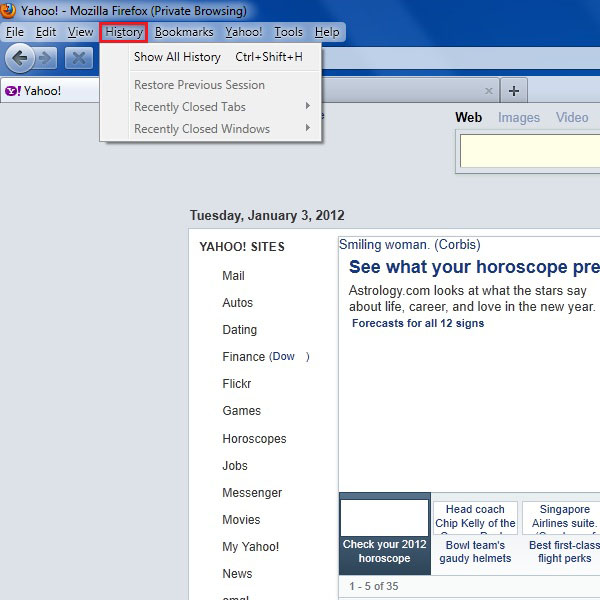
Step # 7 – Check History for Surety
Click on the History option from the menu available on top of the window. Here you can see that none of these websites stored in the history of Mozilla Firefox. This ensures you that private browsing feature is working perfectly.
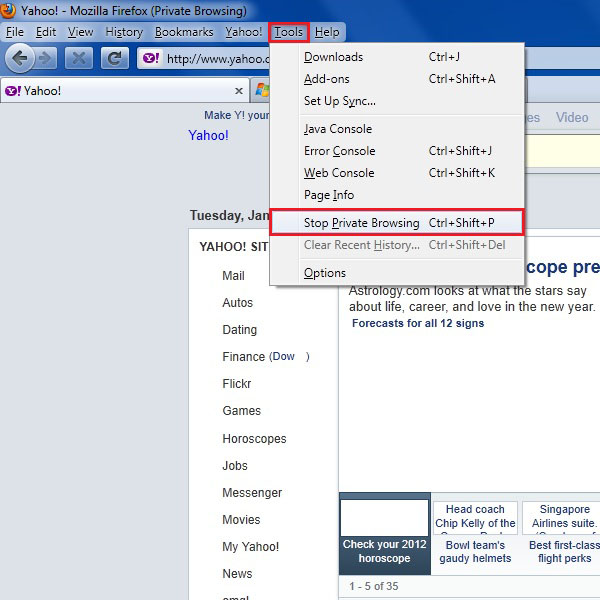
Step # 8 – Disable Private Browsing
If your want to disable the private browsing session then click on the Tools option again. Now click on the Stop Private Browsing option to end private browsing session. You can also use the same shortcut keys to disable this feature.