Hotmail is one of the best email services in the world today. It offers various features and facilities to its users. One of its interesting features is the auto redirection of emails in to specified folders. By making few adjustments, you can simply set your hotmail account to automatically classify your incoming email according to their respective folders.
Follow this step by step tutorial to learn How to Auto Redirect Emails in Specified Folders.
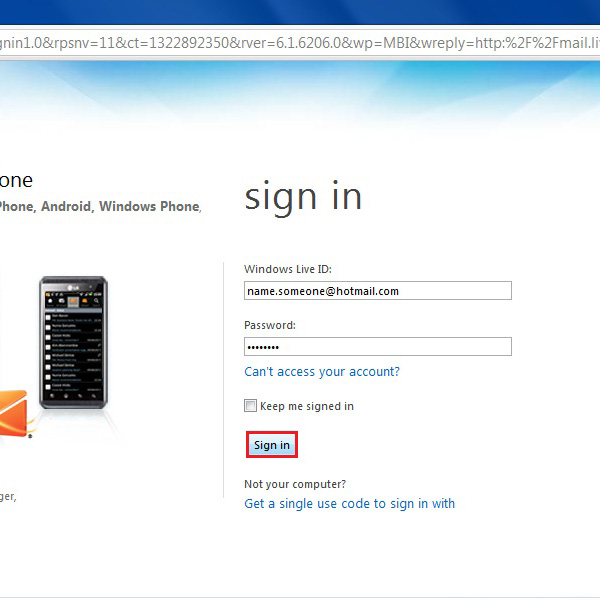
Step # 1 – Login to Your Email Account
The first step requires you to go to the URL: www.hotmail.com and enter your Email ID and password. Now click on the Sign in button to login to your email account.
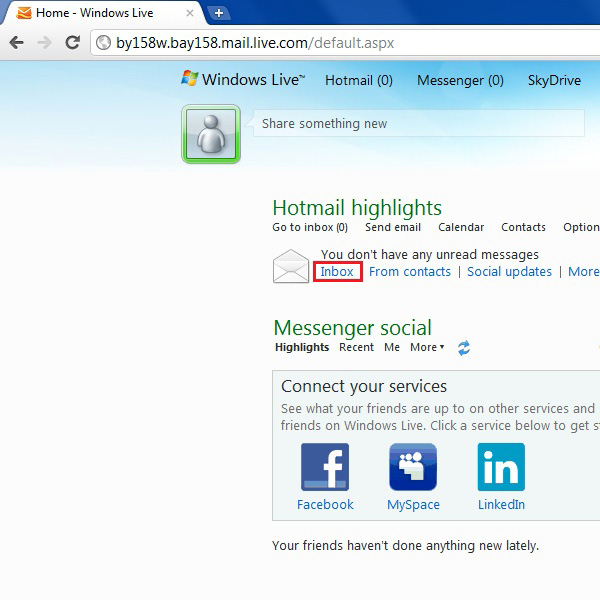
Step # 2 – Go to Your Inbox
Once you are on the homepage of your email account, click on the Inbox link. This link allows you to open and check your emails.
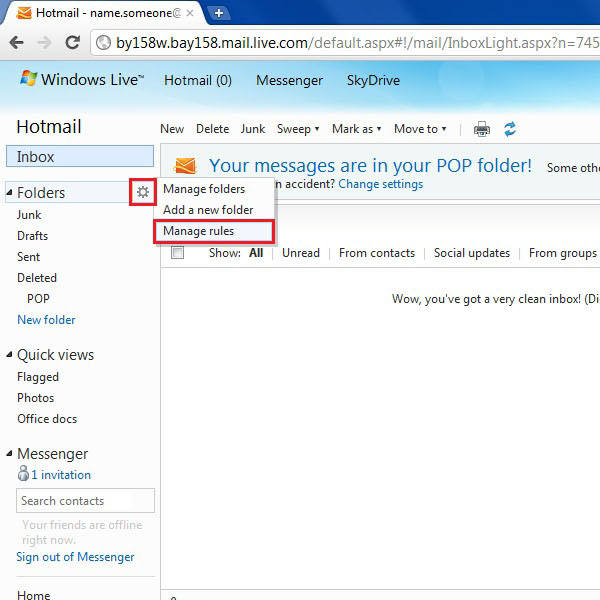
Step # 3 – Open Folder Settings
In this window you will see a menu on the left side of the screen. Click on the small circular button next to the Folder option. Once you’ve clicked on this button, a new menu will appear. Now click on the Manage rules option from this menu.
Step # 4 – Set New Rules
If there is any existing predefined rule then it should show on this new window. However, if there are no rules then you can configure and set custom rules here. Next we shall click on the new button to set new options and settings for your email folders.

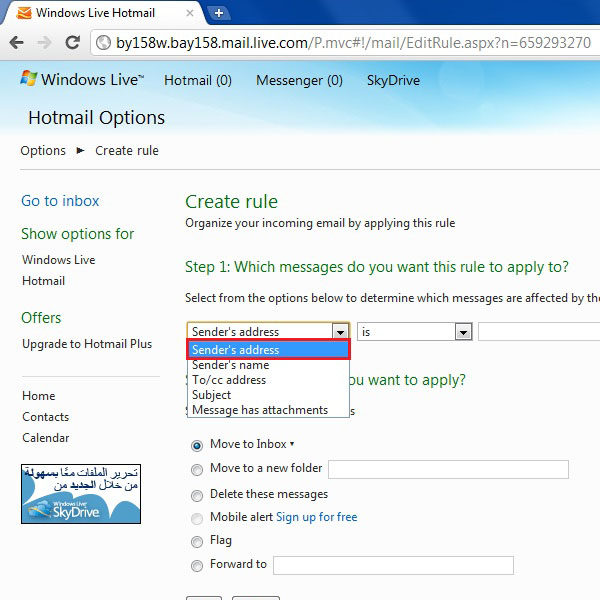
Step # 5 – Create Custom Rules and Settings
In this window, you can set new rules for your inbox. First of all, select the option on which you would like to apply new rule. Here we will choose the Sender’s Address from the menu. This will act as a basic key for your new rule.
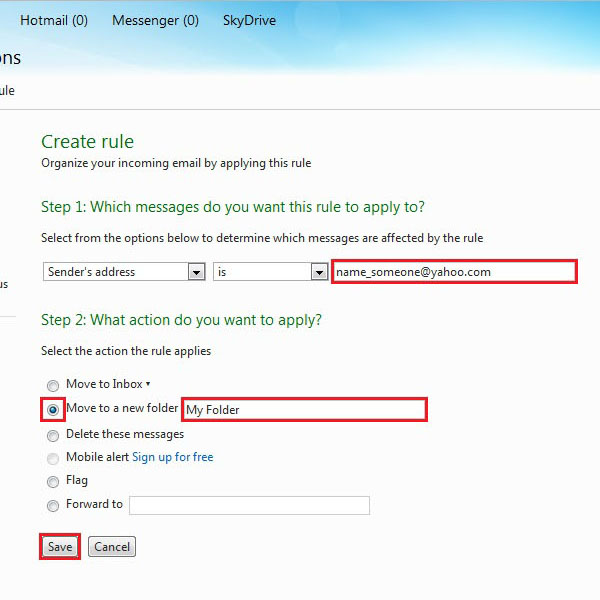
Step # 6 – Select Detailed Options
Now we will select more detailed options for our settings. Here we enter the email address of the sender. In the second part, we select the option of “Move to a new folder” and enter the name of the new folder. This will automatically redirect all emails received from the selected sender’s email address in to this new folder. After completing this process, click on the Save button to apply these changes.
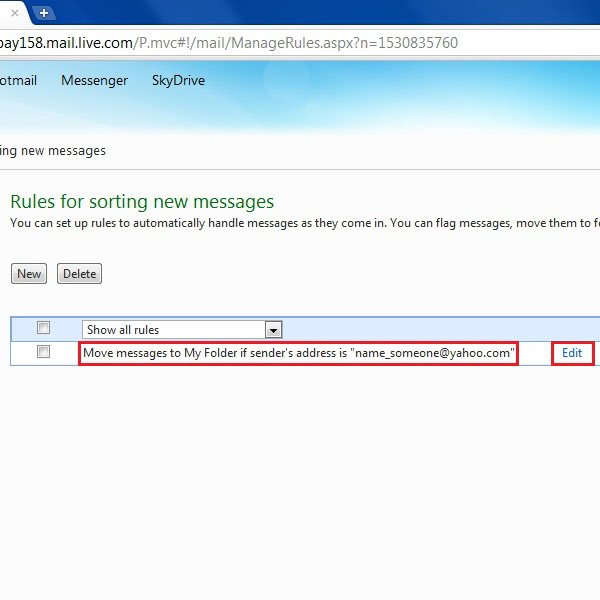
Step # 7 – Viewing the List of Rules
When you get back to the main settings window, your new rule will appear on the list of rules. By following the same steps you can add as many rules as you want. Further you can even adjust them by clicking on the Edit button next to the name of the rule.