As you have already learned how to create a basic structure of a blog layout in the first part, this tutorial will show you some basic idea to insert and place images on a web page. You will also learn how to choose fonts, their styles, appropriate size and color according to the type of layout.
Follow this step by step guide to learn how to insert text and images into a blog layout in Photoshop.
Step # 1 – Insert a Logo
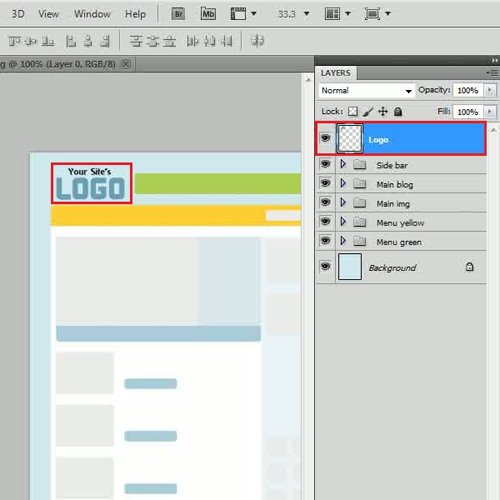
In the first step, launch Adobe Photoshop and load the basic structure of the blog layout which we created in the previous part. Now open a “Logo” image, place it on the top left corner of the page. Change this layer name to “Logo”.
Step # 2 – Insert social network icons
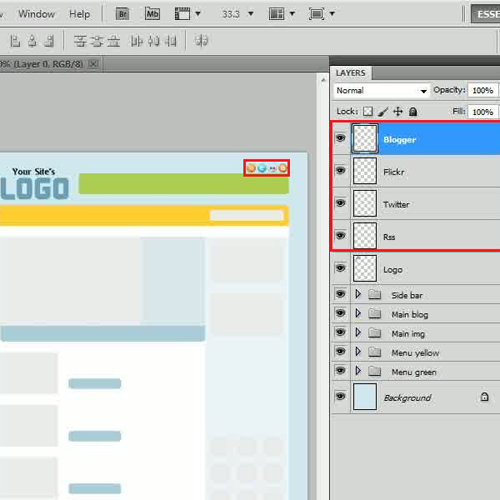
In a similar way, open few social networking icons and place them on the top right corner of the page. Combine these layers into a group and rename it to “Icons”.
Step # 3 – Insert Text for the Main Menu
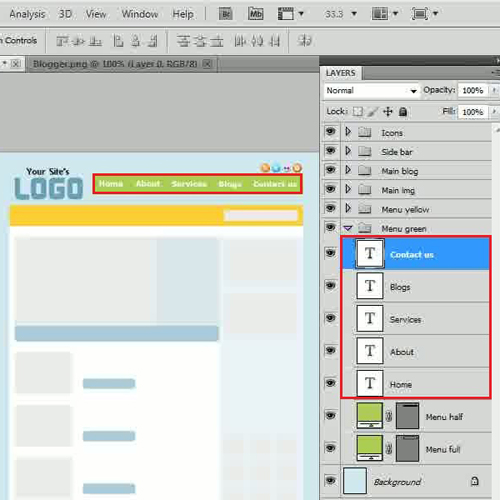
Once done, move over to the “Menu green” group, select the “Text” tool, choose “Fonts” as “Verdana”, “Style” to “Bold”, set its “Size” to “20 pt”, “Color” to “White” and create labels over the green menu bar.
Step # 4 – Insert Text for the Sub Menu
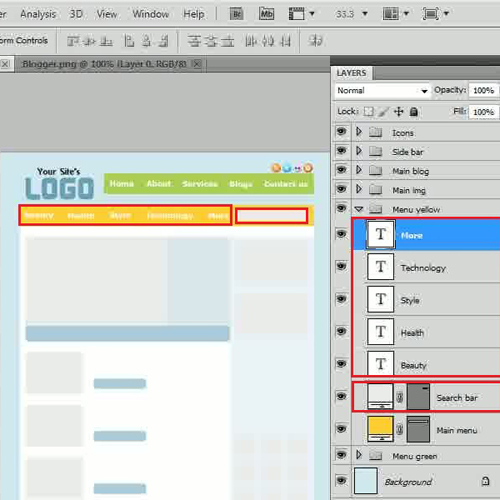
Now move over to the “Menu yellow” group and click on it for it to expand. Insert labels on this menu by using the same style of fonts and color.
Step # 5 – Insert Text for the Search Box
Add text over the “Search bar” by using fonts in “Italic” style and “Black” in color. Now select the “Custom Shape” tool from the menu and choose the “Magnifying glass” shape. Draw it next to the text in the search bar.
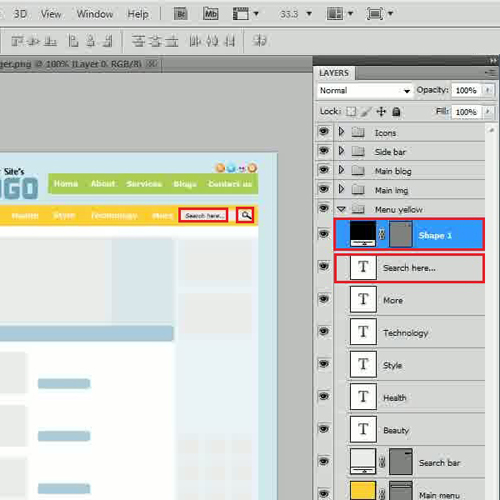
Step # 6 – Insert the Main Blog Text
Once done, move over to the “Main img” group and insert heading and content in the right column.
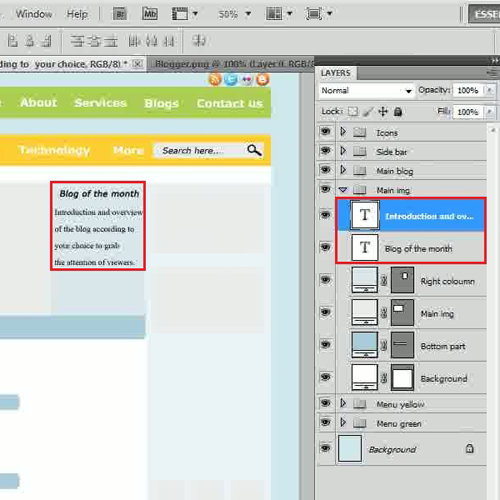
Step # 7 – Insert a Main Blog’s Image
Now load a picture, rename it “Main img”, place it right on top of the “Main img” shape and create a clipping mask. After clipping it, adjust its size and place accordingly.
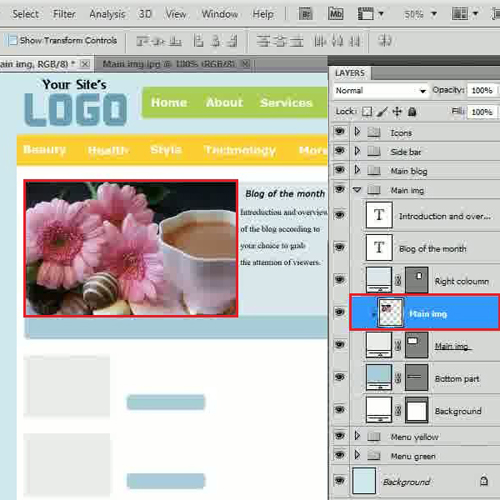
Step # 8 – Insert Flip Buttons
In order to add “Flip buttons”, select the “Ellipse” tool, choose its color as “7d98a2” and draw small circles at the bottom part of the image. Choose the “d6e8ef” color and draw a bit smaller circle for creating a “Selected button”.
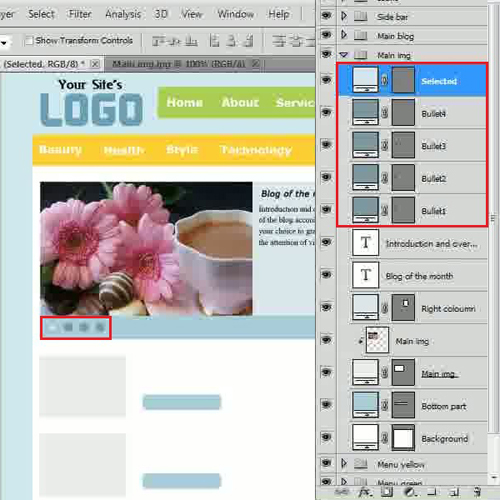
Step # 9 – Insert Featured Blogs Text
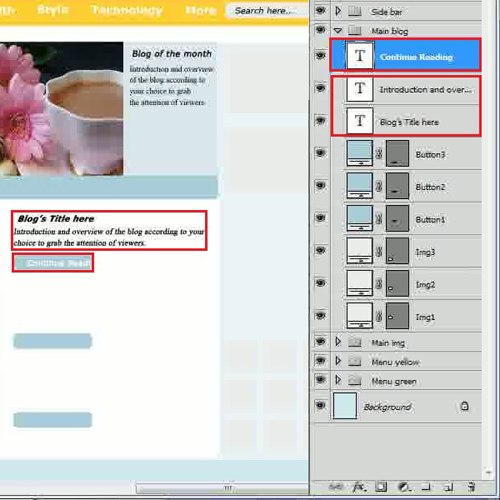
Now move over to the “Main blog” group and insert text for the blog heading, description and button’s title by using the same fonts of “Verdana” with the size of “15 pt”.
Step # 10 – Insert the Featured Blog’s Image
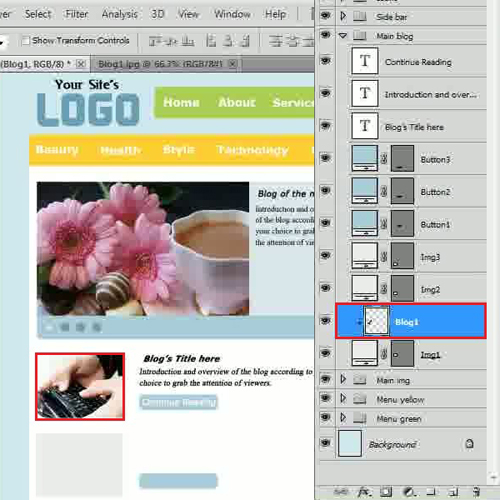
Once done, load a picture, move it right on top of the “Img1” shape layer. Now create a clipping mask, adjust its size and place it accordingly.
Step # 11 – Complete Rest of Featured Blogs
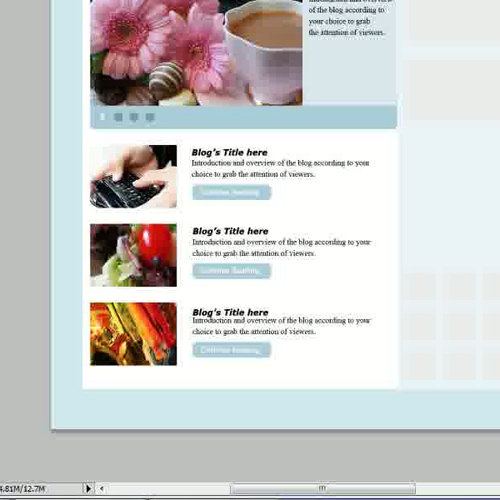
In the same way, insert text and place images in rest of the blogs and move over to the “Side bar” group.
Step # 12 – Insert Text for the Side Panel
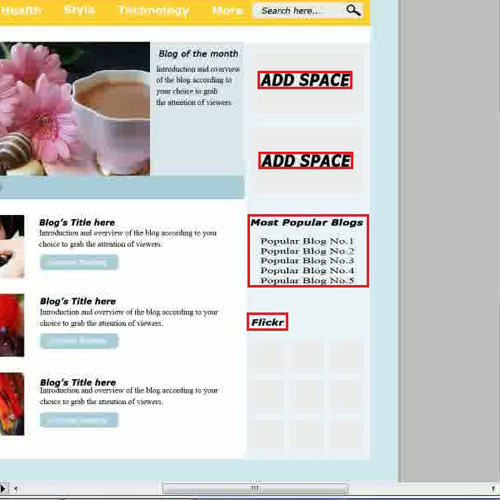
Now insert text for the “Ad Space”, “Blogs links” and “Flickr” title using the same fonts of “Verdana” in the side panel.
Step # 13 – Insert a Copyright Text
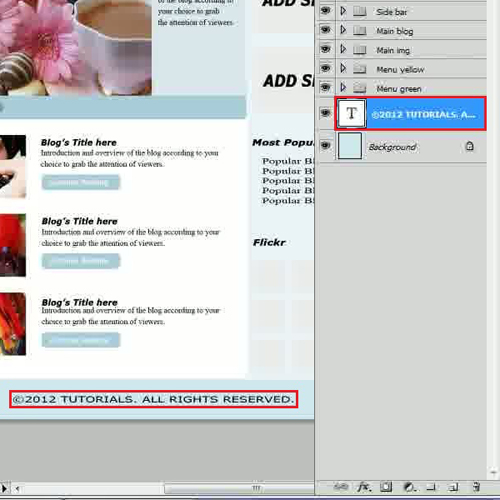
In the final step, insert a copyright statement at the bottom of the page and your blog layout with text and images is complete.
 Home
Home