In this tutorial you are going to learn how to make text photo which can be a fun effect to add to a photograph.
Step # 1 – Opening the Photo and Generating the Text
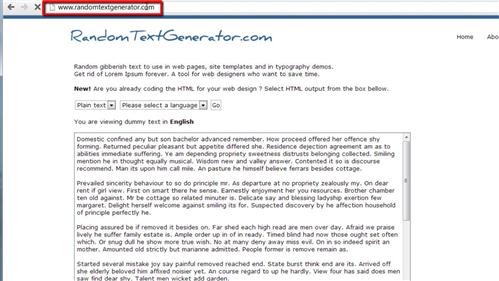
Start Photoshop and load the photo that you want to add the text effect to. You are now going to need to get some text to put over the image, if you don’t have anything you specifically want to use visit “www.randomtextgenerator.com” and use this service to generate a nice chunk of random text. Copy this and go back to Photoshop.

Step # 2 – Pasting the Text Into the Image
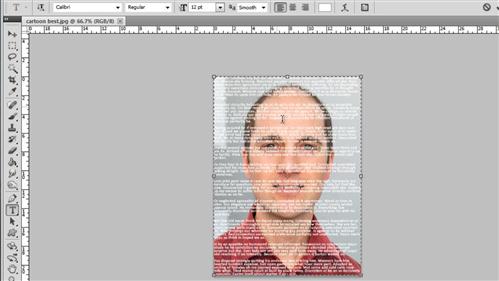
Select the text tool from the toolbar and at the top select the color as white and the font to whatever you want. Simple fonts do tend to work best, here we are using Calibri. The size you select will depend on the resolution of your image, here we are using size 12. Now draw a text box onto the page to cover the whole image and paste the text into it.

Step # 3 – Adjusting the Text
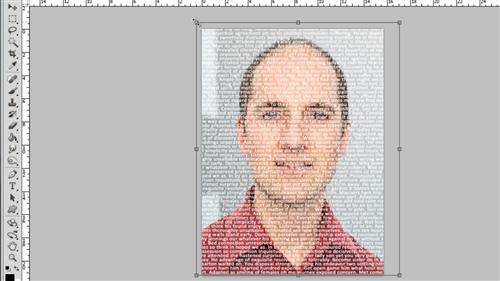
We now need to remove any paragraphing in the text as this will give it a more consistent look. Zoom in and do this for your text. You can now see that we have some space at the bottom without text covering it, simply copy some text from above and paste it here to fill the gap. Zoom out again and select the move tool and use it to adjust the markers around the text to make it fit the image perfectly – press “Return” to apply this transformation.

Step # 4 – Adjusting the Text Blending Options
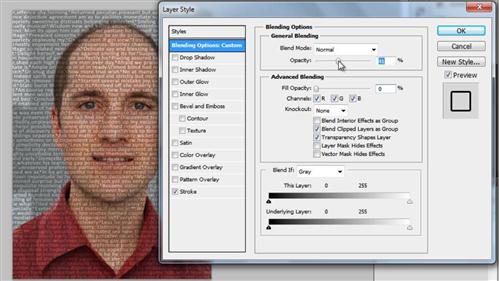
Double click on the text layer and the “Layer Style” window will open. Check the box next to “Stroke”. Now, make sure that “Blending Options: Default” is selected and reduce the “Fill Opacity” to “0”. Now drag the “Opacity” slider down until the image looks just right – here that is at about “50”. Click “OK” and that is how to make text photo in Photoshop.

 Home
Home