In the second part of this tutorial, we will show you how to configure a FTP Server account. We are using another well know and useful application for this purpose which is named as “Serv-U”. This application allows you to choose your credentials, configure FTP server and account, set up limits and access rights etc.
Follow this step by step guide to learn the how to configure a user account in order to set up a FTP Server.
Step # 1 – Downloading the Serv-U applicaiton
In the first step of this tutorial, search for the Serv-U application online and download it. After downloading it, install and load the application.
Step # 2 – Creating a New Domain
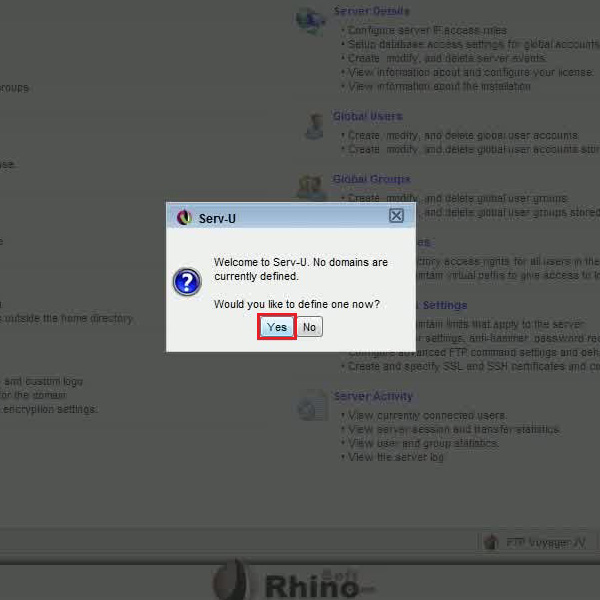
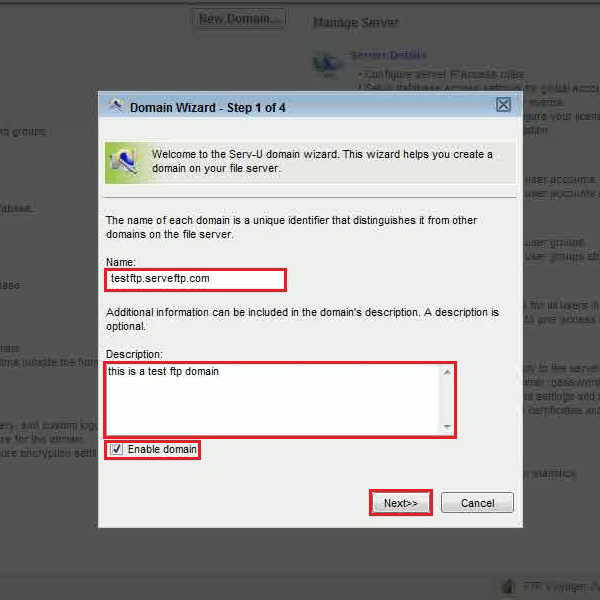
It will ask you to create a new domain, click on the “Yes” button to define a new domain. Enter the name which we created in the previous part of this tutorial, write its description and click on the “Next” button.
Step # 3 – Selecting the Drive
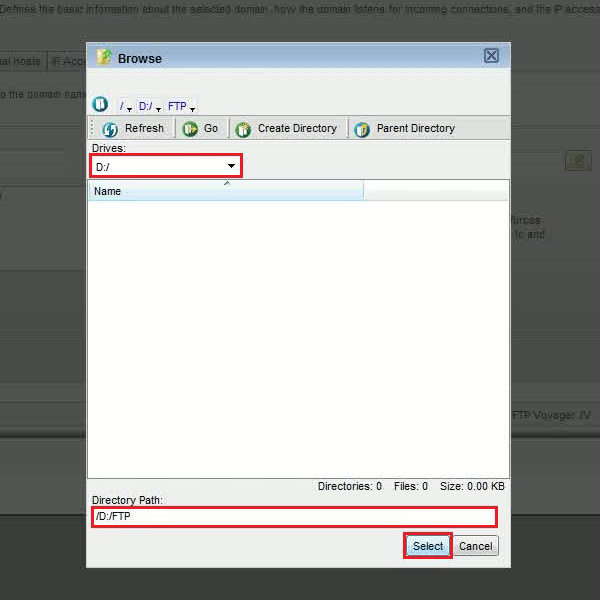
Leave rest of the settings as defaults and finish this wizard. Once this is done, it will ask you to create users for your domain, click on the “Yes” button to continue. First choose a drive and path for your files then click on the “Next” button to continue.
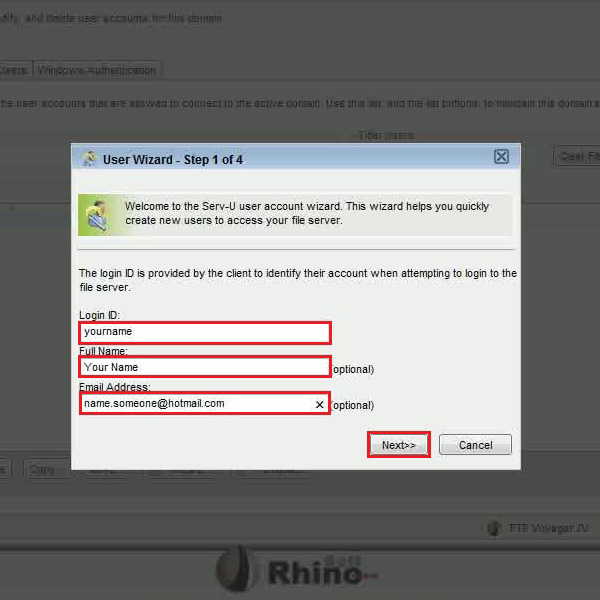
Step # 4 – Entering your Details
Now click on the “Wizard” option to start creating user accounts. Once done, enter the “Login ID”, “Full name” and “Email Address” and click on the “Next” button.
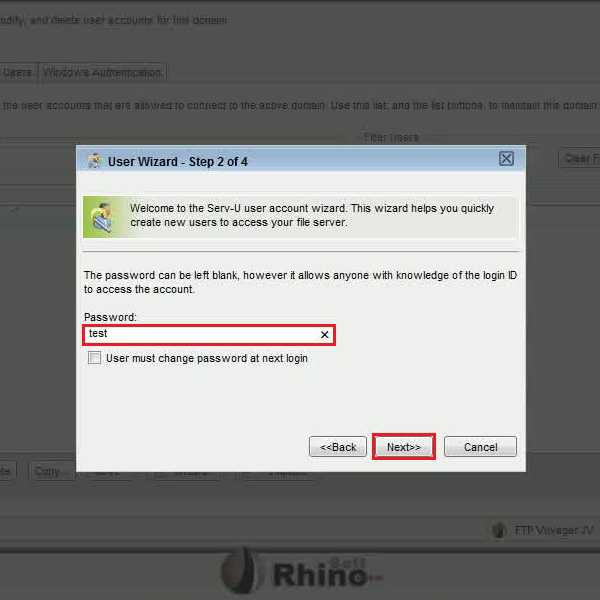
Step # 5 – Choosing a Password
In the next step, it will ask you to enter a password for your account and server. Enter a password according to your choice and click on the “Next” button to continue.
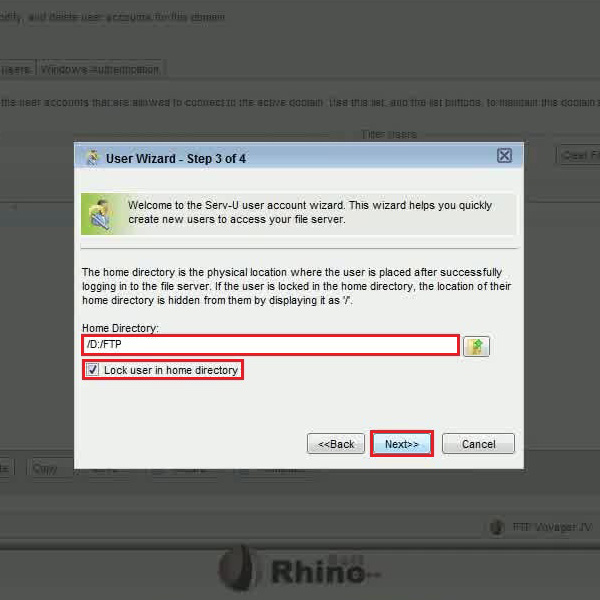
Step # 6 – Setting up a Home Directory
In the next step, choose the home directory again from your computer. You can also enable the “Lock users in home directory” option by clicking on its check box. This option will lock the users in the home directory so that they cannot browse outside the specified directory.
Step # 7 – Setting up the Access Level
Now set the “Access Rights” and click on the “Finish” button to exit from this wizard.

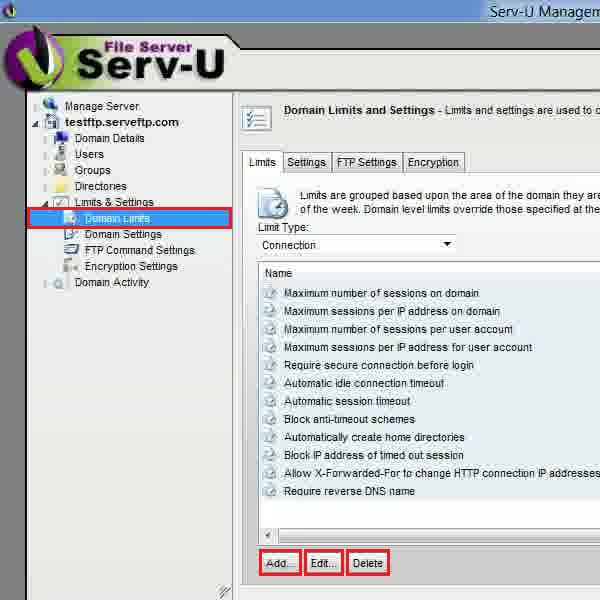
Step # 8 – Setting up the Domain Limits
Once the above steps have been done, click on the “Domain Limits” link, view or change these settings according to your preference and you’re done. You Ftp Server is now completely configured and ready to use.