In this video tutorial we will show you how to use calendar on Mac.
A shortcut for launching iCal is located in your Dock by default. It looks like a tear-off calendar and always displays the current date and month. You can view your calendar by day, week, month or year.

You can sync your Google Calendar with iCal. Go to iCal preferences and select “Accounts” tab. Add your Google Calendar by entering your e-mail and password. Now you Google Calendar is synced with iCal.
On the left are two buttons – “Calendars” and a plus symbol. The Calendars button lets you select the calendars you want to view, while the Plus button helps you quickly create an event.
Let’s add a new event to a calendar and set its reminder parameters. To do this, double-click any area in the hour/day grid. After the “New event” window appears, double-click it and then click “Edit” in the open window.
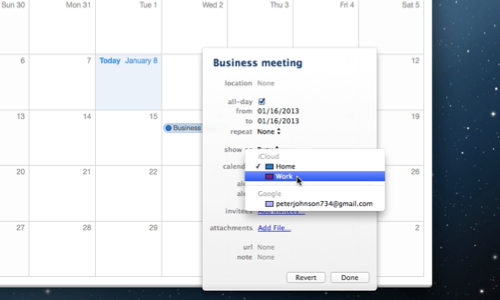
Now choose a name for the event, then specify the duration or check “All day”. Now choose whether you want to be seen as “Busy” or “Free” during the event, then select a calendar for the event. Since we’re creating an event called “Business meeting”, we’ll choose the “Work” calendar.
Now it’s time to create a reminder. Select the reminder type from the “Alert” popup menu. Choose the time for the reminder.
When you’re finished making changes, click the “Done” button.