In this video tutorial we will show you how to use GIMP perspective clone tool.
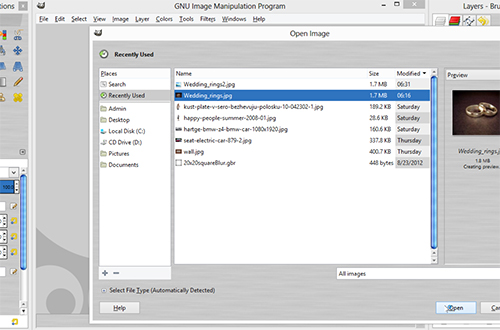
In order to use GIMP perspective clone tool you must start the program. Go to the “File” menu and click “Open”. Choose the image from the folder and press “Open” button.
Use the “Zoom Tool” to increase the image size. Left-click on the image to zoom in. Hold the “Ctrl” button on the keyboard and left-click to zoom out.
Go to the tools menu and choose “Perspective Clone Tool”.
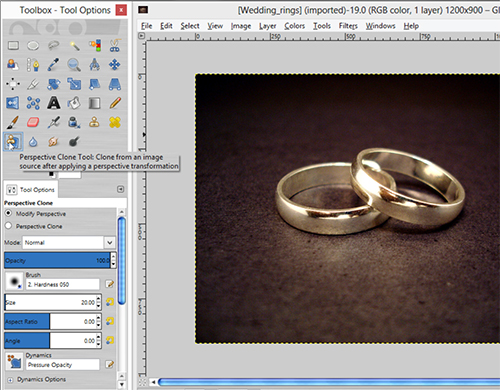
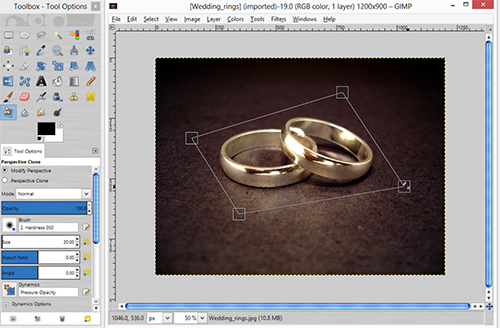
Go to the “Tool options” tab and choose “Modify Perspective” from the “Perspective Clone” menu. Go to the “Tool options” tab and choose “Modify Perspective” from the “Perspective Clone” menu. Go to the upper right corner of the image area and move points of the perspective by holding down left mouse button.
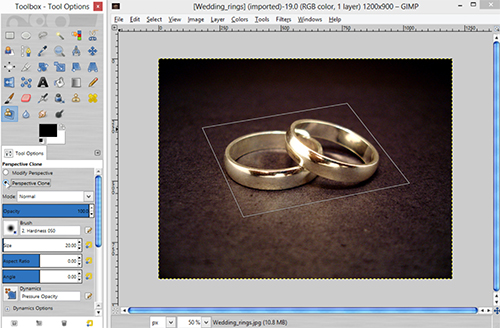
Go to the “Perspective Clone” menu again and choose “Perspective Clone” option.
Go down to the “Tool options” tab and find “Alignment” menu. As you can see, in the drop down menu “Aligned”, “Registered” and “Fixed” options are available. Choose “Aligned”.
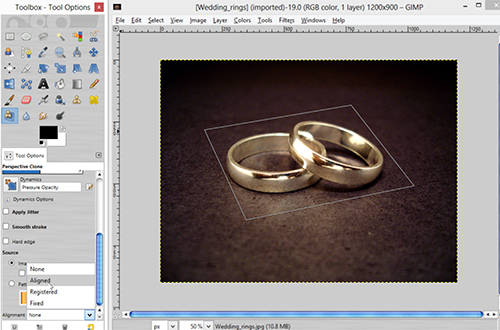
Click on the selected part of the image while holding down the “Ctrl” button on the keyboard to capture object’s texture. Now draw outside the image area by holding down the left mouse button.
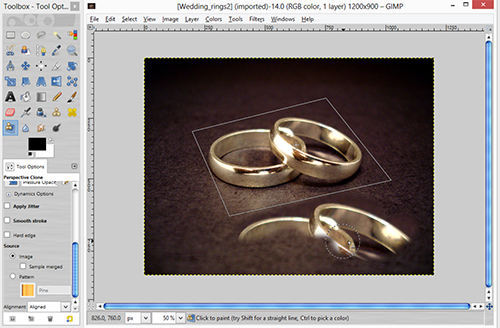
The selected object has been succesfully cloned.
 Home
Home