To use the Lightroom 3 adjustment brush, first locate it in the Develop module
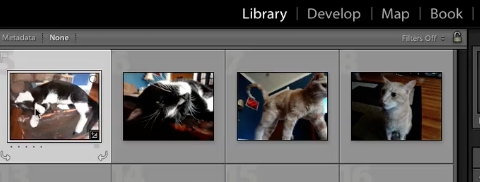
![locate the adjustment brush in the develop module locate the adjustment brush in the develop module](https://howtech.tv/wp-content/images/001698/01.jpg)
Now open a photo within the Develop module,
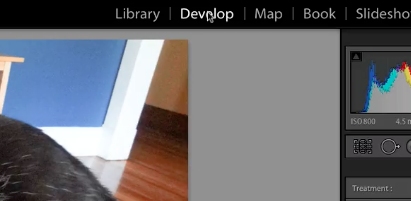
![open a photo within the develop module open a photo within the develop module](https://howtech.tv/wp-content/images/001698/02.jpg)
Then select the Adjustment Brush tool, which looks like a circle with a rod coming out of its right hand side.
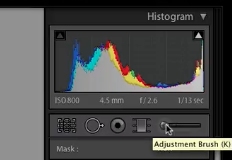
![select the adjustment brush tool select the adjustment brush tool](https://howtech.tv/wp-content/images/001698/03.jpg)
Then choose the size and type of the Adjustment Brush
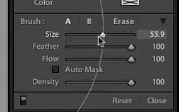
![choose the size and type of the adjustment brush choose the size and type of the adjustment brush](https://howtech.tv/wp-content/images/001698/04.jpg)
Finally drag it to the photo and move it around the area you want to adjust.
![drag it around the photo to add the effect drag it around the photo to add the effect](https://howtech.tv/wp-content/images/001698/05.jpg)
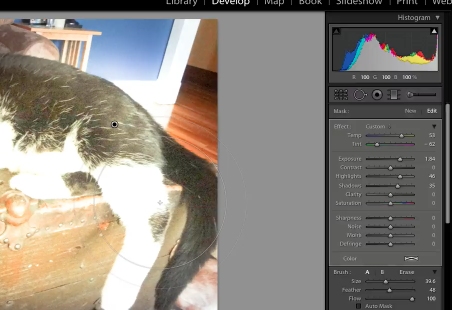
The Mask button changes to Edit and you can now use the Effect sliders for further manipulation.
![use the effects sliders for further manipulation use the effects sliders for further manipulation](https://howtech.tv/wp-content/images/001698/06.jpg)