A good feature of cs5 Illustrator, software by Adobe is that it provides you with the option to align your drawings. This is an inbuilt feature that can be turned on and off according to your requirement of the Illustrator objects present on your page. Different Adobe Illustrator lines appear on your page when you move your artwork around showing you where the drawing is aligning and who it is aligning with. Therefore learning how to use smart guides in Adobe Illustrator can prove to be very helpful.
Step # 1 – Align artwork
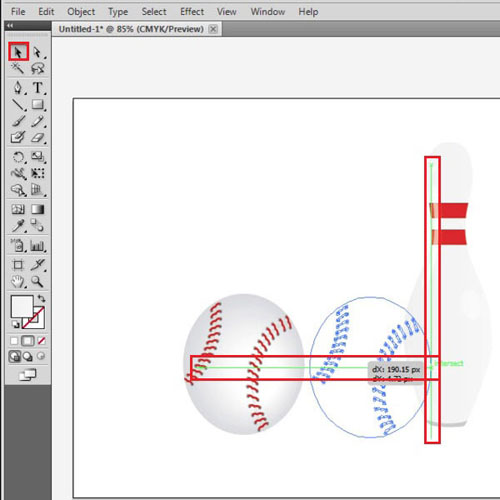
Whenever you move around your artwork with the selected tool, green lines will appear automatically, that show the alignment from one artwork to the other. It will show them to align the illustration you are moving with other present drawings both vertically and horizontally.
Step # 2 – Turning off smart guides
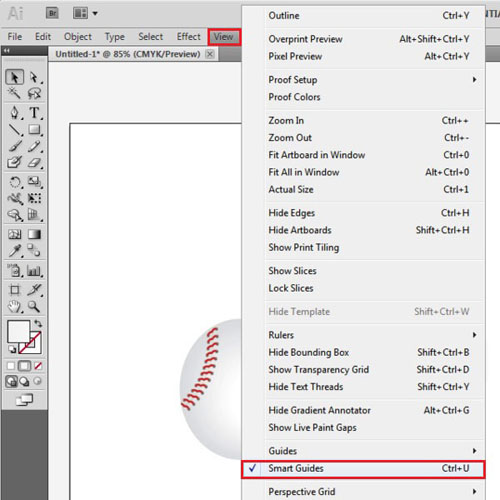
To turn the guides off, go to the “view” option on the menu panel. Drop down to “smart guides” and unclick the option. However, it is helpful to keep the smart guides switched on, especially its alignment feature as it comes in very handy while working in Illustrator.
Step # 3 – Open the smart guides settings panel
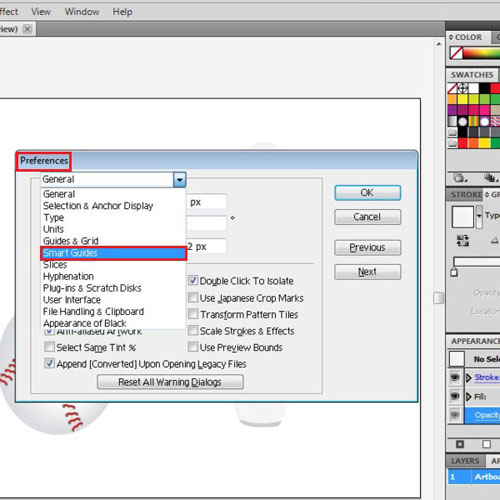
To change the settings of the smart guides, go to the preferences panel. Open this by pressing “ctrl + k”. From the drop down menu, go to the smart guides options.
Step # 4 – Altering the smart guide settings
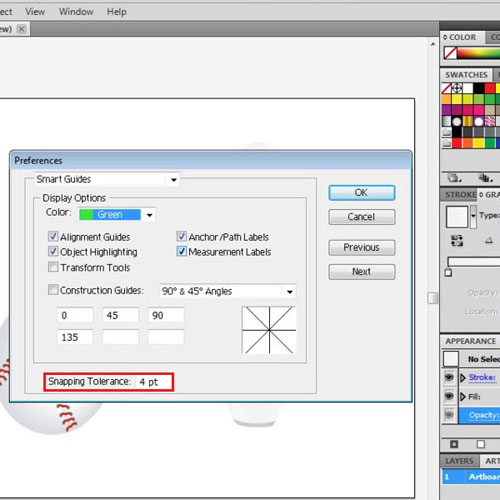
From over here in cs5 Illustrator, you can alter the color of the smart guides. The highlighting of the object, and different labels shown by the smart guides can be unchecked and turned off from here as well.
More construction guides can be turned on. You can choose their angles from the drop down menu or specify your own angles by clicking “custom”.
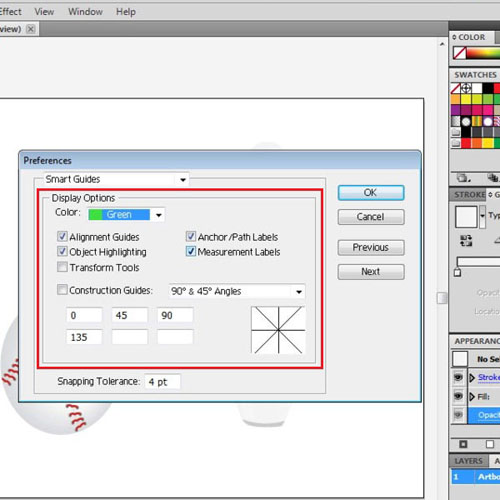
Step # 5 – Varying the snapping tolerance
The option in the extreme bottom is your snapping tolerance. If you increase it, then smart guides will appear even if the objects are far away. Hence, longer alignment lines will appear.
Decreasing the snapping tolerance will ensure that the guides appear when the illustrator objects are closer to each other.