MS word is a great application which offers you a wide number of features that you can use in order to edit and modify your document and make it more attractive, or professional looking. Similarly, we are going to be teaching you about one such feature in this tutorial.
In this Microsoft word tutorial 2010 you are going to learn how to choose a paper size for a document according to your specifications. Generally whenever we work on MS Office a default paper size is automatically selected. However, in this tutorial based on word 2010 tutorial you will see how you can select a specific paper size according to the type of document you are working on, and other such bases.
Step # 1 –Selecting the Legal size
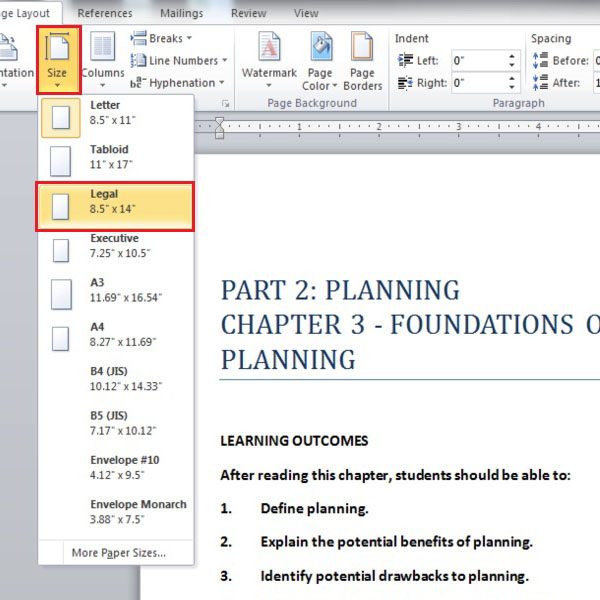
Firstly, you will need to go to the ‘Page Layout’ in the top ribbon and click on the ‘Size’ button drop down arrow available in the Page Setup menu. Once this is done, you will be able to see a variety of choices appear on your screen in the form of a list. In this case, we will be choosing the option titled ‘Legal’ whose dimensions are 8.5” x 14”.
Step # 2 – Applying legal size page settings
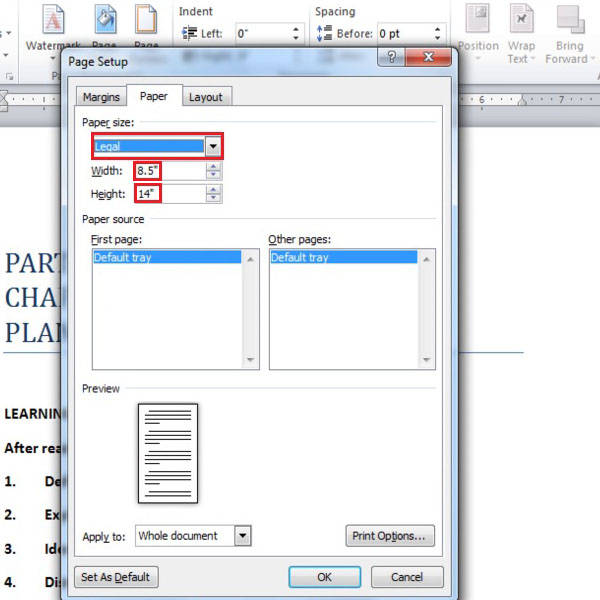
Once the paper size is selected, you can modify options for the page source. In order to do so, you will have to go to the ‘Size’ tab again, as done in Step # 1 and click on ‘More paper sizes’ given at the end of the list of paper sizes. Using another method, you could simply click on the ‘Page Setup Dialogue box’ launcher given in the Page setup menu. Now a dialogue box will appear on your screen, displaying various options regarding the Size, Height and Width for the Legal document page. These settings for the various dimensions can be changed by clicking on the drop down arrows given in front of the ‘width’ and ‘Height’ options that you would like to alter.
Step # 3 – Using Page source
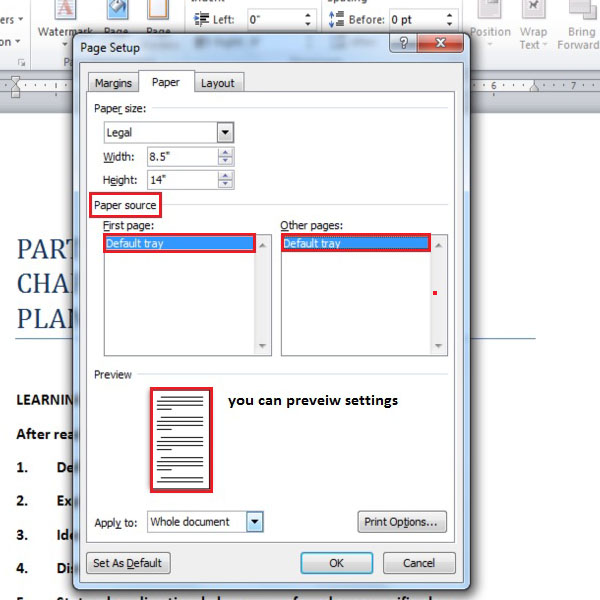
Some printers have various trays according to the sizes of the pages being printed. You can choose a specifc page source from the dialogue box that previously appeared on your screen. In this dialogue box there will be a tab labeled ‘Paper’ which you must select in order to make changes to the paper source. Sometimes the first page is different from the others, and thus in such a case, you must make required changes using the ‘Page Setup’ dialogue box.
In this case, we have chosen to use the ‘default tray’ as we have one slot for both papers. You can even now preview the changes you have made at the end of the Paper tab in the Page Setup dialogue box.