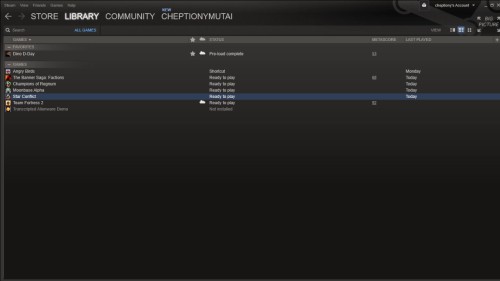
Before you start voice chat with friends on steam, you need to have active games on your steam account. Also you need to cross check your microphone and headset to ensure that its correctly plugged in.
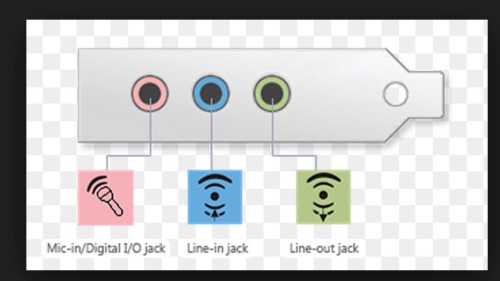
Step #1 locate your ‘line in’ your computer
In your computer, locate the ‘line in’ and headset slot. The line in slot has an image of a microphone above it depending on the model. Make sure the pins are inserted to the right positions.
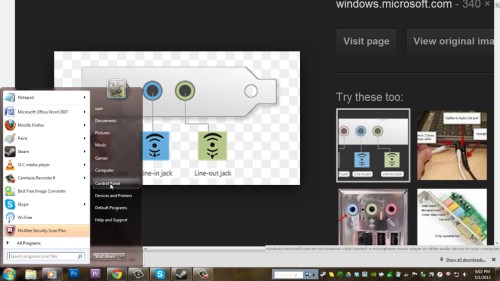
Step #2 Go to your control panel
Go to start and select control panel. You may alternatively use the audio icon on your desktop toolbar.
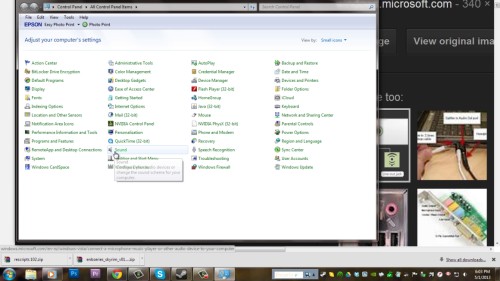
Step #3 select ‘sound’
Select ‘sound’ from the list of computer settings.
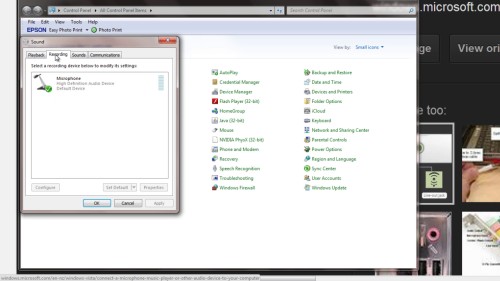
Step #4 clicks ‘recording’ on the sound window
On the sound window, click ‘recording’. Start speaking on the microphone and observe the feedback from your computer. You will see green light popping on the recording window. This indicates that your microphone is working properly.
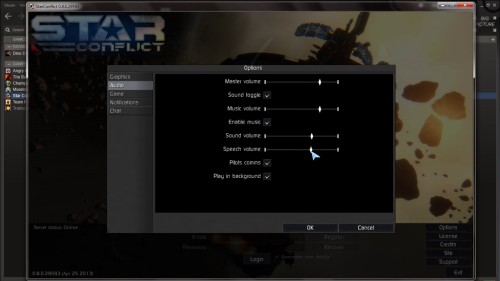
Step #5 choose ‘enable voice in the game’ on your game options
Load your game on steam. On game options, ‘choose enable voice in the game.’ Click on ‘keyboard’ and locate ‘use voice communication.’ Look to see what key is assigned to the command. Hold down this button on your keyboard when playing the game to use the microphone.
And that is it.
Thanks for watching this video tutorial, Leave comments and ask your questions by our e-mail feedback@howtech.tv.That was Howtech dot TV tutorial. Thank you for watching!