People usually don’t know how to set the perfect color scheme on their LCD monitor. There are many applications and tools available which help you to adjust and apply suitable display settings on your LCD screen. In this tutorial we would be using the windows color calibration system. By the end of this guide, you will learn how to do an LCD monitor calibration in a simple and easy way.
Step # 1 – Launch the Color Calibrating Application
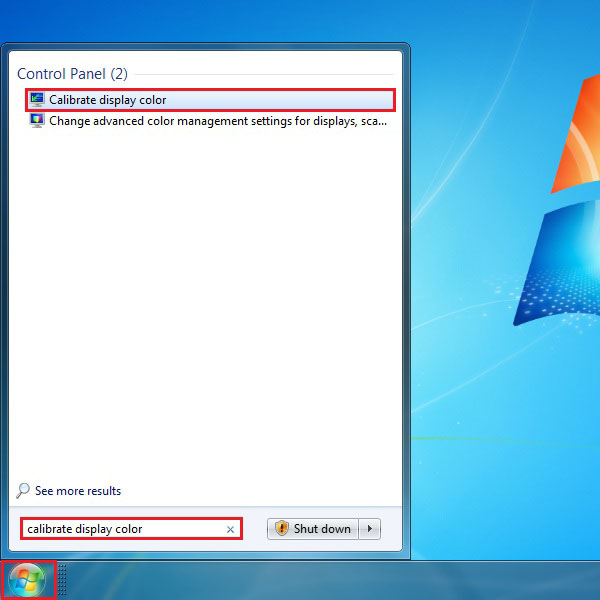
In the first step, click on the start menu and type “Calibrating Display Color” in the search box. Windows will display the color calibrating application in the search result. Click on it to open the application.
Step # 2 – Home Screen
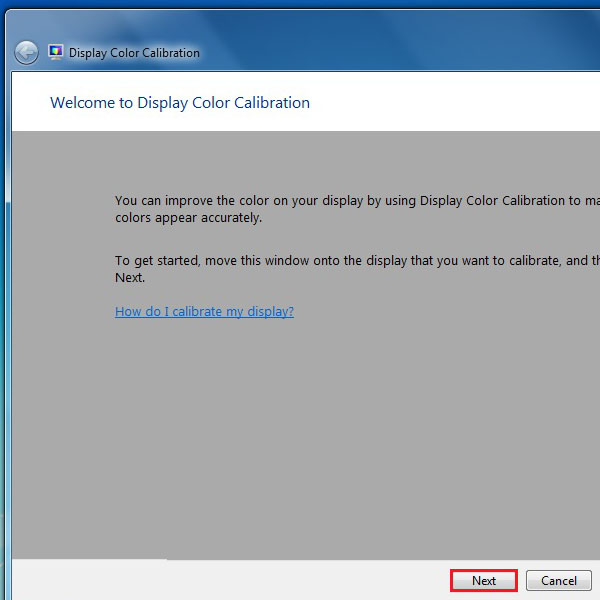
A home screen of the application will appear right in front of you. Click on the “Next” button to continue.
Step # 3 – Display Guides
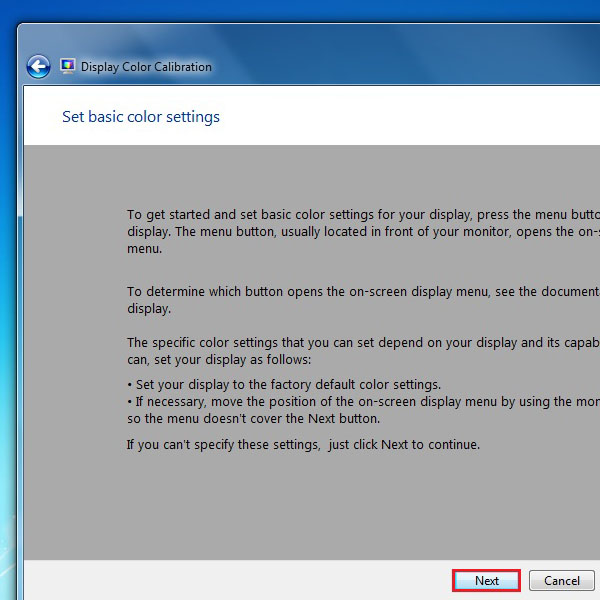
In the next window, a general guide would be displayed, giving you all the details related to the color settings. You can learn a few procedures from this description. However, if you wish to let windows do it automatically, click on the “Next” button.
Step # 4 – How Does Best Gama Look
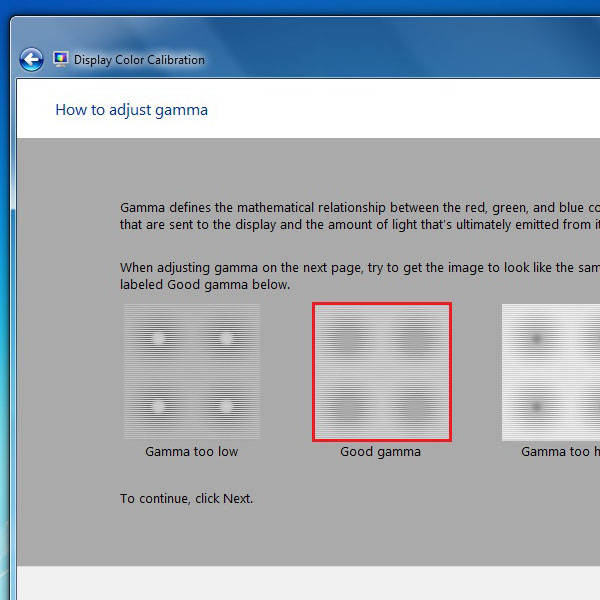
In next step, three boxes with small dots will appear on your screen. These boxes show examples of the Gama range. First box from the left shows too low Gama, middle box shows the perfect Gama and the last one shows a higher range of Gamma. Carefully view the best Gama range box and memorize how it looks. Once done, click on the “Next” button.
Step # 5 – Adjust Gama Properties
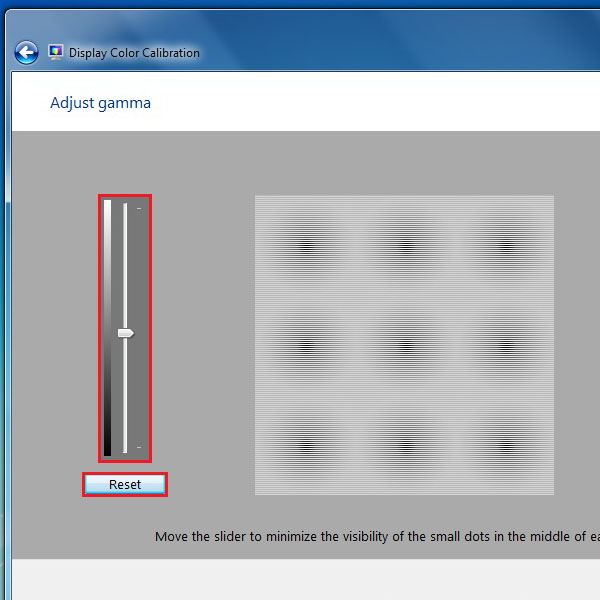
Now on the next screen, try to recall the best Gama range box and adjust the Gama accordingly. There is a slider available on the left side of the window to adjust the Gama range. You can also set the default settings by clicking on the “Reset” button. After adjusting it, click on the “Next” button.
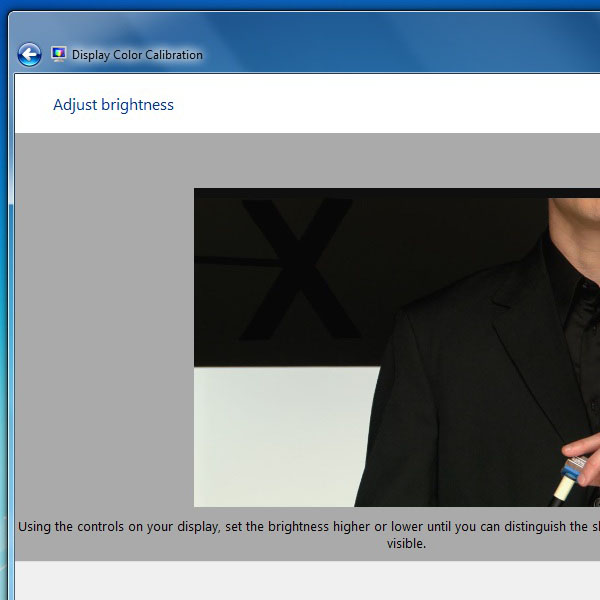
Step # 6 – Brightness Guide
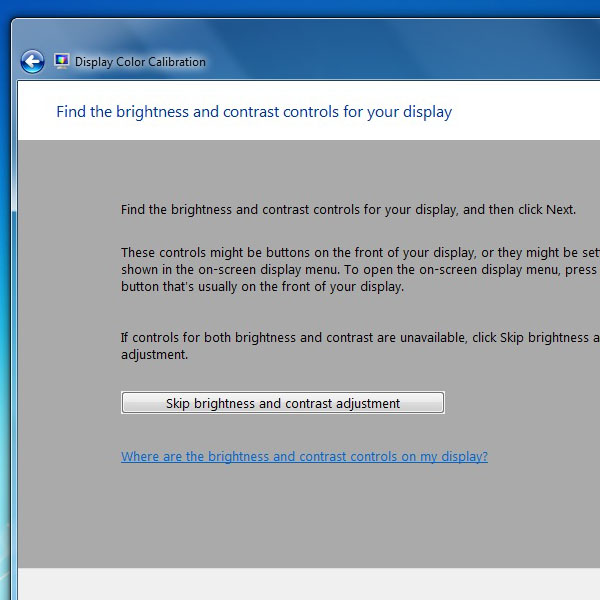
Now a complete guide will be displayed right in front of you showing you how to manually adjust the brightness of your screen. Follow these instructions if you want or click on the “Next” button to continue with the calibrating process.
Step # 7 – Perfect Brightness Example
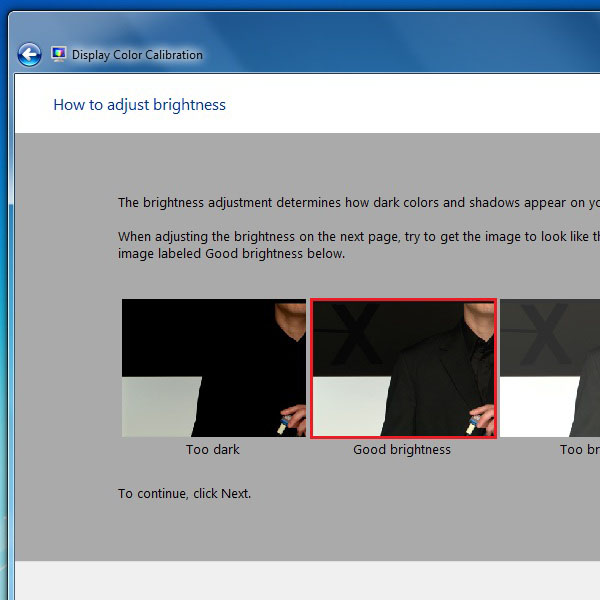
This window will provide you with three examples related to the brightness. The first picture from the left shows a darker image, the middle picture shows the perfect setting and the last one shows an example of a brighter screen. Like the previous step, memorize the best brightness example and click on the “Next” button to continue.
Step # 8 – Adjust the Brightness Level
Use the keyboard to adjust the brightness of your screen. These settings can also be adjusted from the “On screen buttons” available in front of your LCD screen. Adjust the brightness and proceed to the next step by clicking on the “Next” button.
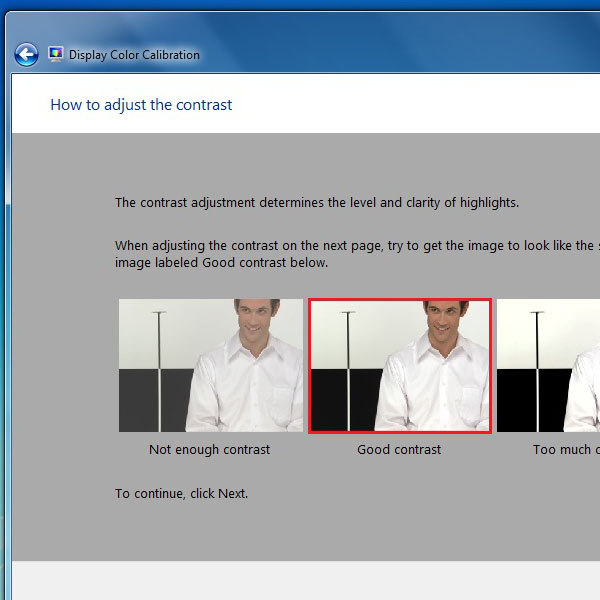
Step # 9 – Perfect Contrast Example
Three examples of the contrast levels would be displayed next. The first one from the left shows lesser contrast levels; the middle picture shows the perfect contrast level and the last one shows higher contrast levels. Memorize the perfect contrast example and move on to the next step by clicking on the “Next” button.
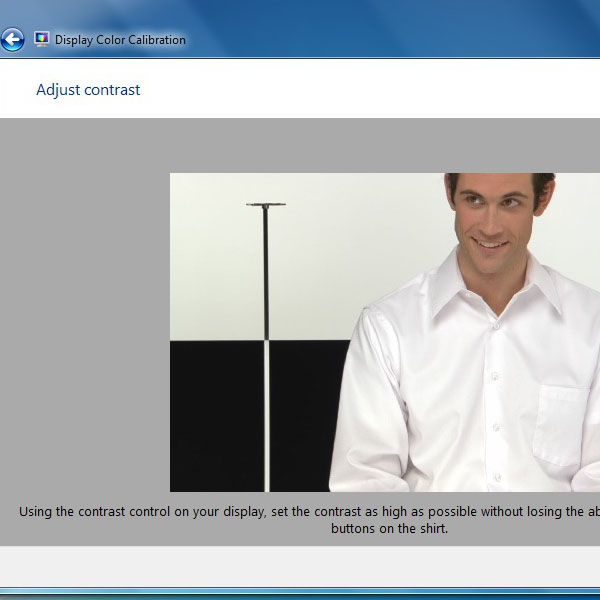
Step # 10 – Adjust Contrast Level
In the next step, adjust the contrast level of your screen by using the “On screen buttons” available in front of your LCD screen. Adjust them according to the best contrast example which was displayed in the previous step. After making the proper adjustments, click on the “Next” button to continue.
Step # 11 – Perfect Color Balance Example
In the following step, you will see a perfect color balance example. Now click on the “Next” button to manually adjust the color balance yourself.

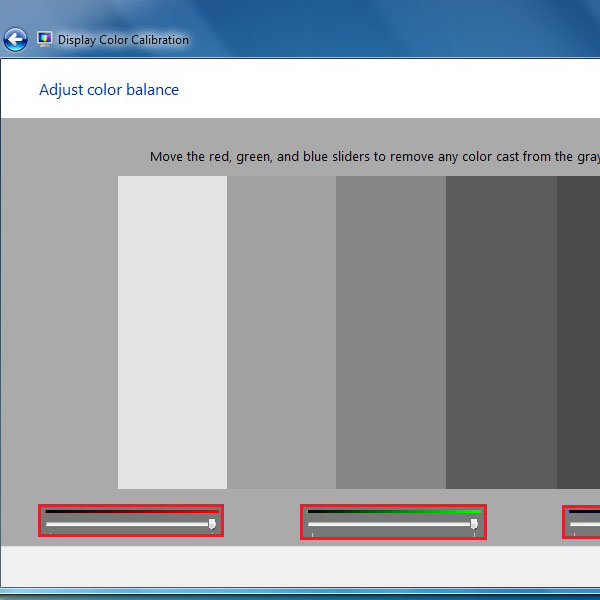
Step # 12 – Adjustment Of Color Balance
In this step, there are three color sliders available. These sliders can adjust Red, Green and Blue colors respectively. Adjust these sliders which best suites your preference and then click on the “Next” button to move towards the next step.
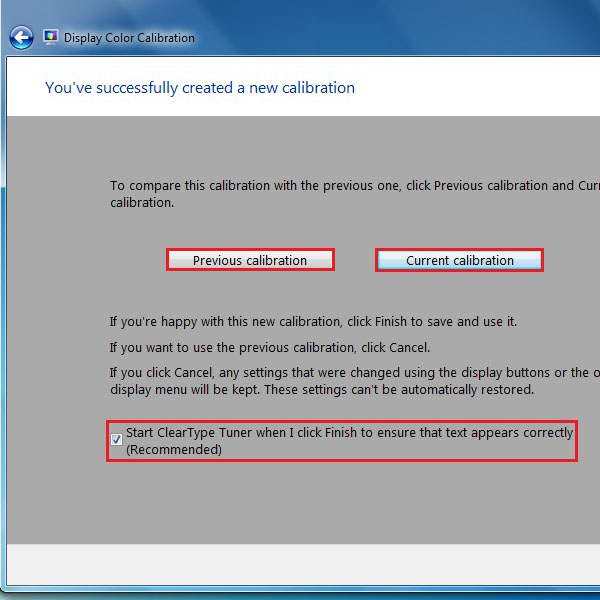
Step # 13 – Compare Previous And Current Calibration
In the last step, you can compare your previous color and brightness settings with the current display, after applying the calibration settings. Switch to the view which you like the most. There is also the option of “Clear Type Tuner”, right at the bottom side of the window. Select this option to open it after completion of the calibrating process and then click on the “Finish” button to exit.
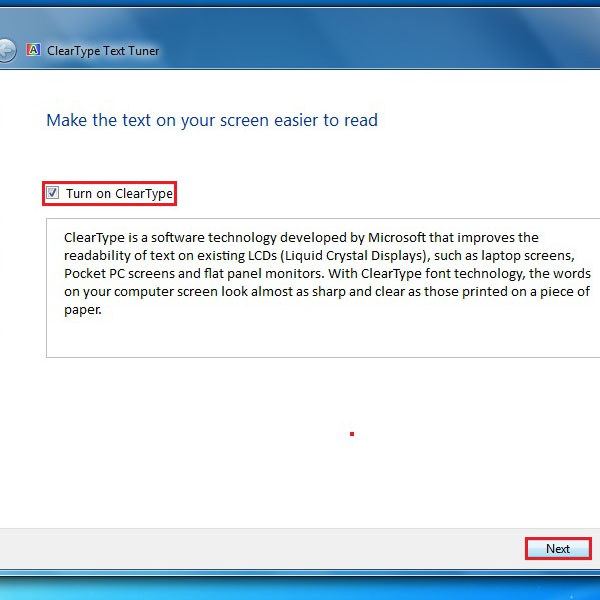
Step # 14 – Turn On the Clear Type Option
Clear Type is the latest option available in windows which allows the screen fonts to appear brighter and clear. Once the Clear Type Tuner window has opened, click on the check box to enable the clear type option and then click on the “Next” button.
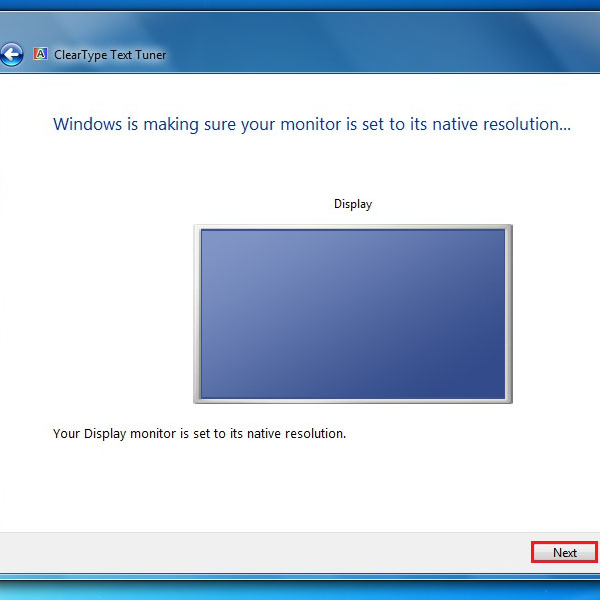
Step # 15 – Windows Display Scan
In the next step, windows will automatically scan your current screen resolution and display settings. After that, click on the “Next” button to continue.
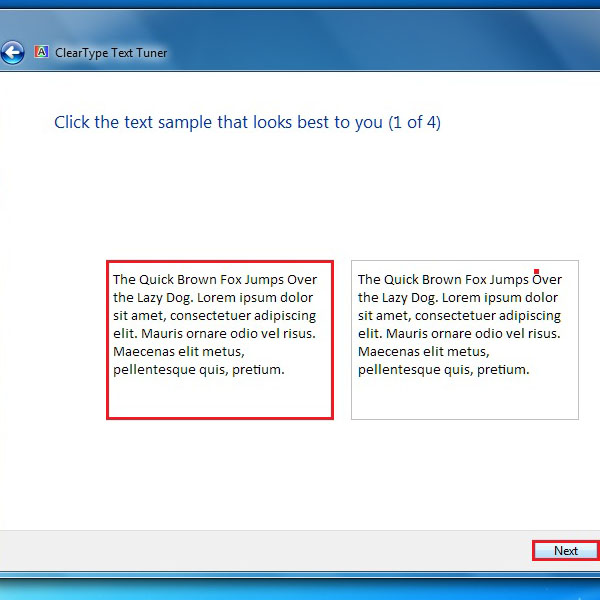
Step # 16 – Display Text Examples (1 of 4)
In the next few steps, you will see a series of font displays. You will have to select the text display which shows clear fonts and looks best according to your requirements. After selecting it, click on the “Next” button to move on to the next phase.
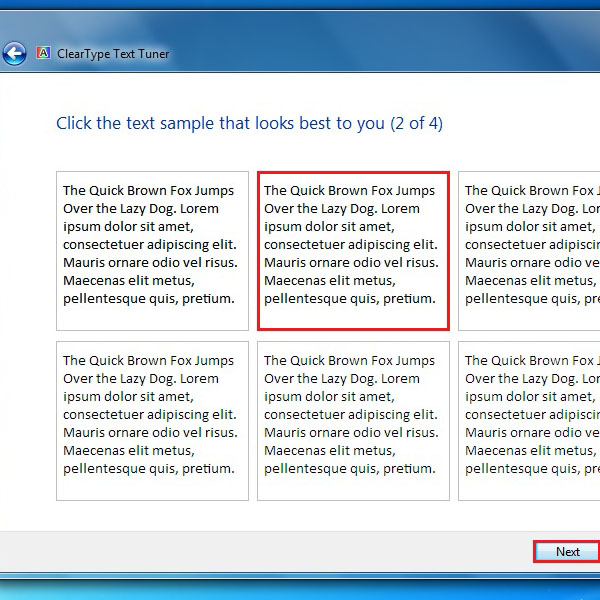
Step # 17 – Display Text Examples (2 of 4)
Repeat the last procedure by selecting the box which has the most clear fonts displayed in it. Click on the “Next” button to proceed.
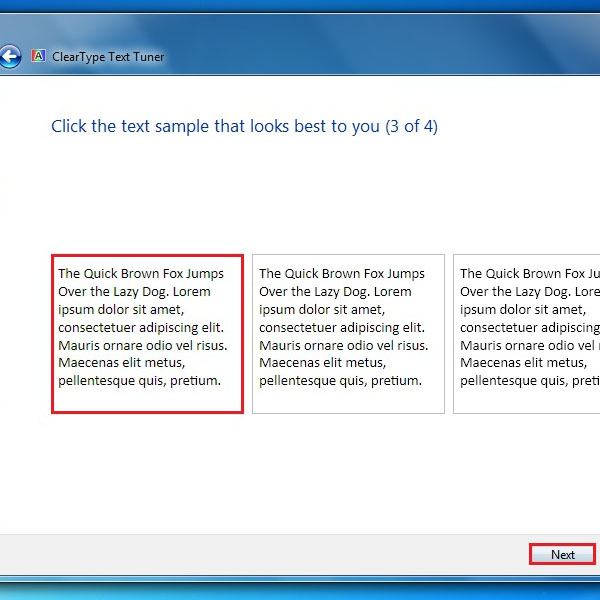
Step # 18 – Display Text Examples (3 of 4)
The same procedure has to be followed in this step as well. Select the brighter and most clear fonts from among the choices displayed in front of you. Click on the “Next” button to proceed.
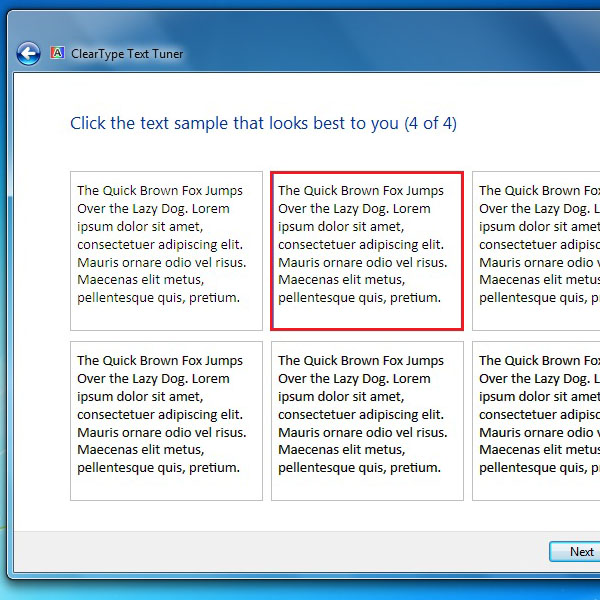
Step # 19 – Display Text Examples (4 of 4)
Follow the same process here like the last three steps and select the option which looks more clear and visible. Click on the “Next” button to continue.
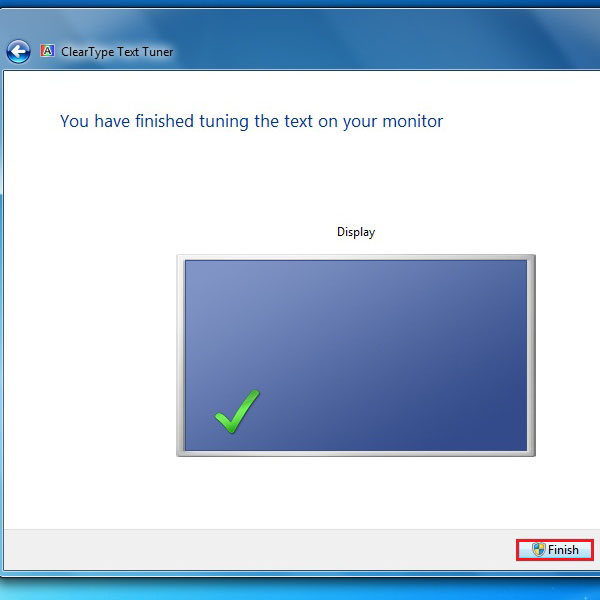
Step # 20 – Finishing the Process
When completed successfully, windows will display a confirmation message in the last step. Click on the “Finish” button to save these settings and exit.