Photoshop is widely considered as the most helpful and powerful image editing application today. The best thing about Photoshop is that you can create various authentic and genuine effects on images and portraits of all kinds. Here we are using the Photoshop liquify filter to add a smiley effect on a portrait. Follow the step by step guide to learn how to apply subtle changes on portraits in Photoshop.
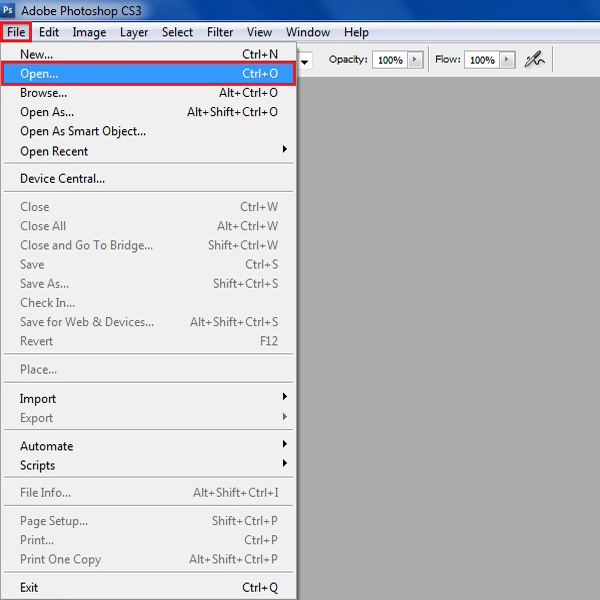
Step # 1 – Open the File Menu
First of all open Adobe Photoshop and go to the “File” menu, available at the top left corner of the screen. Click on it and select the “Open” option from the menu to load an image.
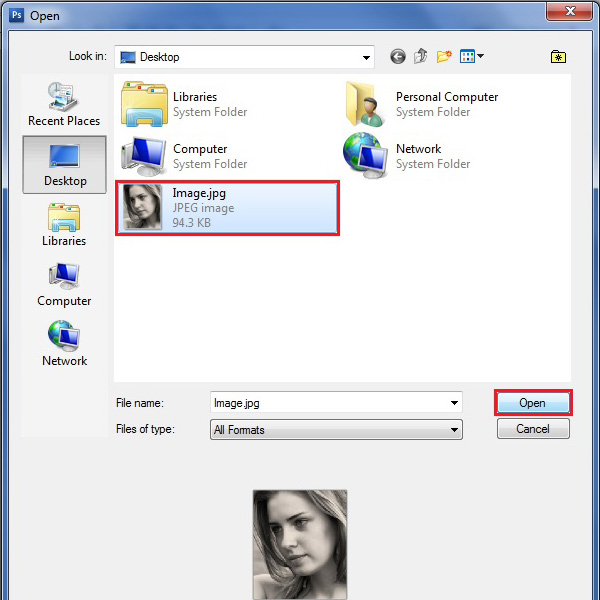
Step # 2 – Select a Portrait
Once the window opens, you can browse through to find your desired portrait. Select the desired image and click on the “Open” button to load it on to the canvas.
Step # 3 – Open the Liquify Filter Panel
Now go to the “Filter” menu, located at the top of the window. Click on it and select the “Liquify” filter from the list. This will open a Liquify Filter panel which will allow you to further edit the image..

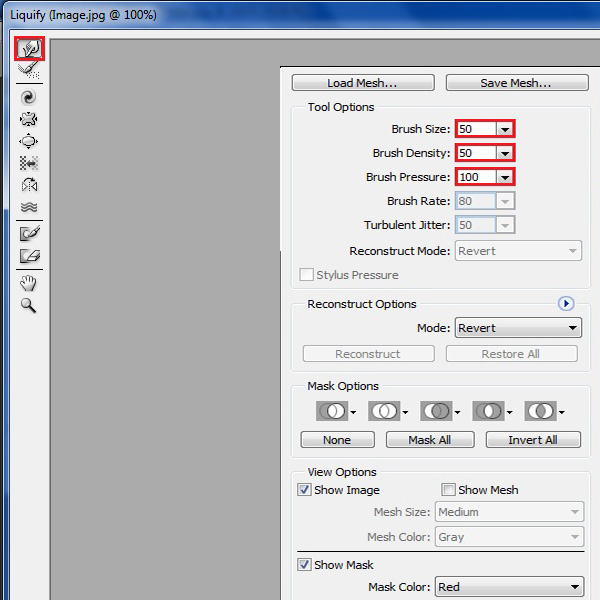
Step # 4 – Adjust the Brush Size and Features
Next, we shall click on the “Forward Warp” tool option, located at the top left corner of the screen. Once selected, adjust the “Brush Size” to “50”, “Brush Density” to “50” and “Brush Pressure” to “100”. Leave the rest of the options with their default values.
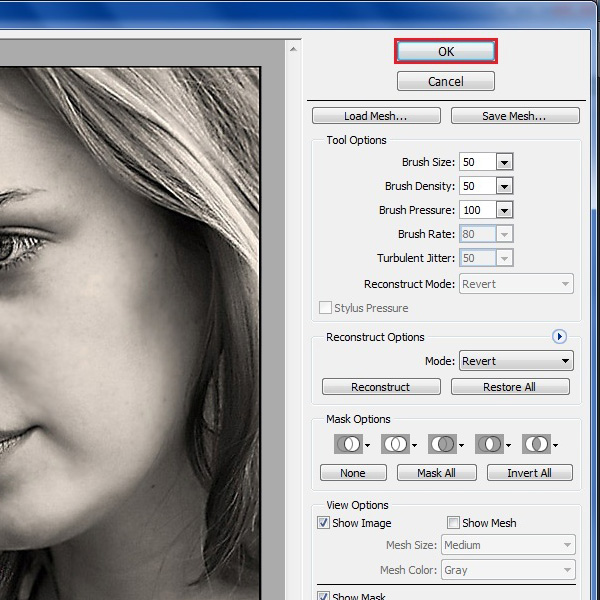
Step # 5 – Apply the Filter
Once the brush is set, click on the corner of the lips in the image and drag it in a way to create a smiley effect on the face. You may have to try it several times to get the required effect. Once it’s done, click on the “OK” button, located at the top right corner of the window. This will apply the changes created by you on the image.