To change icon size windows makes the process easy, this tutorial will show you how to change the size of your icons to make the system easier for you to use.
Step # 1 – Making the Menu Bar Visible
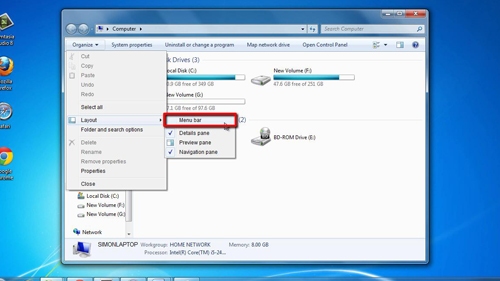
As a default setting you cannot view the “Menu Bar” in Windows 7 and this is needed to adjust the icon size. Click “Start” then click on “Computer”. In this window click “Organize” in the top left and go to “Layout” then click on “Menu Bar”.
Step # 2 – Changing Explorer Icons
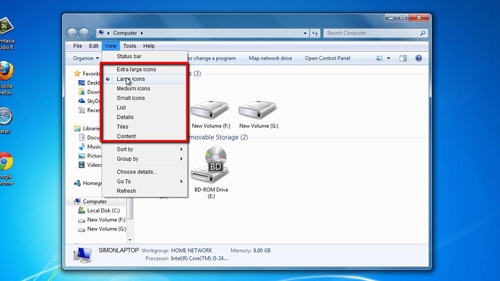
You will now see a new bar has appeared in the explorer window, it reads “File”, “Edit” etc. To change the icon size click on “View”, in this menu you’ll see several different icon size options, click on one of these and it will change the icon instantly. Select the size that you prefer.
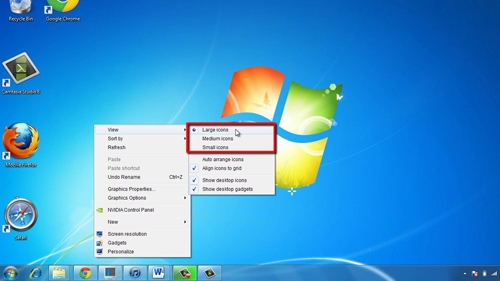
Step # 3 – Changing Desktop Icons
To change icon size windows makes it even easier to adjust the icons on the Desktop. Click back to the desktop and right click anywhere, navigate to “View” then select the size of icon you want, “Small”, “Medium”, or “Large”.