In this tutorial, we would be focusing majorly on using the displacement filter for the effect. To learn how to use the displacement filter in Photoshop you can check out the basic Photoshop tutorials here. With basic image editing techniques we would be teaching you how to create a wall painting effect in Photoshop.
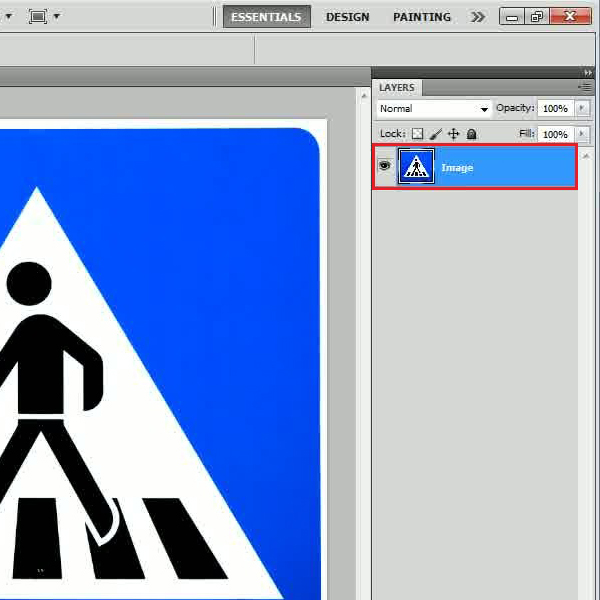
Step # 1 – Load an Image
In the first step, launch Adobe Photoshop and load an image on which you would be working on. Here we are using an image of a traffic sign which works best in this situation. You can choose any image of your choice. However it should be kept in mind that some results may vary according to the different images.
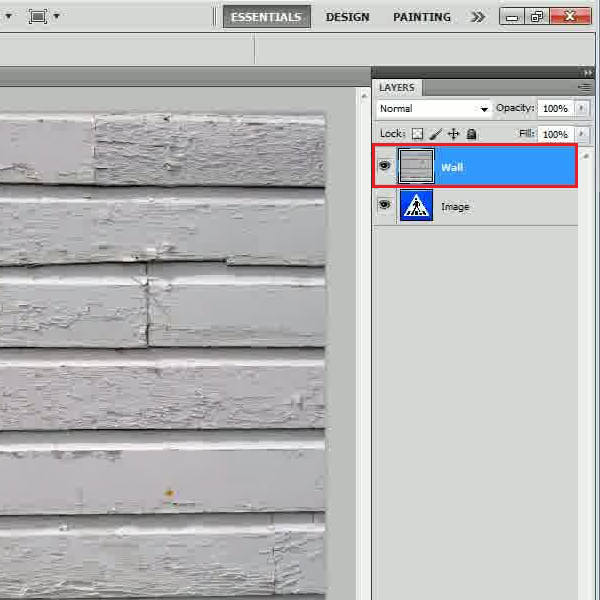
Step # 2 – Insert an Image of a Wall
Now go to the “File” menu, select the “Open” option and choose an image of a wall. Bring the image on to the canvas and position it right at the top.
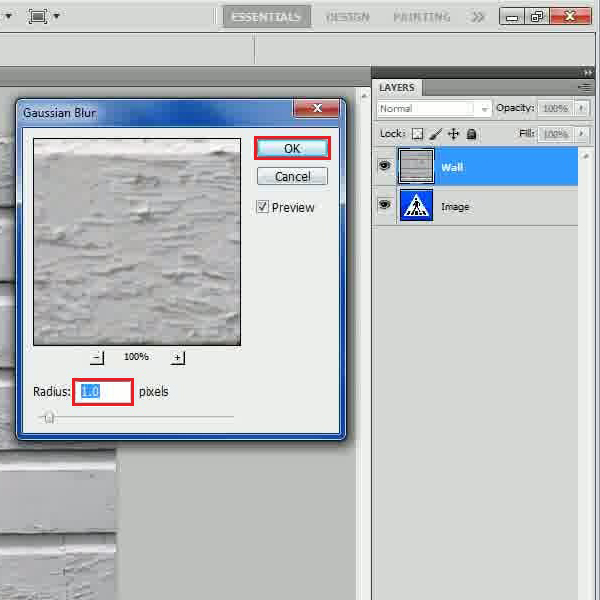
Step # 3 – Apply the Gaussian Blur Filter
Go to the “Filter” menu, select “Blur” and click on the “Gaussian Blur” filter from the list. In the filter settings panel, set the “Radius”to“1 pixel”. After changing this, click on the “OK” button to apply these settings on the image.
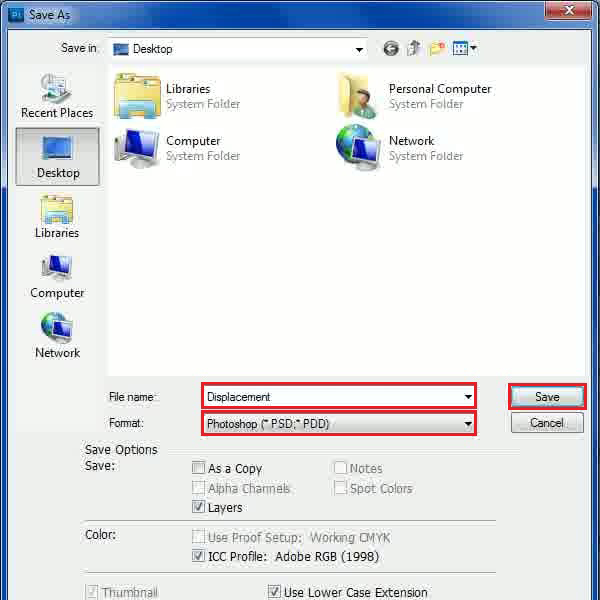
Step # 4 – Save the Displacement File
After applying the filter, go to “File” menu again and save this file. Name the file “Displacement” and save it in the PSD format.
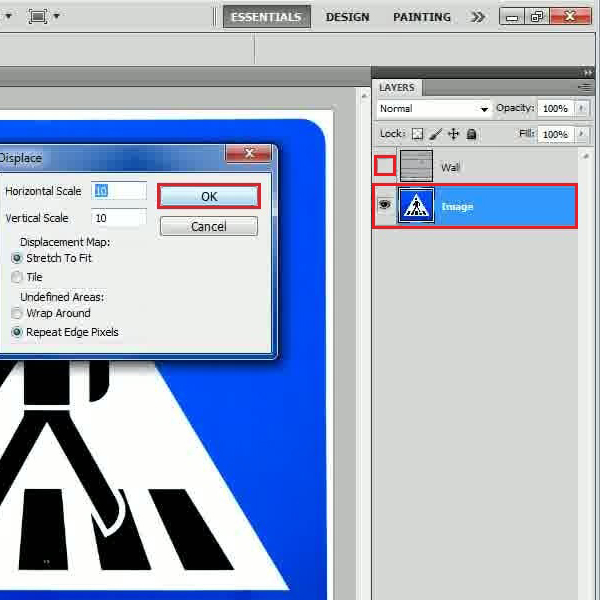
Step # 5 – Choose the Displacement Settings
Now hide the “Wall” layer and select the “Image” layer. Go to the “Filter” menu, select “Distort” and click on the “Displace” filter from the list. Leave the default settings as it is and click on the “OK” button to continue.
Step # 6 – Load the Displacement File
A browsing window will appear in front of your screen which allows you to select a displacement map for the effect. Choose the “Displacement.psd” file which we have created in the previous step. Once selected, click on the “Open” button to load it on the canvas.

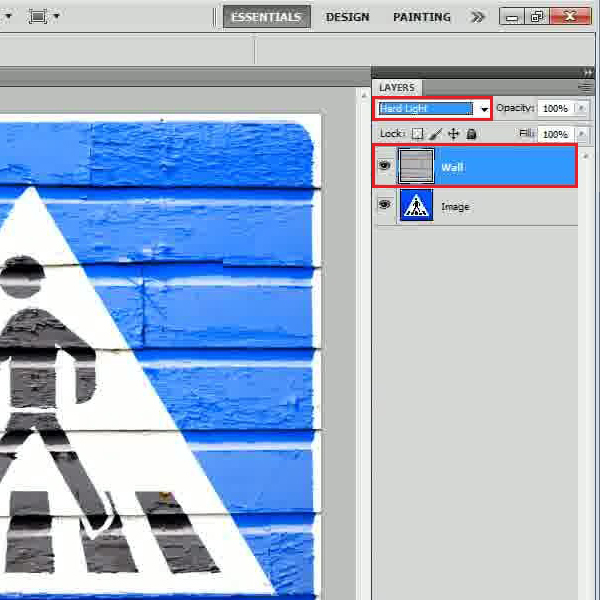
Step # 7 – Change the Blending Mode
In the final step, make the “Wall” layer visible again. Now move over to the “Blending Mode” of this layer and change it to “Hard Light”. And that’s it for your basic effect.