Playing with filters and editing the colors is what Photoshop is all about. In this tutorial, we would be using nothing but the basic tools available to create vintage effects on an image and bring back the classic old movie effect.
Follow this step by step guide to learn how to create an old movie effect in Photoshop.
Step # 1 – Load an Image
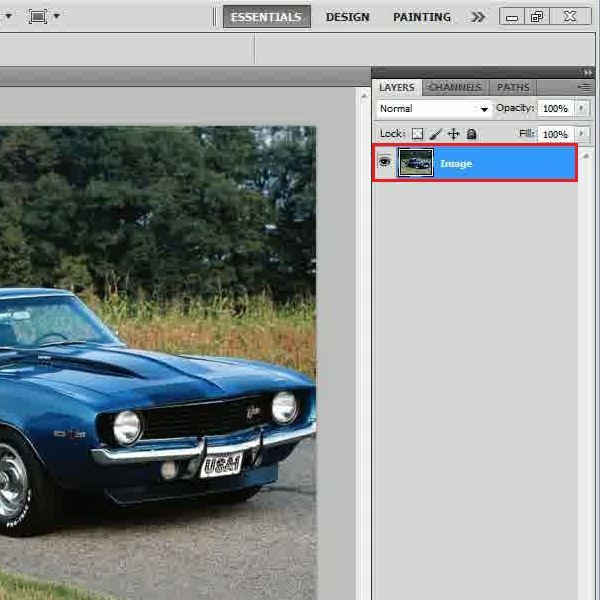
In the first step, launch Adobe Photoshop, load an image and bring it on the canvas. Here in this tutorial we are using an image of a vintage car.
Step # 2 – Desaturate the Image
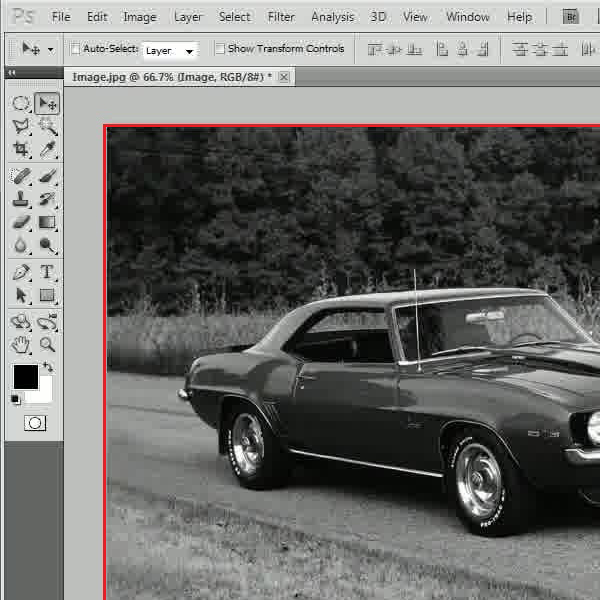
After loading the image, go to the “Image” menu and move over to the “Adjustments” category. Click on the Desaturate option from the list.
Step # 3 – Apply the Gaussian Blur Filter
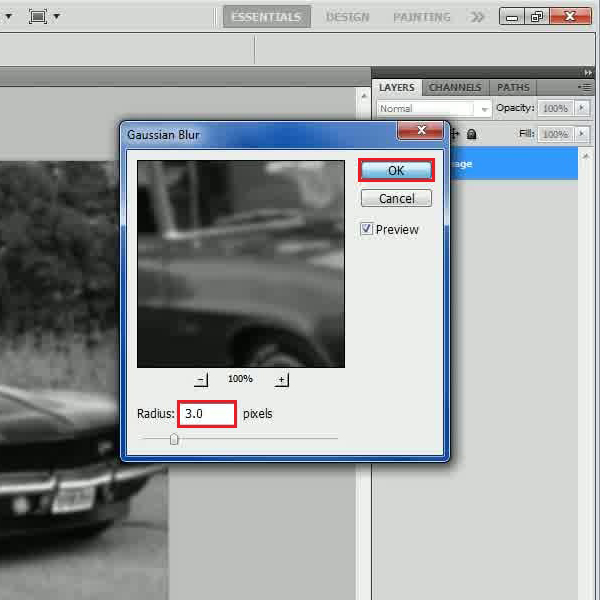
Go to the “Filter” menu, select “Blur” and click on the “Gaussian Blur” filter from the list. In the filter settings panel, set the “Radius” to “3 pixels”. After changing its value, click on the “OK” button to apply this filter on the image.
Step # 4 – Apply the Grain Filter
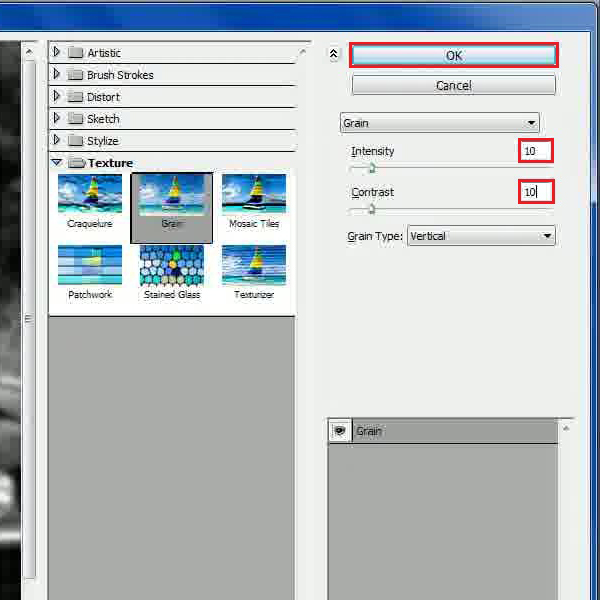
After applying the Gaussian blur filter, go to the “Filter” menu once more, select “Texture” and click on the “Grain” texture from the list. In the window towards the right side of the screen, set the “Intensity” level to “10” and “Contrast” level to “10” as well. After changing these values click on the “OK” button to apply this filter on the image.
Step # 5 – Inserting Text to the Image
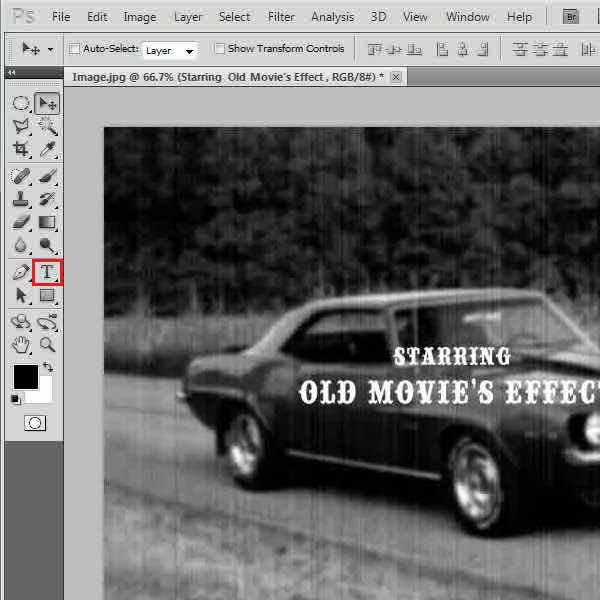
And that’s basically it for the effect. Now we would be adding the text to add depth to the image. For this purpose, select the “Text” tool from the menu which is available at the left corner of the screen and add a suitable text that blends in well with the image.
 Home
Home