Using different Illustrator shapes you can create a simple landscape. Creating such vector art in Adobe Illustrator is very easy and not time consuming.
To learn how to create landscape in this software, follow the steps below.
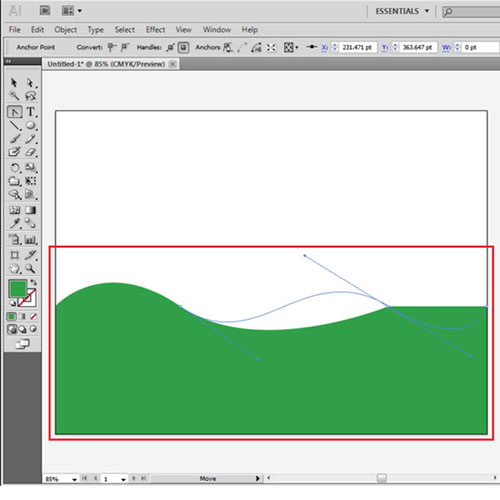
Step # 1 – Make the grass
First of all start by making the grass. Select the “pen tool” and enter two points at the bottom edges, then move upwards add one on the left, two in the middle, one on the right and then close the shape. Curve the two anchor points in the center by using the “convert anchor point tool”.
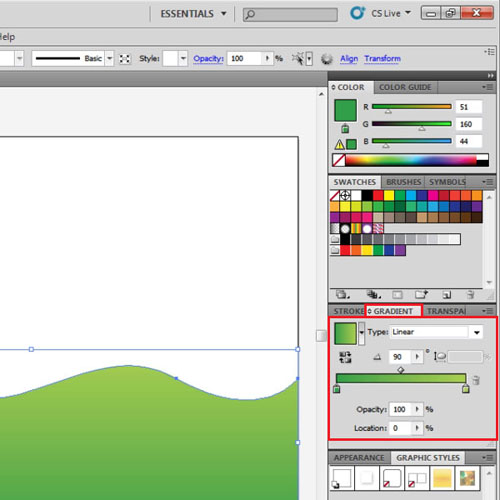
Step # 2 – Alter the grass
Add gradient to this shape with the right color stop at the value “R=171 G=218 B=77” and the color stop on the left at “R=51 G=160 B=44”.
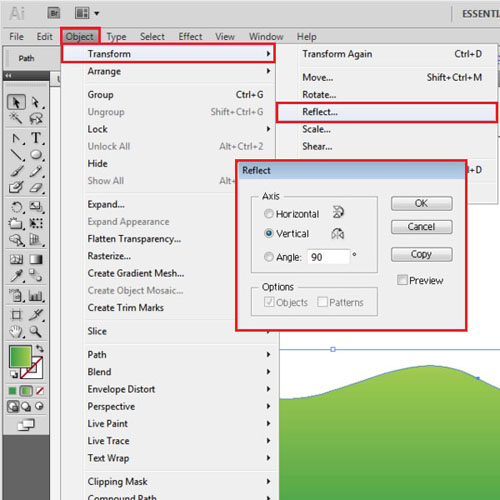
Step # 3 – Work on its copy
Copy this shape and paste it at the back in the same position by pressing “ctrl + c” then “ctrl + f”. While selecting the copy go to the “object” menu, drop down to “transform” and select the “reflect” option. Now reflect this shape on the vertical axis at 90 degrees. Adjust the gradients so as to make the edge of the hills at the back a little darker.
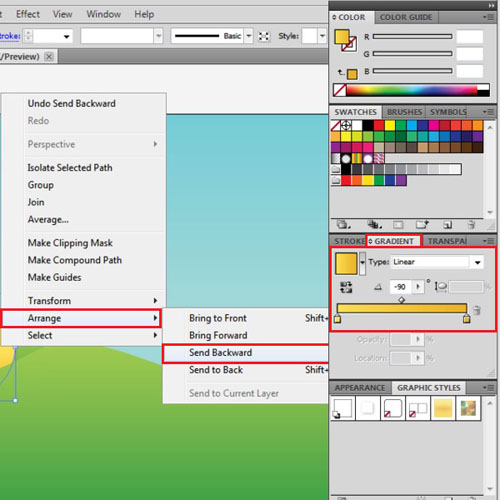
Step # 4 – Make the sky
Next, make a rectangle the size of your canvas, give it a blue gradient and send it at the back by right clicking, going to “arrange” and pressing the “send to back” option.

Step # 5 – Make the sun
For the sun draw a circle by making a shape with the ellipse tool while pressing down the shift key. This makes a circle instead of the ellipse. Enter a yellowish gradient with the shade of the left color stop at “R=254 G=222 B=88” and the right one at “R=237 G=179 B=41”. Keep the angle of the gradient at 90 and shift the sun behind the hills.
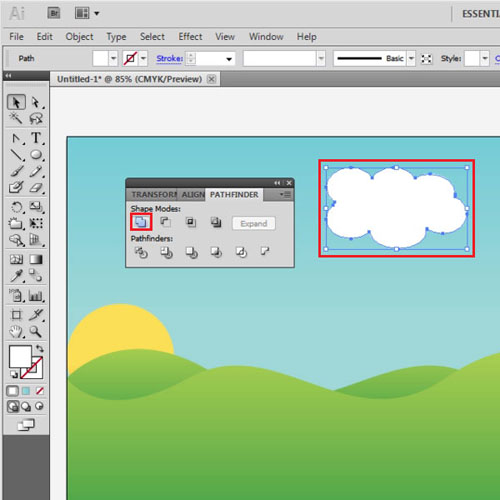
Step # 6 – Make ellipses
To make clouds, use the ellipse tool from amongst the different Illustrator shapes. Add a bluish-white gradient fill to it. Make overlapping ellipses which we will then combine to convert them to clouds.

Step # 7 – Apply the “unite” option
Open the “pathfinder” panel by selecting it from the “window” menu. Select all of the ellipses and press the “unite” button on the pathfinder panel. Place the cloud wherever you wish. You can copy and paste it according to your scene.
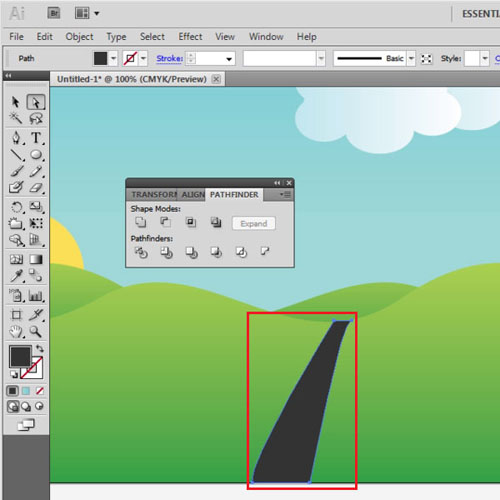
Step # 8 – Make a road
To create a road simply draw its shape with a pen tool with a fill with values at “R= 51, G=51, B=51”. Adjust its size to give it perspective.
Your vector art is now ready. You can do further detailing in it if you wish.