In this video tutorial we will show you how to create lightroom watermark.
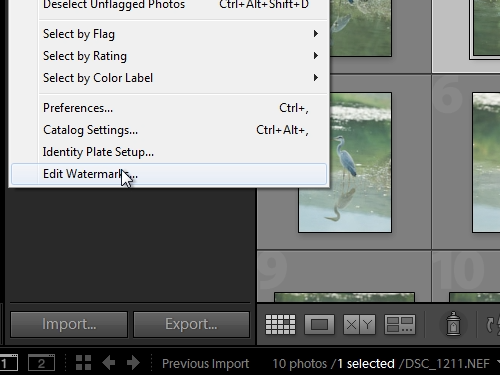
In order to create a watermark in lightroom, first of all open the program. Go to the “Edit” tab and choose “Edit Watermarks”.
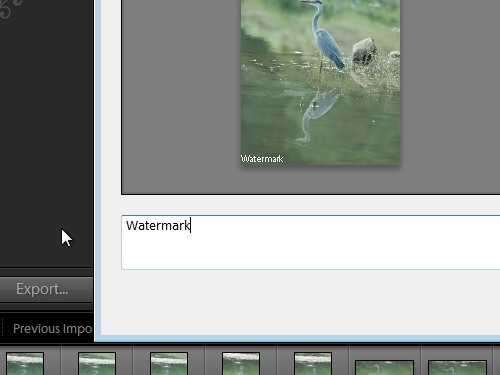
In the appeared window you can type a name for your watermark.
Also you can press “Fit” to fit a watermark to a picture.
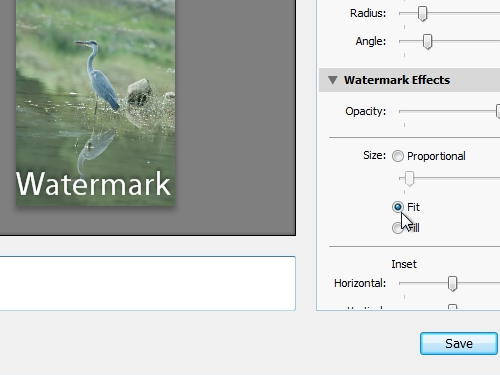
Choose the “Opacity” and set the anchor for a watermark. Then press “Save”. Give a name to the preset and click “Create”.
Now, go to the “Slideshow” tab and check “Watermarking”.
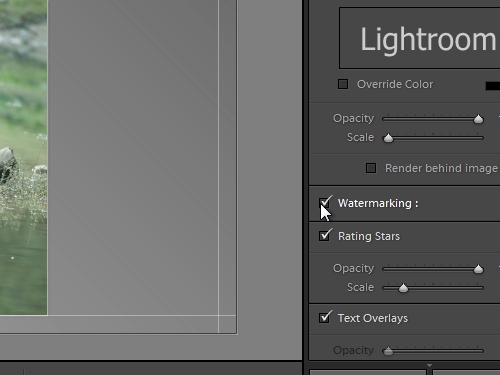
Then, go to the “Print” tab and also check “Watermarking”. Finally, go to the “Web” tab, check “Watermarking” and choose your preset.