Presentation plays an important role in capturing a person’s interest in a document or report. Word 2010 offers a great collection of tools that can be used to style a document. It can apply specific styles to the entire document or to a specific part of it. But here the question arises as to whether you only have to use the set of styles offered by the software, or if you can create your own from scratch too. Using this office 2010 tutorial you will learn how to create a personalized style for your word document from scratch.
In this tutorial you will specifically learn the way How to create styles in MS Word 2010.
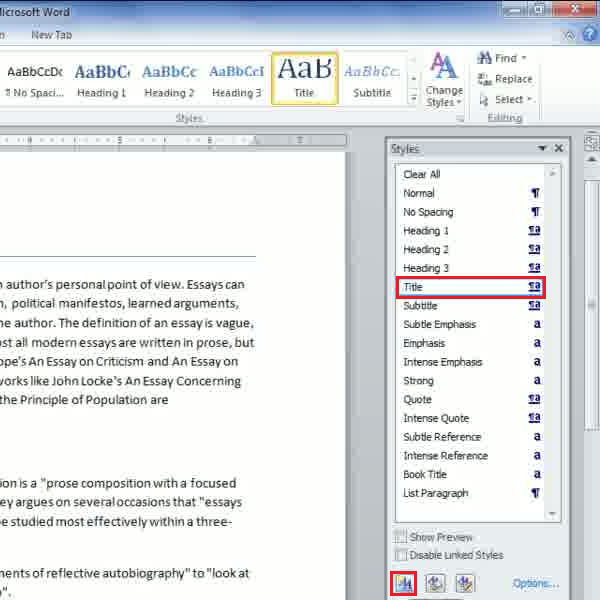
Step # 1 – Creating a New Style
In order to create a new style for a document you need to open a word document and select the text you want to create a style for. Let’s say, here you want the text in the title area to be styled according to your own preference. In order to do this, you must first click on the ‘change Style’ dialogue launcher box. Once this appears on your screen, you can see that MS word automatically reads this text as ‘Title’ because it is located in the title box. In the lowest extreme left corner of the dialogue box you will see a button named ‘New Style’. Now you must click on this button.
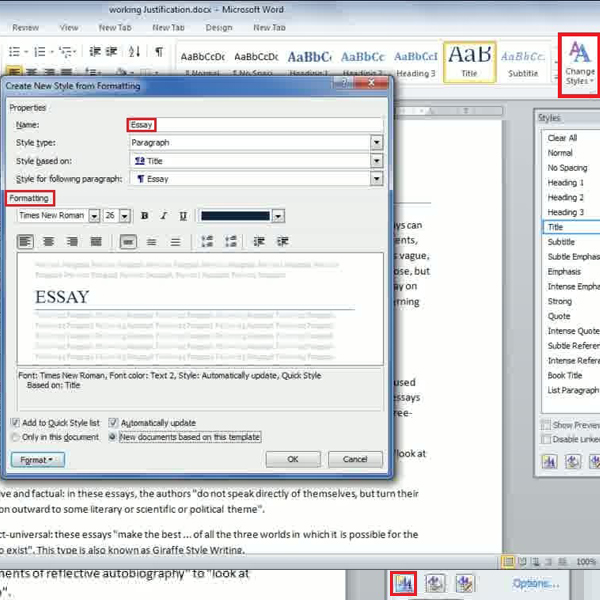
Step # 2-Creating New Styles from Formatting
Now, a new dialogue box will appear on the front of your screen. This dialogue box will be titled ‘creating new styles from formatting’. Once you choose various options and design a style according to your own specifications, this format can be used for any text or titles in future. You must now type the title in the name field, and can make changes to the various formatting parameters i.e. font style, size and color for the particular style.
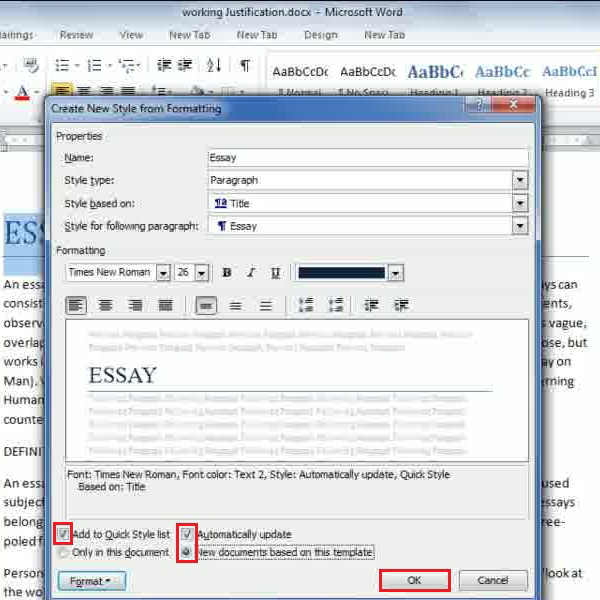
Step # 3- Adding styles to the Library
Once you have created a new style and want it to use for future documents, you can do so by using the same dialogue. Other options in the formatting dialogue box include, ‘Add to Quick Style list’, ‘automatically update’, and ‘new documents based on this template’ .These options can help you select the same template for future work. You can click on one of these options and select ‘OK’ to confirm your choice.
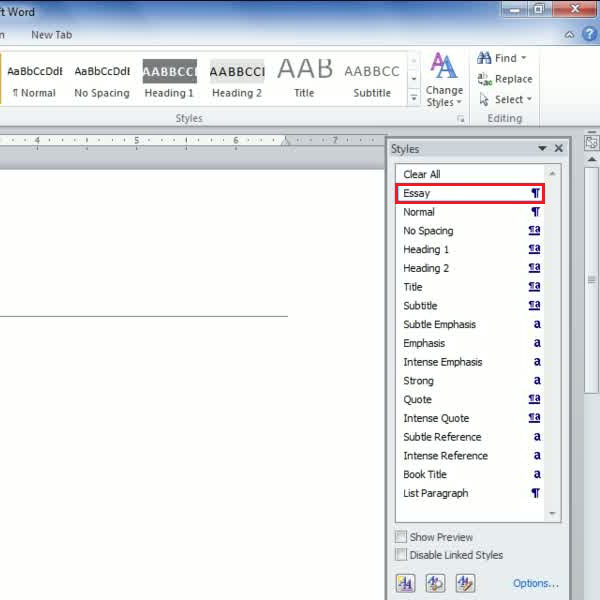
Step # 4- Testing the styles created
Once this is done you also need to verify whether all the work you did was fruitful or not. You must now open up a blank document, type a word and select it. You can now go to the ‘styles’ dialogue launcher box and click on the option ‘Essay’ in order to select the format you added previously. Now you will be able to see that the new word previously selected will be formatted according to the style you had previously created and applied.