This tutorial is going to show you how to run a Wubi download and then install the system on a PC operating Windows 7.
Step # 1 – Starting the Download
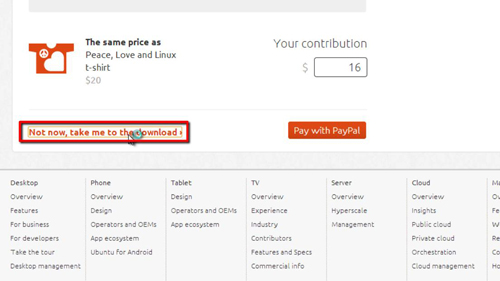
The first thing you are going to need to do is download the installation package. Open your preferred internet browser and visit: “http://www.ubuntu.com/desktop/get-ubuntu/windows-installer”. Scroll down the page and click the “Get the installer” button, on the next page scroll down and click “Not now, take me to the download” (unless you want to donate). A file called “wubi.exe” will download and when it has finished click on it.
Step # 2 – Setting up Wubi
Click “Yes” in the dialog box that appears. A window will appear and you will need to set some details for the installation – here we are entering a password. Click “Install” and a download will begin, this can take some time depending on your internet connection as the file is large. Once the download and install has finished you will see a screen asking you to reboot, click the “Reboot now” option and click “Finish”. The computer will restart.

Step # 3 – Loading Ubuntu
As the computer boots up you will see that the Ubuntu load screen appears indicating that the install has gone well so far. You will eventually be presented with the login screen, type your password and then press return on the keyboard. You will be logged into the system and that is essentially how to use download Wubi and use it to install Ubuntu on Windows.

Step # 4 – Booting into Windows
We are also going to quickly look at how to get back to Windows. Click the cog icon in the top right and click “Shut down”. In the dialog box that appears click “Restart”. As the computer boots again all you need to do is select “Windows” from the list and that OS will load.
