In this tutorial you are going to learn how to install office 2013 on windows 7.
Step # 1 – Start the Installation Process
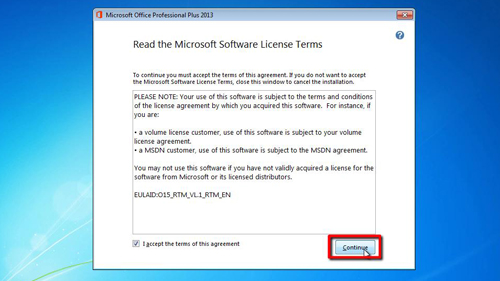
First of all you have to load the Office 2013 DVD into your computer. The setup should automatically begin and the program will tell you that setup is preparing the files for installation. You will have to agree to the license terms and then click the “Continue” button.
Step # 2 – Finishing the Installation
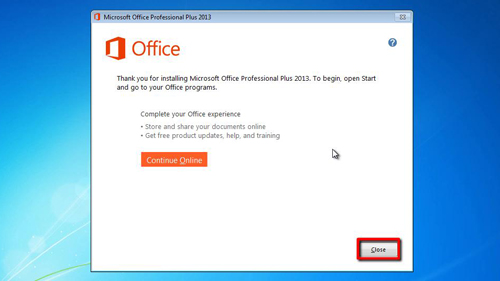
You will then be asked to select the type of installation you want. In this case we want to choose the “Install Now” option. You will have to wait some time for Office 2013 to finish installing and when it has completed, click the “Close” button.
Step # 3 – Checking the Installation
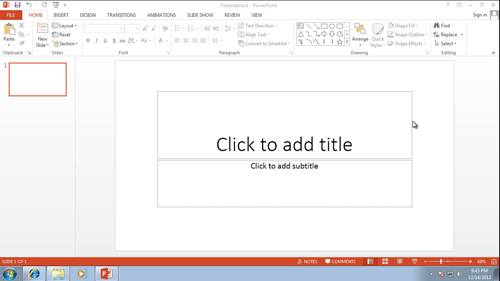
This is how to install office 2013 on windows 7 and to make sure that the process has worked you can open one of the Office programs, such as PowerPoint. You will be presented with a screen called “First things first”, click “Ask me later” and “Accept”. You should also close the introductory screen. As you can see we can easily open up a new presentation, installation complete.