In learning how to use Illustrator it is always better to know of tools that can benefit you while working with complex artwork. Once such is the magic wand tool. Through this, in Illustrator cs5 you can select those objects together, that fall under a certain range or tolerance level. To know more of how to use the magic wand in Adobe Illustrator follow the steps given below.
Step # 1 – Open the magic wand tool popup menu
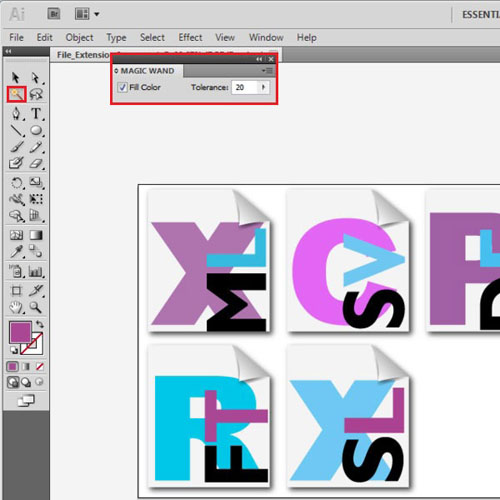
Select the magic tool from the tool panel on the left side of the page. Double clicking on it gives you a popup menu.

Step # 2 – Adjust the magic wand tool settings
Here you can see the tolerance level and the “fill in color” option. By checking this option, illustrator will ensure that if you click any image with it, it will automatically select all those images that have same type of color filled inside of them, according to the tolerance level specified by you.
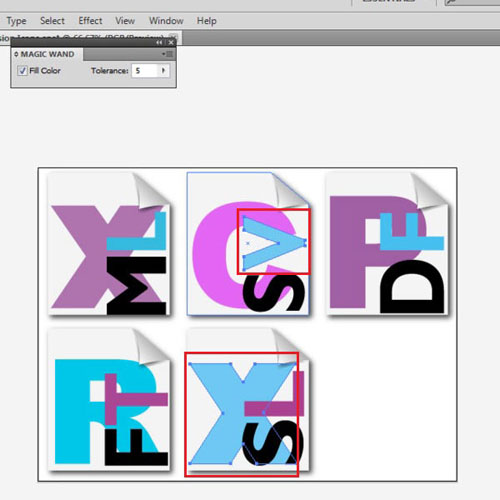
To see this, click on any image. Notice how these other images automatically get selected. This is because they fall in the tolerance level given. Selecting a certain illustration will only choose the ones that fall in its range. The letters marked below are the ones that fall in the same tolerance level.
Certain objects, when they are clicked no other image is selected with them. This is because no other illustration in the picture falls in the same tolerance level, when compared to the object selected.

Step # 3 – Decrease the tolerance level
If you decrease the tolerance level, the range through which the wand selects the images will narrow down, and it will select the ones that are even closer to the object selected.

Step # 4 – Increase the tolerance level
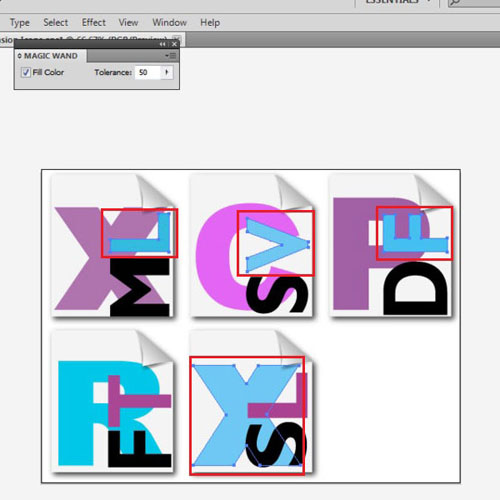
If you increase the tolerance level, the range broadens and you will be allowed to encompass more images in your selection in Illustrator cs5. Increase the tolerance level to fifty. More images will now be selected when you click on the same illustration.

Step # 5 – Open more options to the magic wand tool
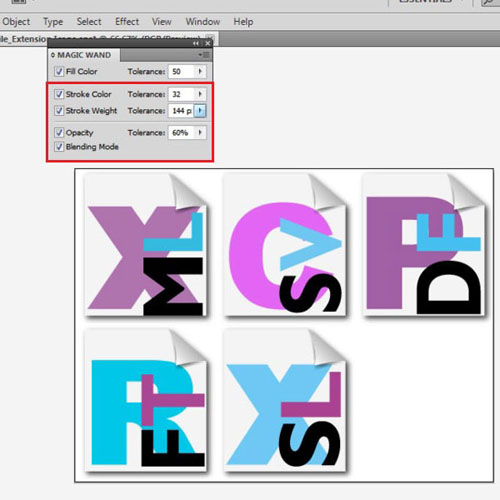
There are more options to the magic wand tool. To see them, click on the drop down arrow. Press to show stroke options and transparency options. You can check these to provide more tolerance levels for your search. For example, if you enable the stroke weight option and specify it to “2” and you click on an illustration with the stroke weight of “4”, from the range you have specified images with and between, the stroke weight of 2 – 6 will be selected. Over here the stroke measurement is given in pixels.
Similarly, if you check on opacity, specify it to be 5 percent and click on any image which has opacity of 60 percent, then all images between the range of 55 till 65 percent will come in this range and get selected.

 Home
Home