In Illustrator it is always beneficial to have an understanding of how to work with compound paths and shapes in Adobe Illustrator. In this software you have the option of making compound paths rather than just single ones. Different Illustrator paths can be combined and joined together to form a single one. Therefore, make shapes in Illustrator and then after doing so you can combine them together.
Step # 1 – Draw inside the shape
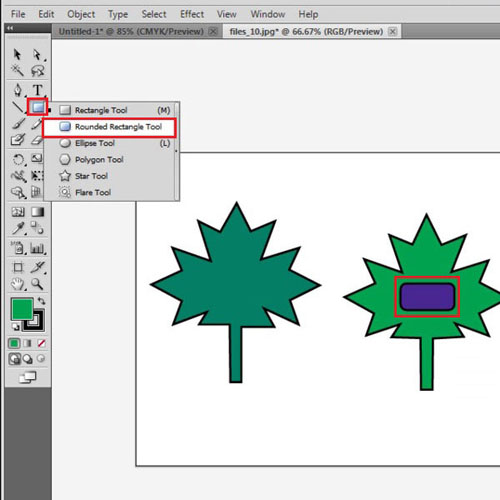
Over here, there are two images traced from the pen tool.
Inside the second illustration, use the rounded rectangular shape tool to draw another shape. To distinguish it, use a different color.
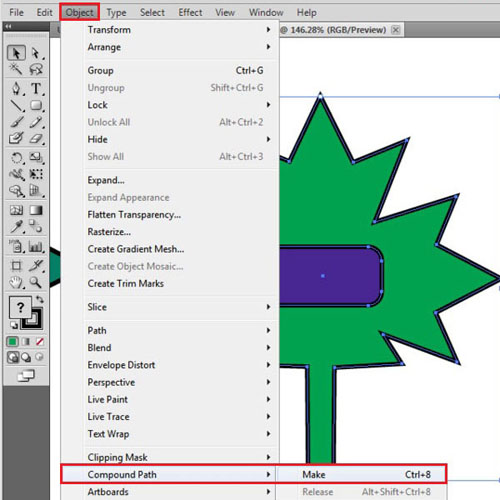
Step # 2 – Make a compound path
Close up on this image to see properly. To make a compound path, use the selection tool, keep pressing down the “shift” key and select both objects. Now, go to “object” on the menu panel, drop down to “compound path” and then select “make”. This joins both of the paths and creates a hollow space, where the inside object was. A hollow space is created because both of these paths run in opposite directions.
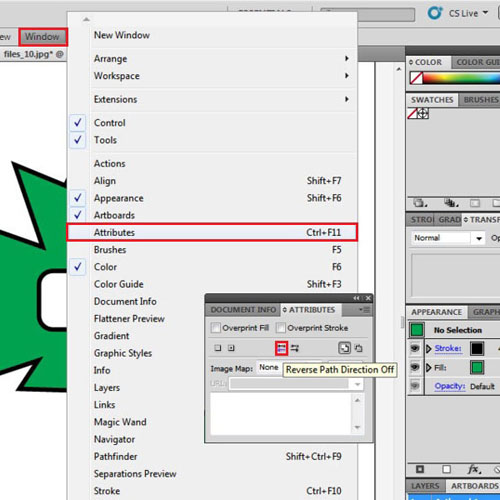
Step # 3 – Remove the hollow space
If you want to change the hollow space, then go to “windows” and open the “attributes” panel. There are two options given, “reverse path direction on” and “reverse path direction off”. If you click off, then the hollow portion gets filled with the same color as the rest of the image.
Step # 4 – Make the space hollow again
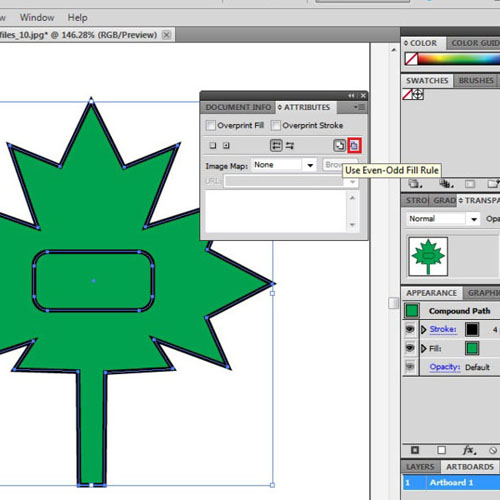
To reverse this and make it hollow again, click on the “use even – odd fill rule” option on the same panel.
To re-confirm if the inside shape is hollow, take this illustration on top of the other image. You can see the other image underneath the one you traced.
Bring it back to its original position by pressing “ctrl + z” to undo the action.
Step # 5 – Open the compound shapes options
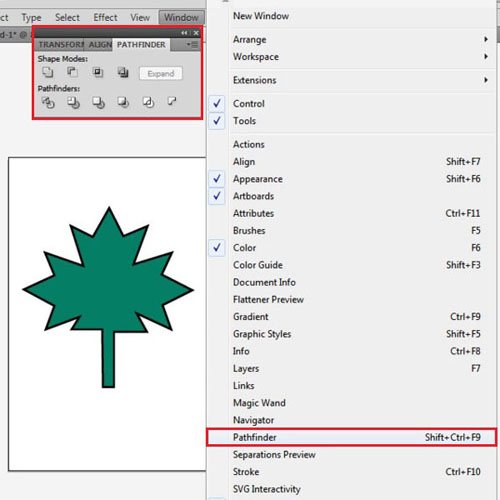
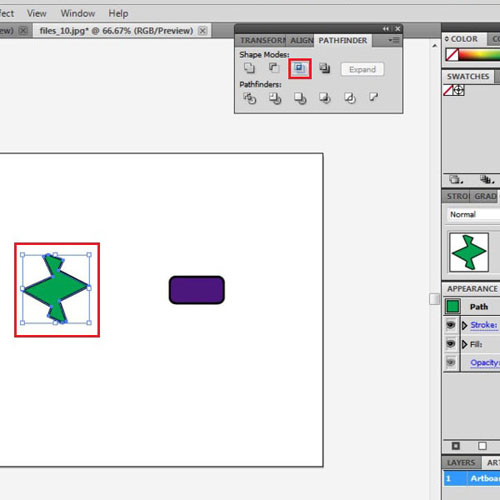
First change the color of the inside shape so that it is more visible. Now, to understand the compound shapes option go to “window” and open the “pathfinder” panel. The “shape modes” can be used from here. Select both objects and use “shape modes”.
Step # 6 – Unite both shapes
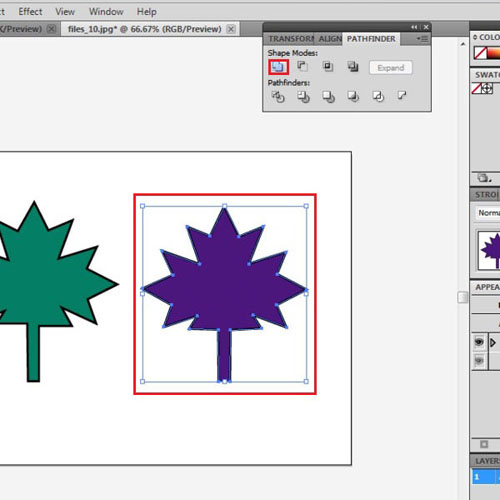
The first one unites both of the shapes. The color selected in the color box fills in the whole shape.
Step # 7 – Select the “minus front option”
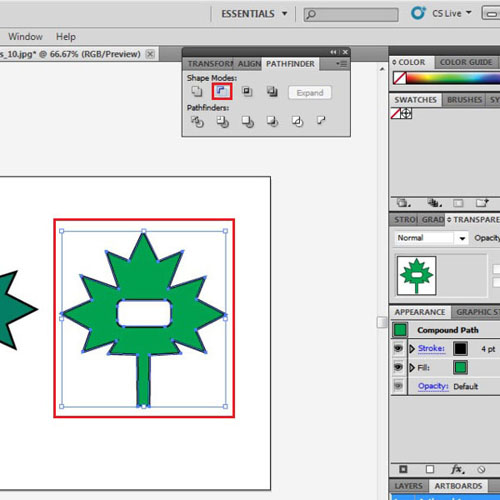
The next option is “minus front”. Clicking this, removes whichever object was in the front. Undo your action to bring the object back to its original position.
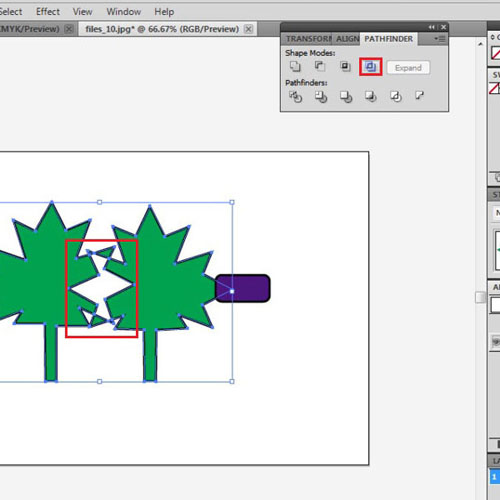
Step # 8 – Choose the “intersect” option
The third option, “intersect” removes all parts of the image except the ones that intersect with each other. To understand this better, drag one illustration so that it intersects with the other. Select them both and click on this option. The portions of the images that now remain are the bits that were intersecting. Undo you action to bring the illustrations back.
Step # 9 – Apply the “exclude” option
Select both of these images and apply the last option. Now, the intersecting portion disappears.
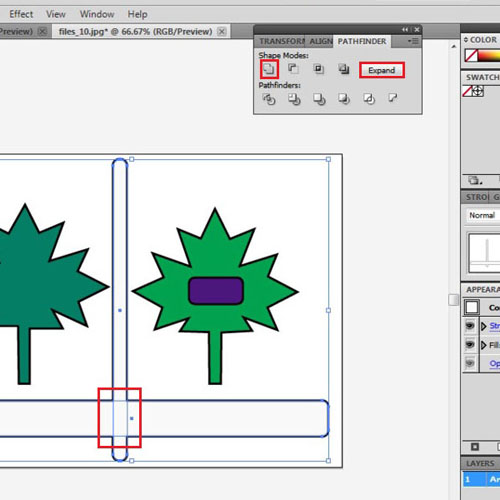
Step # 10 – Combine shapes without combining their paths
It is possible to combine two shapes through “unite”, yet not combine their paths. For example, make two intersecting rounded rectangles. Select both of them, keep pressing “alt” on your keyboard and click “unite”. Even though you have created a compound shape, you can still edit their Illustrator paths separately. When you feel you are done editing them, press “expand” on the pathfinder panel, it will unite these two shapes completely.
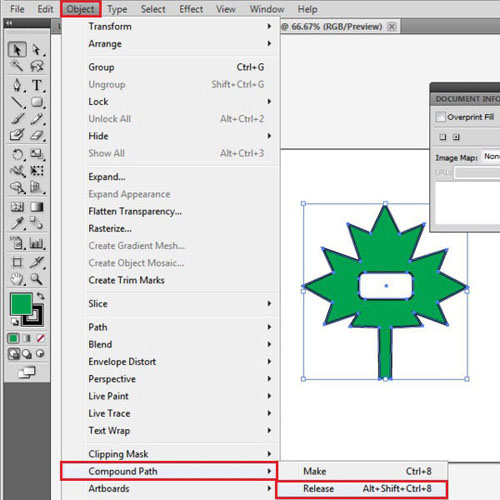
Step # 11 – Release the compound path
You can release the compound path in Illustrator by going to the “object” menu, dropping down to “compound path” and then pressing “release”.